Encounter a delay when expecting the thundering rumble of your Harley Davidson? You’re not alone. A myriad of riders face the occasional hiccup with motorcycle starter issues, casting a shadow on the joy of the ride. In this critical guide, we plunge into the technical depths of Harley Davidson starting problems – dissecting symptoms, troubleshooting, and pinpointing the role of the starter relay within these powerful machines. Understand the nuances of your Harley’s ignition system and gain the insights needed to restore the brisk start to your journeys.
Key Takeaways
- Identify common symptoms of a Harley Davidson starter relay malfunction.
- Distinguish between relay issues and other starting system problems.
- Utilize a systematic approach for accurate motorcycle starter issue diagnosis.
- Recognize the vital role the starter relay plays in your Harley’s ignition process.
- Learn helpful tips for troubleshooting and fixing starting problems.
Understanding the Important Role of a Starter Relay in Your Harley Davidson

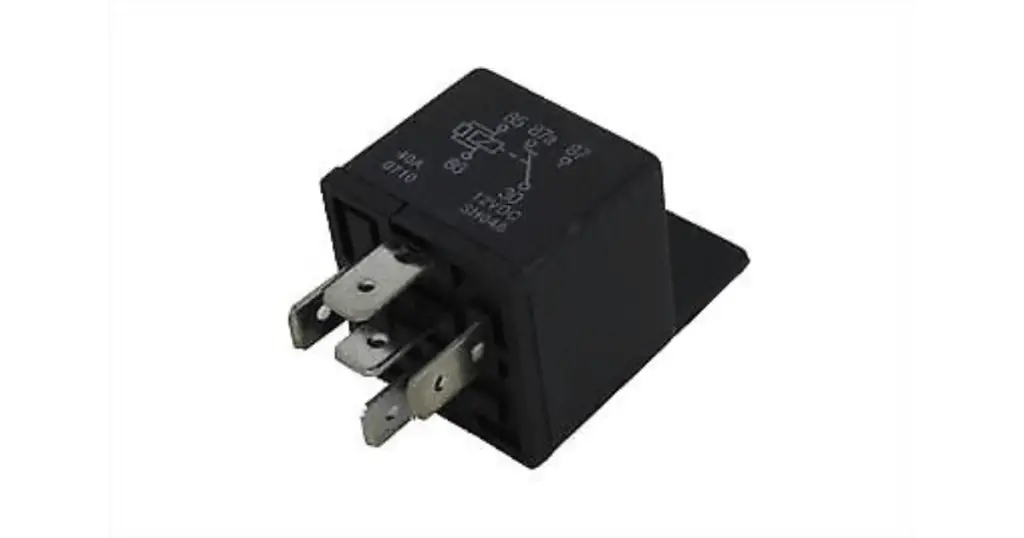
For avid motorcycle enthusiasts, the intricate ignition system of a Harley Davidson is more than a mechanical marvel; it’s the pulse of the ride. At the heart of this system lies a critical component known for its functionality and reliability — the starter relay. Despite its modest appearance, this electrical component plays a vital role in the motorcycle’s starting sequence.
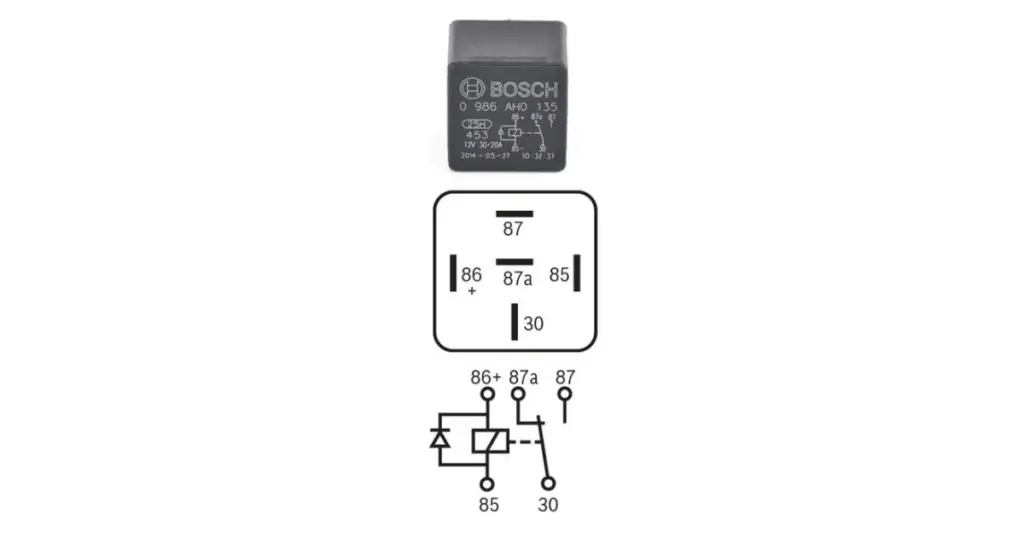
The starter relay‘s principal responsibility is to transmit electrical power from the bike’s ignition switch to the starter solenoid, while managing the high current levels that could damage the switch. Essentially, it serves as a robust bridge between a controlled, low-current ignition and the raw power necessary to crank the engine. This action sets off a series of events: with a flick of the ignition, the starter relay is energized, acting upon the solenoid, which in turn propels the starter motor to rouse the engine to life.
Without a dependable relay, Harley Davidson motorcycles would struggle to manage the electrical load, making the smooth ignition we take for granted a rare occurrence.
- Incorporates intricate Harley Davidson electrical components into a unified functional process
- Ensures minimal electrical load on the ignition switch, preventing overheating and potential damage
- Starter relay function encompasses activating the high-current solenoid with precision
- A cornerstone in the resilient performance of a Harley’s ignition system
Understanding the meticulous design and operation of your starter relay is not merely technical knowledge; it’s appreciating a piece of engineering that makes every Harley Davidson ignition possible.
As you nurture your relationship with your motorcycle, acknowledging the significance of the starter relay is instrumental. It’s not just attention to detail—it’s recognition of the prowess embedded in every start, every journey, every roar of the engine, thanks to a small but mighty conductor of power within your bike’s heart. So, what do you need to know when it goes bad?
Identifying Harley Bad Starter Relay Symptoms
Discerning the root cause of starting troubles in your Harley Davidson can be as straightforward as listening carefully. Certain auditory cues can quickly signal a malfunctioning starter relay — a pivotal player in your motorcycle’s ignition system.
Clicking Noises When Attempting to Start
One telltale sign of starter relay issues is the dreaded starter solenoid click. If you hear this when you attempt to start your Harley, it’s likely indicating an electrical diagnosis is in order. This sound, typically indicative of poor solenoid contacts or a failing relay, signifies that the solenoid is functioning but not with sufficient power to turn over the starter motor.
Failure to Crank Engine Despite a Full Battery
When the engine doesn’t crank, but your motorcycle’s battery is fully charged, it’s time for some electrical troubleshooting. Accurate voltage checks across the starter relay terminals are crucial. If the relay is not facilitating the required voltage to the starter motor, it could well be the culprit behind your Harley’s refusal to start.
Intermittent Starting Issues
Sporadic starting problems can be particularly frustrating. If your motorcycle’s starting ability seems to alternate unpredictably between complete function and complete failure, it suggests something amiss in the starter circuit. The inconsistency often points to questionable electrical connections within the relay or elsewhere in the starting system.
- Starter Solenoid Click: Not just a noise — a symptom that demands attention.
- Electrical Diagnosis: A process of elimination starting at the audible.
- Harley Won’t Start: When silence follows the throb of your start button.
- Voltage Checks: The multimeter becomes your best tool for truth in the circuit.
- Sporadic Starting Problems: A motorcycle’s version of hide and seek with power.
- Starter Circuit: A path that must remain clear for an ignition to occur.
- Electrical Connections: The handshake between components that can’t afford to miss.
Don’t Mistake Other Issues for Starter Relay Problems
When delving into the challenge of addressing starter motor issues on a Harley Davidson, it’s crucial not to hastily attribute all starting difficulties to a defective starter relay. Beyond the relay itself, several other factors deserve close inspection, especially when symptoms might deceive even the most seasoned riders.
For instance, the battery health is fundamental to any starting system. A weakened or entirely incapacitated battery could lead to symptoms akin to those of a malfunctioning starter relay. Before proceeding towards relay diagnosis, ensure that the battery is charged and conducting power effectively.
In addition, solenoid functionality greatly influences the motorcycle’s capability to start. A problematic solenoid might exhibit symptoms that mirror those caused by a faulty starter relay — yet, both components demand separate diagnostic methods for accurate assessment and resolution.
Connections corroded or improperly secured? Such issues can compromise the electrical integrity of the starting system, potentially mimicking the signs of a bad relay. Therefore, a comprehensive inspection of all connections is of paramount importance.
Mistaking a defective starter motor for a starter relay problem is an easy slip-up; but note, however, that each of these components has a distinct role within the starting sequence. Deciphering the symptoms attributed to each can guide proper maintenance and repair.
- Electrical integrity check: Ensure that battery terminals are clear of corrosion and tightly connected.
- Comprehensive diagnostics: A methodical examination of the starting sequence to rule out every possibility.
- Voltage verification: Confirming stable and sufficient electrical flow to the starter system.
It’s essential to maintain a vigilant stance against conflating distinct starting system issues with those arising specifically from the starter relay. By understanding and acknowledging the discrete roles of battery health, solenoid functionality, and starter motor problems, you can ensure more accurate diagnostics and undertake the appropriate repairs or replacements for a smooth-starting Harley Davidson.
How to Test Your Harley Davidson’s Starter Relay at Home

Performing motorcycle maintenance and troubleshooting at home can be a rewarding endeavor. With the right diagnostic tools and a methodical approach, even seemingly complex issues like a malfunctioning starter relay can be diagnosed and potentially remedied with ease. Here’s how you can execute the essential relay testing guide, using electrical repair steps for Harley DIY troubleshooting.
Preparation: Required Tools and Safety Precautions
Prior to diving into the relay testing procedure, it’s imperative to gather the necessary diagnostic tools and adhere to strict safety in repairs. You’ll need a reliable multimeter for voltage measurements, your Harley Davidson’s service manual for accurate reference, and a stout piece of insulated wire for bypass testing. Always observe the highest safety precautions before performing electrical repairs; this includes disconnecting the motorcycle’s battery and ensuring that the bike is in neutral to avoid any unintended movement.
Step-By-Step Relay Testing Process
The first step in your Harley Davidson relay testing process is to verify that your battery is fully charged, as a low battery can lead to false diagnoses. With the multimeter in hand, test for voltage delivery at the solenoid by pressing the start switch and measuring the voltage across the relay lead. A lack of voltage reading here signals the need for a deeper exploration of your relay’s health. Proceed by using the multimeter to inspect the condition of the coil contacts under starter button engagement. If the multimeter detects a significant voltage drop, or if there’s no continuity across the relay terminals, it may indicate that your relay is failing and requires replacement. By methodically following these electrical repair steps, you’ll be able to confidently evaluate the status of your starter relay and take the necessary actions for a smoothly operating start system.
More electrical system info you might need:
– Harley Davidson Stator Replacement Cost Overview (+DIYable?)
– Harley Davidson Voltage Regulator Symptoms? Know This
– Bad Stator Symptoms Harley Riders? Here’s What To Do