Harley Davidson, an iconic brand synonymous with freedom, rebellion, and the open road, is highly regarded for its strong engines. However, the acclaimed performance of a Harley Davidson isn’t magic – it’s science, more precisely, the science of torque. Understanding and applying the correct torque specifications for Harleys is key in maintaining the motorcycle’s engine efficiency and longevity.
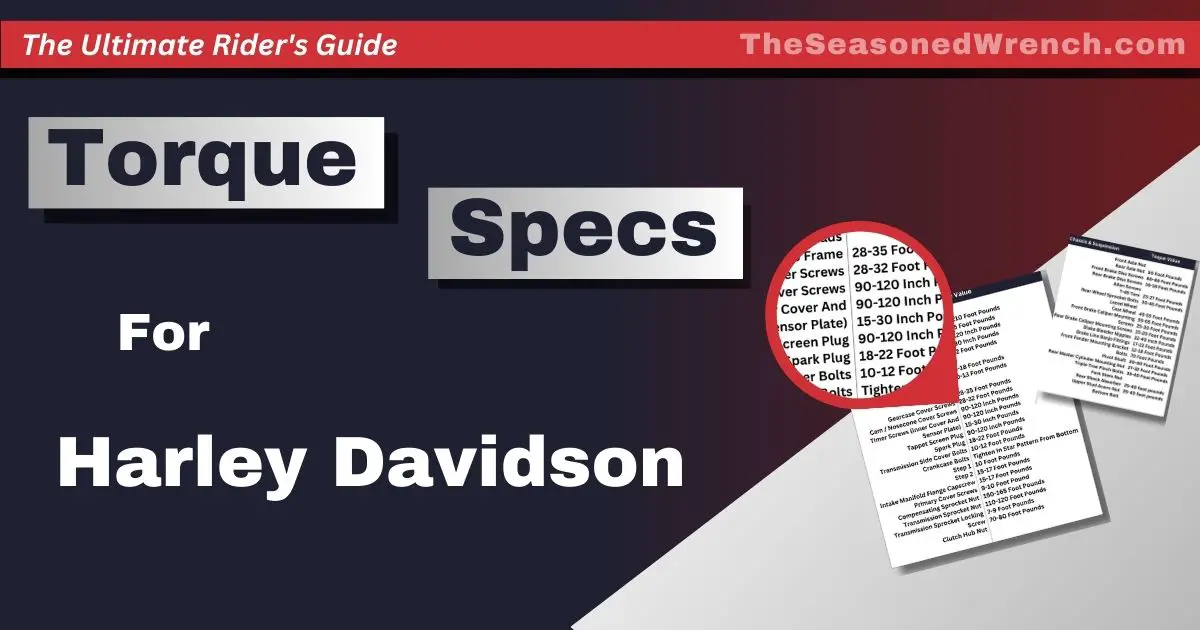
In this article, we’ll first explore the basics of torque, including what it is and why it’s crucial for your Harley. We’ll then review the technicalities of torque specs for Harley Davidson motorcycles, their significance, and the potential consequences of not adhering to them. We’ve also put together a detailed Harley torque specs PDF so everything is as straightforward as possible (located at the bottom of the guide).
Let’s throttle up and hit the road.
Understanding Harley Davidson Torque Specifications
Torque, simply put, is the force that causes rotation/twisting. For Harley Davidson bikes, torque specifications are key to making sure everything in the engine and other parts works right. Getting these specs spot-on is important for things like cylinder head bolts, conrod bolts, and primary drive gear nuts.
Harley Davidson, like other bike makers, gives out specific torque values for each part in their service manuals. These numbers are calculated to make sure the bike runs at its best, stays reliable, and lasts a long time. It’s important to stick to these values when putting a bike together or fixing it up. Going over these specs can break parts and cause damage.
When it comes to applying the right torque, tools like torque wrenches and torque screwdrivers are what you need. These let mechanics tighten bolts and screws just right, keeping each part held together properly. If you’re working on a Harley, using a good quality torque wrench is a must to get accurate readings and consistent application.
Remember, torque figures can vary depending on the part, the material it’s made of, and how it’s used. Things that can change these specifications include:
- What the fasteners and parts are made of (like steel or aluminum)
- What kind of lube, if any, you put on the threads, as this affects friction and torque
- How the threads on the bolts or screws are cut (coarse or fine) and their size
- The surface finish and what the metal is like
In short, knowing and following the torque specifications for your Harley Davidson is crucial for keeping your bike running smoothly, reliably, and for a long time. Using the right torque tools and following the manufacturer’s guidelines can help you avoid damage from over-tightening or under-tightening parts.
Torque Values for Harley Davidson Engines
The heart of a Harley Davidson motorcycle lies in its robust motor. Whether it’s the raw power of the Sportster models or the refined performance of the Touring models, each motor has its unique torque requirements, designed to deliver optimal performance.
Sportster Models
Sportster models epitomize raw power and agility, catering to riders who crave a visceral riding experience. The Sportster models blend classic styling with modern performance, offering a thrilling ride. Sportsters are ideal for those who love a bike with a strong personality, perfect for both city streets and open roads. Below are a few Sportster examples, including Harley Davidson bolt torque spec, to explore:
883cc:
- Primary chain adjustment screw: 9-13 Nm
- Spark plugs: 18 Nm
- Cylinder head bolts: 29 Nm
1200cc:
- Primary chain adjustment screw: 9-13 Nm
- Spark plugs: 18 Nm
- Cylinder head bolts: 32 Nm
48:
- Primary chain case cover bolts: 11-14 Nm
- Front and rear axle nuts: 95-105 Nm
Touring Models
Touring models are designed for comfort and long-distance rides, offering a blend of luxury and power. These bikes are equipped to handle extended journeys, with features that ensure rider and passenger comfort. Touring models are the go-to choice for riders seeking a reliable companion for their long, adventurous trips. Here are a few Touring specification examples:
Twin Cam 103:
- Engine sprocket shaft nut: 130-145 Nm
- Transmission sprocket nut: 160 Nm
Electra Glide:
- Front brake disc bolts: 23-27 Nm
- Clutch assembly nut: 95-110 Nm
Road Glide:
- Front fork pinch bolts: 27-32 Nm
- Primary chain case cover bolts: 11-14 Nm
Softail Models
Softail models are renowned for their classic looks combined with a modern riding experience. This model category feature a hidden rear suspension system, giving the appearance of a hardtail while offering comfort. Softails are perfect for riders who appreciate a blend of traditional looks and contemporary power. Check out these Softail spec examples:
Heritage Softail Classic & Fat Boy:
- Front and rear axle nuts: 83 Nm/60 Nm
- Spark plugs: 18 Nm
Deluxe:
- Handlebar clamp bolts: 20-25 Nm
- Brake disc bolts: 23-27 Nm
Street Models
Street models are tailored for urban environments, characterized by their nimble handling and sleek designs. These bikes are ideal for navigating through city traffic with ease and style that’s sure to turn heads. Street models appeal to riders who need a reliable, stylish, and agile motorcycle for daily commutes or city adventures. Here are a few Street model specification examples:
Street 500/750:
- Front and rear axle nuts: 71 Nm/54 Nm
- Spark plugs: 18 Nm
Street Rod:
- Front brake caliper bolts: 38-42 Nm
- Rear shock absorber bolts: 47-50 Nm
Street Bob:
- Front fork pinch bolts: 32-39 Nm
- Swingarm pivot shaft nut: 95-105 Nm
Always check your specific Harley’s manual for the exact motor torque specifications.
Chassis Torque Specifications
The chassis of your Harley is where the rubber meets the road – literally. It’s all about the suspension and brakes keeping your ride balanced, stable, and safe. So, let’s review the details of torque for these key systems.
Suspension
Getting the torque right on your Harley’s suspension, like the front fork pinch bolts and rear shock absorber bolts, is key for a solid ride. It’s all about keeping your bike handling sharp and the drive smooth. Below are some standard torque figures for Harley Davidson suspension components:
- Front fork pinch bolts: 21-27 Nm (16-20 ft-lbs)
- Rear shock absorber bolts: 47-68 Nm (35-50 ft-lbs)
Brake System
Brakes are no joke. You need to nail the torque on those brake caliper mounting bolts and master cylinder clamps. It’s about making sure your brakes are always there for you, especially when you need them most. Here are some general values for Harley Davidson’s brake system parts:
- Front and rear brake caliper mounting bolts: 38-48 Nm (28-35 ft-lbs)/38-48 Nm (28-35 ft-lbs)
- Front and rear brake master cylinder clamps: 15-18 Nm (11-13 ft-lbs)
Wheel and Tire
Wheels keep you rolling, so getting the torque spot on for axle nuts and brake disc bolts is crucial. It’s about keeping your wheels tight and right, for creating a safe and steady drive. Check out these common torque specifications for Harley Davidson wheels and tires:
- Front and rear axle nuts: 100-108 Nm (74-80 ft-lbs)/95-105 Nm (70-78 ft-lbs)
- Front and rear brake disc bolts: 22-27 Nm (16-20 ft-lbs)/22-27 Nm (16-20 ft-lbs)
Consult your Harley Davidson service manual for precise chassis torque values.
Accessories Torque Specs
Additional components on a Harley motorcycle, like the handlebar and foot control, can also influence its stability and functioning. Here’s how much torque they should typically have:
Handlebars
Handlebars aren’t just for show; they’re about control. Proper torque on riser and upper clamp bolts means no surprises when you’re steering through those bends. For the handlebar assembly, here are the recommended specifications to follow:
- Riser bolts: 45-50 ft-lbs (61-68 Nm)
- Upper clamp bolts: 12-16 ft-lbs (16-22 Nm)
Foot Control
Foot controls need to be tight but right. Whether it’s the brake pedal, footpeg, or shifter arm, the correct torque means everything works like it should, every time you hit the road. These are the specifications to keep in mind to ensure you tighten foot control elements properly:
- Brake pedal mounting bolt: 25-28 ft-lbs (34-38 Nm)
- Footpeg mounting bolts: 30-35 ft-lbs (41-47 Nm)
- Shifter arm pinch bolt: 18-22 ft-lbs (24-30 Nm)
Electrical Parts
Even the small stuff like battery terminal and voltage regulator bolts needs the right torque. It’s about keeping your bike’s electricals humming without a hitch. Some general values for electrical components:
- Battery terminal bolts: 72-108 in-lbs (8-12 Nm)
- Voltage regulator mounting bolts: 90-120 in-lbs (10-14 Nm)
- Main circuit breaker: 25-36 in-lbs (3-4 Nm)
For factory accessories, always refer to your bike’s manual for accurate figures. For aftermarket accessories, consult the included documents for specific values.
The Importance of Torque Specifications
Proper torque specifications are crucial in Harley-Davidson motorcycles for peak power, reliability, and safety. Adhering to these figures ensures your bike runs smoothly, handles well, and lasts longer:
- Preventing Component Failure: Getting the torque right is key to avoiding parts loosening or wearing out too soon. Over-tightened fasteners can damage or break parts, leading to expensive repairs and, worse, dangerous situations on the road. It’s not just about keeping your bike together; it’s about keeping your rides safe.
- Maximizing Torque Power: In a Harley, how the engine’s power gets to the wheels matters. The right torque on fasteners means no power loss, no slippage. This leads to better acceleration, top speed, and an enhanced riding experience. It’s about making every bit of power count.
- Ensuring Longevity and Value: Torquing fasteners as per Harley’s recommendations means less stress on parts. This reduces material fatigue and the chance of failure, making your Harley last longer and keeping its value. It’s not just maintenance; it’s about preserving your investment.
How to Find Harley Torque Specs for Your Model
Getting the right specifications for your Harley Davidson model doesn’t have to be a tough ride. Here’s a streamlined guide to help you throttle through:
Check the Service Manual
Your first stop should always be your Harley’s service manual. It’s the most accurate source for specifications, tailored to your specific model. The service manual not only provides detailed torque values but also contextualizes them with assembly instructions and maintenance guidelines.
It’s best to familiarize yourself with this manual as it lays the foundation for understanding the mechanics of your motorcycle, ensuring that every tweak and adjustment you make is informed and precise.
Dive Into Forums
Have a discussion with a forum community dedicated to Harley Davidson enthusiasts. It’s a treasure trove of information where you can:
- Ask specific questions and get answers from forums top contributors like experienced riders and mechanics
- Have a discussion about your own experiences and learn from others, enriching the knowledge within the forum community
Look for Related Threads
Within these forums, focus on related threads about torque specifications. A related thread will often contain:
- Practical tips and tricks from fellow Harley enthusiasts
- Real-world insights that complement what you find in the service manual
- Updates and additional information not covered in your manual
Finding torque details doesn’t have to be a solo ride. By tapping into the knowledge of a forum community dedicated to Harley Davidson bikes, especially posts from forums top contributors, you’re joining a band of riders who share your passion, all from the comfort of your home computer.
Torque Specifications: Troubleshooting Common Issues
When working on your Harley-Davidson, getting the torque just right is key to avoiding issues. Here are some methods for troubleshooting common torque-related problems:
- Over-Torquing Fasteners: Too much torque can damage threads or warp parts. Always use a calibrated torque wrench for precision. Steer clear of impact wrenches for tasks needing exact torque, as they can lead to uneven application.
- Under-Torquing Fasteners: Not enough torque and parts might start loosening, causing vibrations or rattles, and eventually leading to component failure. Double-check your torque wrench settings for accuracy before you start wrenching.
- Using Thread Lockers: These can help keep fasteners secure against vibrations. Choose the right strength for your task. But go easy – too much thread locker and you might struggle to get that bolt off later.
- Handling Gasket Surfaces: Proper torque sequences and values are crucial here. Uneven or too much torque can bust a gasket, leading to leaks or pressure problems. Make sure the surface is spotless before laying down a new gasket.
- Torquing Critical Components: This is where getting it wrong can mean big trouble. Incorrect torque on engine bolts or suspension parts can deform them, messing up your ride or worse. Stick to the manufacturer’s guidelines for the right torque values and procedures.
The Essential Tools List For Measuring Torque
When wrenching on your Harley motorcycle, it’s important to have the right tools for measuring torque. Here’s a rundown of the must-have tools for torque measurement:
- Torque Wrench: This is your go-to tool for nailing the right torque. You’ve got options like click-type and digital. Click-types let you know when you’ve hit the mark with a click sound, while digital ones give you a precise reading on a screen.
- Digital Torque Adapters: These handy gadgets turn your regular breaker bar or ratchet into a torque wrench. They’re great for precision, offering exact measurements in different units – a real asset for a range of torque tasks.
- Extending Handles: Sometimes, you need a bit more oomph on those fasteners. Extending handles give you that extra leverage to reach the torque you need without breaking a sweat.
- Torque Angle Gauge: For fasteners where it’s all about the angle, a torque angle gauge is a lifesaver. It helps you get the exact angle for accurate torque after you’ve applied the initial torque value.
- Thread Locker: To keep bolts from loosening from vibrations, a dab of thread locker on the threads is a smart move. It keeps the torque steady and ensures everything stays put.
And don’t forget – having a Harley Davidson torque specifications table, booklet, or manuals handy is key. These give you the exact torque values for every part of your motorcycle. With the right tools and info, keeping your Harley’s torque on point means a more efficient bike with better safety and reliability.
The Seasoned Wrench: For All Your Motoring Needs
Understanding your Harley torque specs is a key part of motorcycle maintenance, be it a Sportster or a Softail. Ensuring that each bolt and component is torqued to the manufacturer’s specifications is critical for the optimal efficiency and longevity of your Harley. As the saying goes, “Ride hard, wrench right!”
Here’s some more technical resources, and the torque specs below:
– The Ultimate Harley Davidson Tire Pressure Chart (PDF Guide)
– Unlock the Power of Harley Diagnostic Codes (PDF Included)
– The Ultimate Harley Davidson Tire Pressure Chart (PDF Guide)
– Harley Davidson Wiring Color Codes Completely Explained
– Harley Spark Plug Gap Chart: A Guide for Experienced Riders