Did you know that nearly 30% of golf cart issues stem from battery connection problems? If your golf cart won't go despite being fully charged, it's essential to pinpoint the exact issue before jumping to conclusions. Start by checking the battery connections and looking for corrosion, but that's just the tip of the iceberg. There are several other components that could be causing the problem, and understanding each one could save you time and frustration. Let's explore the steps you need to take to get your cart moving again.
Key Takeaways
- Inspect battery connections for corrosion and ensure they are securely attached; check voltage to confirm they are fully charged.
- Examine the solenoid for damage and listen for a clicking sound when pressing the accelerator to ensure it's functioning properly.
- Test the controller for error codes and measure its voltage output while accelerating to check for potential failures.
- Evaluate the motor by measuring resistance and checking for adequate voltage delivery when in gear to confirm operational integrity.
- Assess the throttle mechanism for obstructions and test the throttle switch for continuity to ensure proper communication with the motor.
Check the Battery Connections
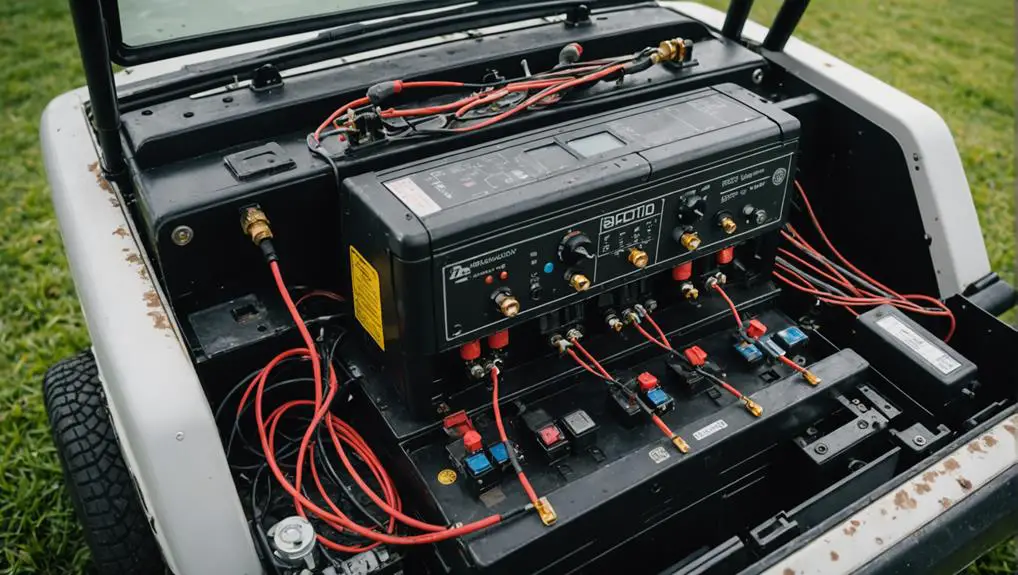
To begin diagnosing a golf cart that won't go, start by checking the battery connections. Verify the cart's power is off before you proceed.
First, locate the battery compartment; it's typically found under the seat or in the rear. Inspect each battery terminal for corrosion, which can hinder electrical flow. If you see any buildup, use a wire brush and a solution of baking soda and water to clean it off.
Next, check that the terminals are securely attached. Loose connections can lead to intermittent power loss. Use a wrench to tighten any loose bolts, but avoid over-tightening, as this can damage the battery posts.
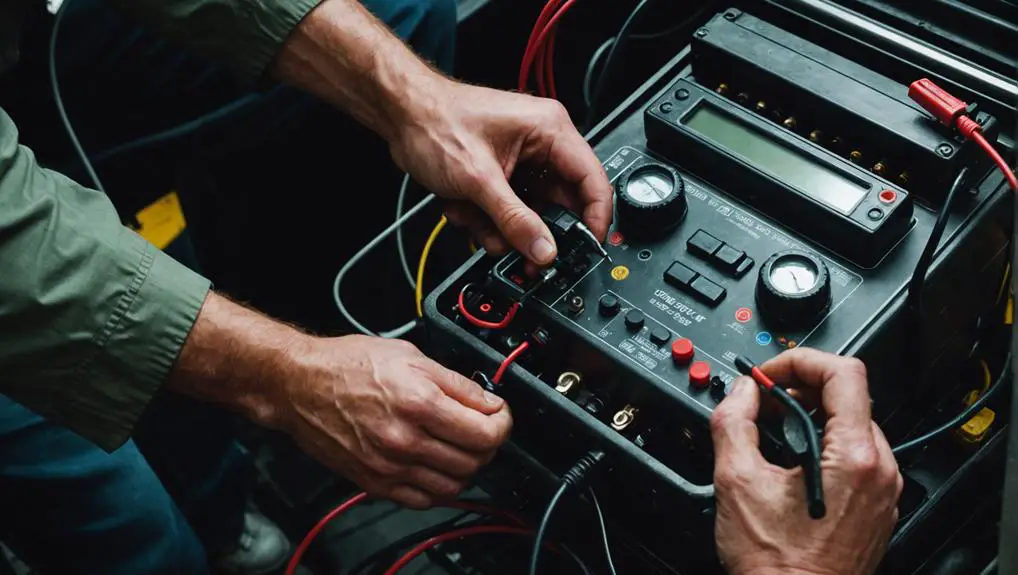
Once you've confirmed that the connections are clean and tight, test the voltage of each battery using a multimeter. Each battery should read around 12.6 volts if fully charged. If not, you might need to replace the battery.
Lastly, confirm that the cables leading from the batteries to the motor are in good condition, free of frays or breaks.
Inspect the Solenoid
The solenoid acts as a critical relay in your golf cart's electrical system, controlling the flow of power from the batteries to the motor. When your cart won't go, inspecting the solenoid is vital.
Begin by locating the solenoid, typically situated near the battery pack. Visually examine the unit for any signs of damage, such as cracks or burnt areas.
Next, check the connections to ascertain they're tight and free from corrosion. Loose or corroded connections can prevent the solenoid from functioning properly. You'll also want to listen for a clicking sound when you press the accelerator; no sound indicates the solenoid might be faulty.
Here are key aspects to evaluate when inspecting the solenoid:
- Confirm the solenoid clicks when activated.
- Look for burnt or discolored terminals.
- Inspect wiring for wear or damage.
- Verify the solenoid's voltage rating matches your system.
- Confirm proper grounding to reduce potential issues.
If you identify any discrepancies, replacing the solenoid could be necessary to restore functionality to your golf cart.
Always consult your manual for specific instructions related to your model.
Test the Motor
After ensuring the solenoid is functioning properly, testing the motor is the next essential step in diagnosing why your golf cart won't go.
Start by disconnecting the motor wires to prevent any accidental shorts. Use a multimeter to check the motor's resistance. Set the multimeter to the ohm setting and measure the resistance between the motor terminals. It should read between 1 to 20 ohms for a good motor. If it shows infinite resistance, the motor's windings may be damaged.
Next, inspect the motor for any visible signs of wear or damage, such as burnt brushes or a cracked casing.
If everything looks intact, reconnect the motor and perform a voltage test while the cart is in gear. The multimeter should read near the battery voltage when you press the accelerator. If it doesn't, the motor mightn't be receiving adequate power.
Examine the Controller
Inspecting the controller is essential when diagnosing a golf cart that won't go. The controller acts as the brain of your golf cart, regulating power delivery to the motor based on the accelerator input. If it's malfunctioning, your cart may not respond even if the battery is fully charged.
Here's how to systematically examine the controller:
- Check for error codes: Many modern controllers have LED indicators that display error codes. Refer to your manual for troubleshooting.
- Inspect connections: Verify all wires and connectors to the controller are secure and free of corrosion. Loose or damaged connections can disrupt communication.
- Test the controller output: Use a multimeter to measure voltage output from the controller when you press the accelerator. A lack of voltage indicates a possible controller failure.
- Examine thermal condition: Overheating can cause the controller to shut down. Feel for excessive heat and check for cooling fans if applicable.
- Review firmware updates: If your controller has software, verify it's updated. Outdated firmware can lead to performance issues.
Look for Wiring Issues
One common cause of a golf cart not moving is wiring issues, which can arise from wear, corrosion, or accidental damage. Start by inspecting the battery connections. Verify they're tight and free from corrosion.
Look for any frayed or exposed wires leading from the batteries to the controller, as these can interrupt the flow of electricity.
Next, check the wiring harness that connects the controller to the motor. Look for any signs of damage or loose connections. Pay particular attention to the connectors; a poor connection here can lead to failure in getting power to the motor.
Don't forget to examine the ground wires, as a faulty ground can cause the cart to malfunction. Use a multimeter to check for continuity in the wires; if you find any breaks, it's time to replace those segments.
Evaluate the Throttle Mechanism
If wiring issues haven't revealed the problem, the throttle mechanism is the next component to examine.
Start by checking the throttle pedal for any physical obstructions or damage. A malfunctioning throttle can prevent your cart from receiving the necessary signals to move.
Next, inspect the throttle cable for fraying or wear and ascertain it's properly connected.
You should also test the throttle switch for continuity. Use a multimeter to confirm that the switch is functioning correctly when the pedal is pressed. If the switch fails, it'll need replacement.
Additionally, evaluate the position sensor, as a faulty sensor can miscommunicate the pedal's position to the controller.
Here are some key points to remember:
- Ascertain the throttle pedal isn't stuck or obstructed.
- Check the throttle cable for damage or misalignment.
- Test the throttle switch with a multimeter.
- Inspect the position sensor for accurate readings.
- Look for any loose connections in the throttle circuit.
Assess the Brake System
Your golf cart's brake system plays an essential role in its overall functionality and safety, so it's important to assess it thoroughly.
Start by inspecting the brake pedal. Make sure it feels firm when pressed; a spongy or soft pedal could indicate air in the brake lines or a fluid leak.
Next, check the brake fluid level in the reservoir. If it's low, it may signal a leak in the system, requiring immediate attention.
Examine the brake components, including the pads and drums, for wear and tear. Look for any signs of uneven wear, which might suggest an alignment issue.
If your cart uses disc brakes, inspect the rotors for warping or scoring, as these can impede braking performance.
Additionally, assess the brake cables for fraying or corrosion. If they're damaged, it could lead to insufficient braking force.
Don't forget to check the brake switches, especially if your cart has a parking brake or regenerative braking system. A malfunctioning switch can prevent the cart from moving, even if it's fully charged.
If you find any issues, address them before further troubleshooting.
Review Maintenance Records
To effectively diagnose why your golf cart won't go, reviewing maintenance records is essential. These records provide a thorough history of your cart's performance and service, which can highlight potential issues. Focus on any irregularities or patterns that may indicate a deeper problem.
- Check for battery replacements or servicing dates; old batteries can create performance issues.
- Look for records of electrical component repairs; faulty wiring or connections may cause power loss.
- Review the maintenance of the motor; any service delays could affect functionality.
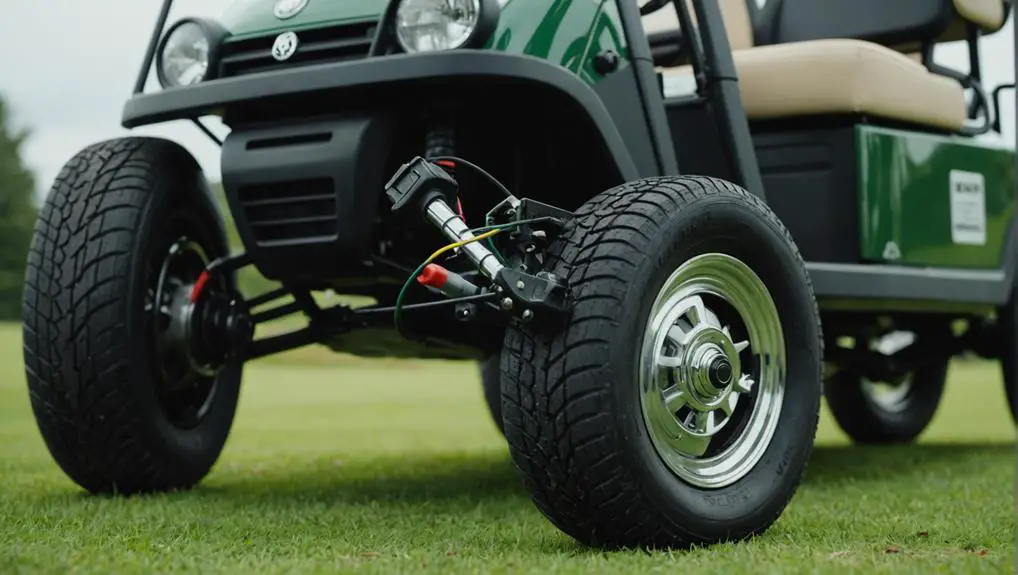
- Examine tire maintenance logs; under-inflated or damaged tires can hinder movement.
- Assess the frequency of brake adjustments; overly tight brakes can prevent movement.
Frequently Asked Questions
Can a Faulty Key Switch Prevent My Golf Cart From Moving?
Yes, a faulty key switch can definitely prevent your golf cart from moving.
If the switch isn't functioning properly, it mightn't send the necessary signal to the cart's electrical system, disrupting the power flow.
First, check for continuity with a multimeter. If there's no continuity, the switch is likely defective.
Replacing it could restore functionality.
Always verify you follow safety precautions when working with electrical components.
How Can Weather Conditions Affect My Golf Cart's Performance?
Weather conditions can greatly impact your golf cart's performance.
Cold temperatures can cause battery efficiency to drop, reducing power output. Moisture can lead to corrosion on electrical components, affecting connections and performance. High humidity may increase the risk of electrical shorts.
Extreme heat can overheat the motor or batteries, resulting in diminished capability.
Regularly inspect your cart and consider storing it in a climate-controlled environment to mitigate these effects.
Are There Any Specific Tools Needed for Diagnosing My Golf Cart?
To diagnose your golf cart effectively, you'll need a few specific tools. A multimeter is essential for checking voltage and continuity in the electrical system.
You should also have a basic toolkit with wrenches and screwdrivers for any mechanical adjustments. A battery tester can help confirm the health of your batteries.
What Signs Indicate That the Battery Needs Replacement Despite Being Charged?
When your battery needs replacement, you'll notice several signs.
First, check for a notably reduced runtime; if your cart runs for much shorter periods than usual, it's a red flag.
Next, listen for unusual clicking sounds when attempting to start.
Also, inspect for corrosion on terminals or a swollen battery case.
How Often Should I Perform Maintenance to Prevent Issues Like This?
You should perform maintenance on your golf cart at least twice a year.
Regularly check the battery connections for corrosion and guarantee they're tight. Inspect the tires for proper inflation and wear. Lubricate moving parts and clean the terminals.
Additionally, examine the brakes and electrical system. By staying proactive with these tasks, you'll prevent issues and extend the lifespan of your cart, guaranteeing it runs smoothly when you need it most.
Conclusion
In diagnosing your golf cart, think of each component as a note in a symphony; when one falters, the harmony breaks. By meticulously checking the battery connections, solenoid, motor, and other key elements, you can uncover the root of the problem. Don't overlook the wiring and throttle mechanism, as they often hide the smallest yet most significant issues. With patience and methodical inspection, you'll get your cart humming along the fairway once more.