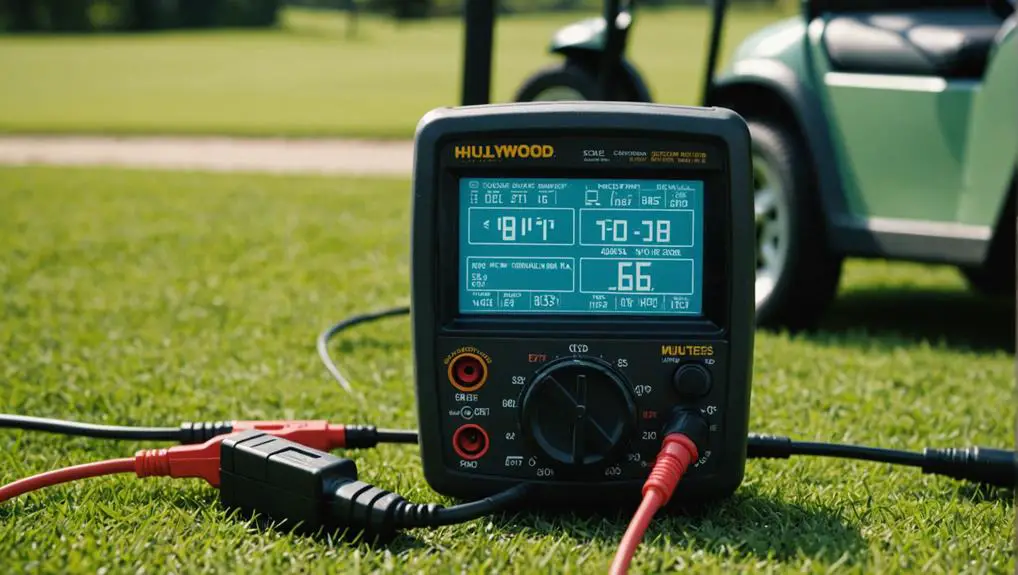
Did you know that nearly 30% of golf cart battery issues stem from charger malfunctions? If you own a golf cart, understanding how to test your charger with a multimeter can save you time and money. You'll need to gather the right tools and follow a systematic approach to make accurate measurements. But what steps do you actually need to take to guarantee your charger is functioning properly? Let's explore the five essential steps to help you troubleshoot effectively.
Key Takeaways
- Gather necessary tools including a digital multimeter, safety gear, and insulated tools for testing the charger safely.
- Set up the multimeter by selecting "DC Voltage" mode and the appropriate voltage range above the charger's specifications.
- Measure the voltage output by connecting probes to the charger's positive and negative terminals, expecting a reading between 36 to 48 volts.
- Check for continuity by ensuring the charger is unplugged, then testing connections and internal components with the multimeter's continuity setting.
- Interpret test results by analyzing voltage readings, resistance values, and charging times to diagnose potential charger issues.
Gather Your Tools
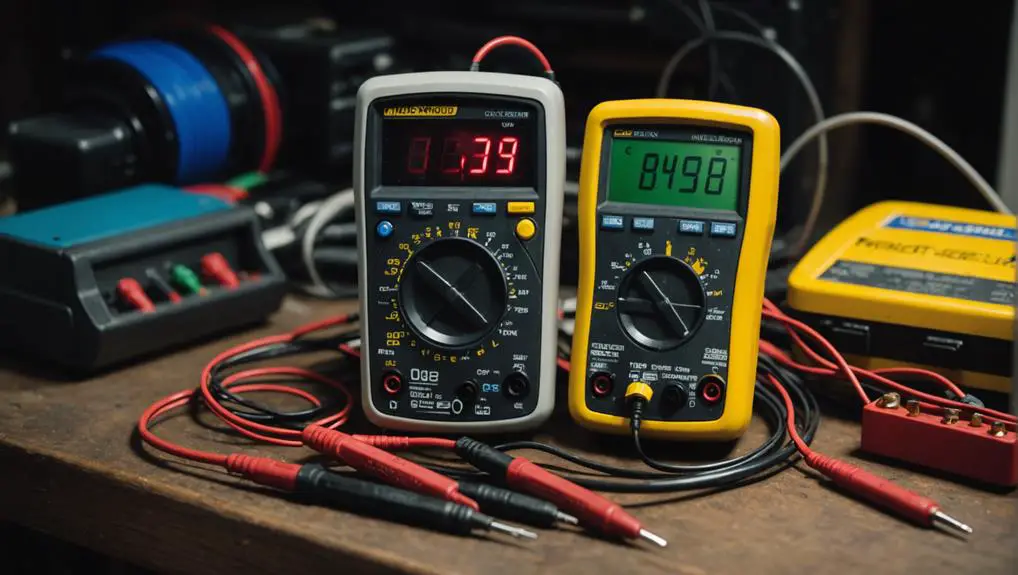
Before you begin testing your golf cart charger, it's vital to gather the right tools. You'll need a digital multimeter, which will allow you to measure voltage accurately. Verify the multimeter has a setting for DC voltage, as golf cart chargers typically operate on direct current.
Additionally, gather safety gear, including gloves and safety goggles, to protect yourself during the process. A set of insulated tools can also come in handy for any adjustments or repairs you might need to make.
It's wise to have a notebook and pen ready for jotting down measurements and observations. This will help you track any discrepancies or issues with the charger.
Lastly, consider having a clean, well-lit workspace where you can comfortably work on the charger. This environment will help minimize errors and enhance your focus on the task at hand.
Set Up the Multimeter
Setting up the multimeter accurately is essential for obtaining reliable measurements from your golf cart charger.
Begin by verifying the multimeter is turned off before making any adjustments. Locate the dial on the multimeter and set it to the appropriate mode. For measuring voltage, select the "DC Voltage" setting, usually indicated by a "V" with a straight line and dotted line beneath it.
Next, choose the correct voltage range. If your charger operates at 12 volts, for example, set the multimeter to a range higher than 12 volts to avoid damaging the device. If your multimeter has an auto-ranging feature, you can skip this step.
Once the mode and range are set, inspect the probes. Verify they're in good condition, with no exposed wiring or damage.
Connect the black probe to the COM port and the red probe to the VΩmA port.
Measure Voltage Output

With the multimeter properly set up, you're ready to measure the voltage output of your golf cart charger. First, verify that the charger is plugged in and turned on. Locate the positive and negative terminals on the charger—these are usually marked with a plus (+) and minus (-) sign.
Next, take the multimeter probes: the red probe connects to the positive terminal, while the black probe goes to the negative terminal. Confirm you have a firm connection to avoid any inaccurate readings.
Now, observe the multimeter display. You should see a voltage reading that typically ranges between 36 to 48 volts for most golf cart chargers. If the voltage is notably lower than this range, it indicates that your charger may be malfunctioning.
Additionally, you may want to compare the reading to the charger specifications, which you can usually find in the manual or on the manufacturer's website. This step helps confirm whether the charger is operating within its intended parameters.
Once you've recorded the voltage output, detach the probes carefully to avoid any short circuits.
Check for Continuity
To guarantee your golf cart charger is functioning properly, checking for continuity is essential. This process helps identify any breaks in the wiring or faulty components that could hinder your charger's performance.
Begin by confirming the charger is powered off and unplugged from the outlet. Set your multimeter to the continuity setting, which is often indicated by a diode symbol or a sound wave icon.
Next, take one probe and connect it to the positive terminal of the charger. Then, touch the other probe to the positive wire leading away from the terminal. If the multimeter beeps or shows a low resistance value, you have continuity, indicating a good connection.
Repeat this process for the negative terminal and wire.
You should also check continuity across internal components, like fuses or diodes, if accessible. For each test, confirm you touch the probes securely to avoid false readings.
If you encounter a lack of continuity, this suggests a disconnect or failure in the wiring or components. Identifying these issues early can prevent further damage to your golf cart charger, confirming it remains reliable for your needs.
Interpret Test Results

After checking for continuity, it's important to interpret the test results accurately. Understanding what your multimeter readings mean helps you diagnose issues with your golf cart charger effectively. Here's how to make sense of the data you've gathered:
- Voltage Readings: If your voltage is notably lower than the expected range, it indicates a potential problem with the charger. A fully functional charger should typically output between 36V to 48V, depending on your system.
- Resistance Values: High resistance readings may suggest faulty connections or damaged components. Ideally, you want low resistance in the charging circuit.
- Current Output: If your multimeter shows little to no current output when charging, the charger could be defective. You should see a current flow consistent with the charger's specifications.
- Charging Time: If your charger takes longer than expected to charge the batteries, it may not be functioning correctly.
Frequently Asked Questions
What Type of Multimeter Is Best for Testing Golf Cart Chargers?
When testing golf cart chargers, a digital multimeter is your best option. It offers clear, accurate readings and can measure voltage, current, and resistance effectively.
Look for a multimeter with a minimum voltage range of 0-20 volts to accommodate typical golf cart charger output. Additionally, verify it has a reliable continuity test feature for diagnosing electrical issues.
Investing in a quality digital multimeter will enhance your ability to troubleshoot and maintain your golf cart charger.
Can I Test the Charger While It's Still Connected to the Cart?
You can test the charger while it's still connected to the cart, but it's important to proceed with caution.
Verify the charger's power is on and use the multimeter to measure the output voltage at the charger's terminals. This approach allows you to confirm the charger's functionality without disconnecting it.
However, if you encounter irregular readings, it's wise to disconnect the charger for further testing and safety.
How Often Should I Test My Golf Cart Charger?
You should test your golf cart charger regularly to keep it humming like a well-tuned engine.
Aim for at least once a month, or more often if you notice performance dips or irregular charging patterns.
Regular checks help catch issues early, preventing potential breakdowns and ensuring your ride's always ready to roll.
What Are Common Signs of a Faulty Golf Cart Charger?
Common signs of a faulty golf cart charger include unusual noises during operation, failure to charge the batteries, or an inconsistent charging cycle.
You might notice the charger overheating or displaying error lights, which indicates a problem.
Additionally, if the charger's power indicator doesn't light up when plugged in, that's a clear sign something's wrong.
Regularly monitoring these symptoms can help you identify issues early and prevent further damage to your golf cart.
Is It Safe to Test Chargers Without Disconnecting the Battery?
You're standing by your golf cart, feeling the electric hum of the charger. Testing it without disconnecting the battery can be risky.
When you probe the connections, you face potential sparks or shorts, which could damage the charger or battery. It's safer to disconnect the battery first.
This simple step protects your equipment and guarantees accurate readings. Always prioritize safety to avoid unexpected hazards while you troubleshoot your charger.
Conclusion
In summary, testing your golf cart charger with a multimeter is straightforward and essential for maintaining peak performance. Did you know that a well-functioning charger can extend your battery life by up to 30%? By regularly checking voltage output and continuity, you can prevent costly repairs and guarantee your golf cart remains reliable on the course. Stay proactive, and you'll enjoy a better golfing experience while maximizing the lifespan of your equipment.