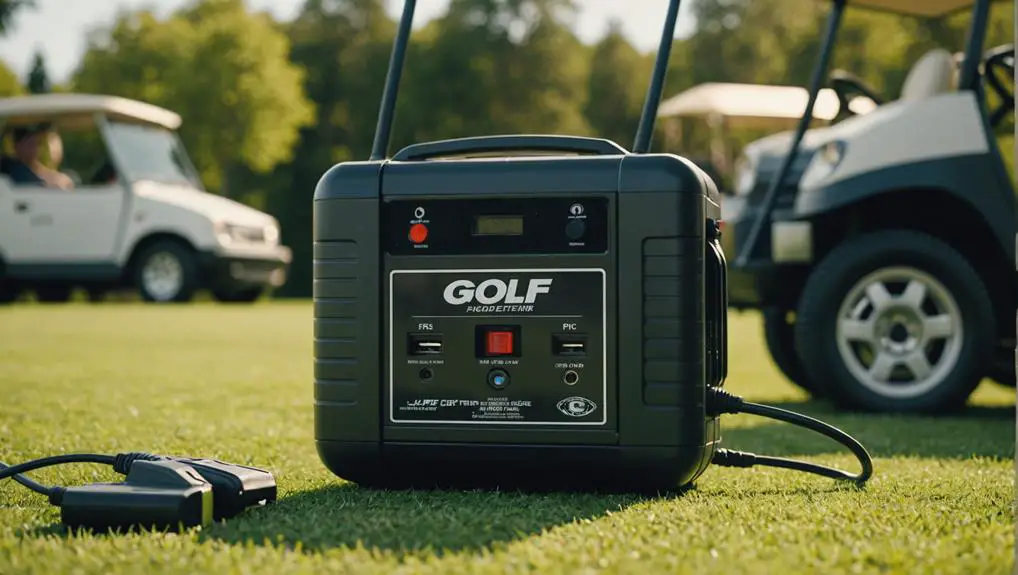
Think of your golf cart battery charger as the heart of your vehicle, pumping energy into its performance. You might not realize how important it is to verify it's functioning properly. By following a few straightforward steps, you can uncover potential issues lurking beneath the surface. From gathering the right tools to monitoring the charging process, each step plays a significant role in maintaining your charger's health. So, what are the specific actions you need to take to assure your charger is up to the task? Let's explore the essential steps together.
Key Takeaways
- Gather essential tools like a multimeter, insulated screwdrivers, safety gloves, and goggles for safe testing.
- Inspect the charger for visible damage, including the power cord, plug, and charging port cleanliness.
- Verify the power source by testing the outlet with another device and ensuring secure connections.
- Check charger settings to confirm voltage matches the battery and that the correct charge mode is selected.
- Test battery voltage using a multimeter to determine its charge level and ensure proper functioning during the charging process.
Gather Necessary Tools
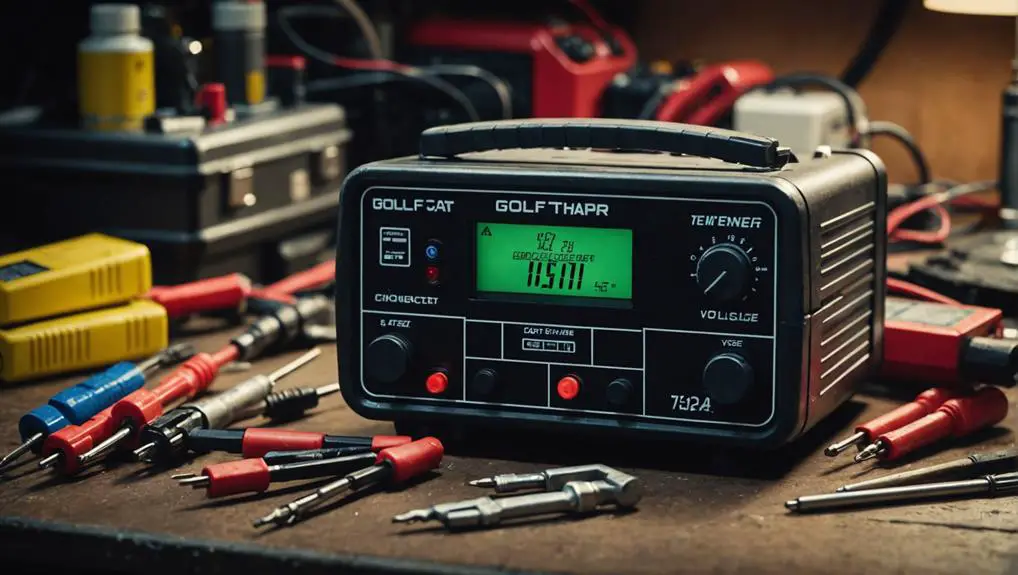
Before you begin testing your golf cart battery charger, it's essential to gather the necessary tools. First, you'll need a multimeter, which is important for measuring voltage and current. Confirm it's functioning properly before you start.
Next, have a set of insulated screwdrivers on hand; these will allow you to safely access the charger's terminals without risk of electric shock. You'll also require a pair of safety gloves and goggles. Protecting yourself is critical, especially when working with electrical components.
Additionally, keep a clean cloth or paper towel nearby for wiping down any connections or terminals that may have corrosion. Lastly, consider having a battery load tester available, as this tool can help you evaluate the battery's condition once you've checked the charger.
Once you've assembled these tools, you'll be well-prepared to conduct a thorough test of your golf cart battery charger. Having the right equipment not only guarantees accuracy but also enhances safety during the testing process.
Inspect the Charger for Damage
Before testing your golf cart battery charger, you need to inspect it for any visible damage.
Start by checking the power cord for frays or cuts, then examine the plug for signs of wear.
Check Power Cord Integrity
Inspecting the power cord of your golf cart battery charger is essential for guaranteeing safe and efficient operation. Start by visually examining the entire length of the cord for any signs of wear, fraying, or cuts. These defects can lead to dangerous electrical shorts or complete charger failure. If you notice any damage, it's important to replace the power cord before proceeding to use the charger.
Next, check the connections at both ends of the cord. Verify that the terminals are securely attached and free from corrosion. Loose connections can impede power flow, resulting in inadequate charging. If the terminals appear corroded, clean them gently with a wire brush or contact cleaner to restore conductivity.
Additionally, you'll want to verify that the power cord is properly rated for the voltage and amperage required by your charger. Using an under-rated cord can lead to overheating and potential fire hazards.
Examine Plug Condition
After verifying the power cord is in good condition, turn your attention to the plug of the charger. Inspect the plug for any visible signs of damage, such as cracks, frayed wires, or burn marks. These indicators can suggest overheating or electrical shorts, which could compromise the charger's functionality and pose safety risks.
Next, check that the prongs are intact and straight. Bent or missing prongs can prevent a secure connection, affecting charging efficiency. If the plug has a grounding pin, confirm it's present and functional; this is essential for safety.
Also, look for discoloration or melting around the plug, which can indicate overheating. If you notice any irregularities, it's best to replace the charger rather than risk further damage or hazards.
Inspect Charging Port Cleanliness
Maintaining a clean charging port is essential for ensuring proper electrical connections and efficient charging. A dirty or obstructed charging port can lead to poor performance, overheating, or even damage to your battery and charger.
Here's how to inspect and clean your charging port effectively:
- Visual Inspection: Check for any visible dirt, debris, or corrosion within the port. Look closely at the metal contacts for discoloration or build-up.
- Use Compressed Air: Gently blow out any dust or debris using a can of compressed air. This helps clear out particles that might impede the connection.
- Cleaning Solution: If you notice corrosion, use a cotton swab lightly moistened with isopropyl alcohol to clean the contacts. Avoid excessive moisture, as it can cause further issues.
After you've completed these steps, allow the port to dry completely before reinserting the charger.
Regularly inspecting and cleaning your charging port won't only enhance performance but also extend the lifespan of both your charger and battery. Prioritize this maintenance to keep your golf cart running smoothly.
Check Power Source Connection
Ascertaining a reliable power source connection is essential for the best functioning of your golf cart battery charger.
Start by examining the outlet where your charger is plugged in. Make sure it's functioning properly by plugging in another device. If the device doesn't work, you may need to check your circuit breaker or replace the outlet.
Next, inspect the power cable of the charger. Look for any signs of damage, such as fraying or exposed wires. A damaged cable can disrupt the power flow, leading to insufficient charging. If you find any issues, replace the cable immediately.
After confirming that the outlet and cable are in good condition, ascertain that the charger is securely connected to the outlet.
Loose connections can lead to intermittent power supply, which affects charging efficiency. Firmly plug the charger into the outlet, ensuring no obstructions.
Verify Charger Settings
When you're ready to charge your golf cart, it's crucial to verify the charger settings to guarantee peak performance. Proper settings guarantee your battery receives the correct voltage and current, extending its lifespan and improving efficiency.
Here's how to get started:
- Check the Voltage Rating: Verify the charger matches your battery's voltage—typically 36V or 48V. Using an incompatible charger can damage the battery.
- Confirm Charge Mode: Many chargers have multiple modes, such as standard or maintenance. Select the appropriate mode based on your battery type. Refer to the user manual for guidance.
- Inspect the Timer Settings: If your charger has a timer feature, set it according to the manufacturer's recommendations. Overcharging can lead to battery overheating and reduced performance.
Test the Battery Voltage
To test the battery voltage, you'll need a multimeter or voltmeter, so gather these tools first.
Next, measure the voltage output by connecting the device to the battery terminals.
Once you have the readings, interpret them to verify the battery is functioning within the proper voltage range.
Gather Necessary Tools
Gathering the necessary tools is vital for accurately testing your golf cart battery's voltage. Without the right equipment, you mightn't get a clear picture of your battery's health or performance. Here's what you need to prepare:
- Digital Multimeter: This device measures voltage, current, and resistance. It's essential for obtaining precise voltage readings from your battery.
- Safety Goggles: Protect your eyes from any potential splashes or sparks while working with batteries.
- Gloves: Wearing gloves helps prevent any acid contact and protects your hands from potential battery corrosion.
Once you have these tools, you're ready to move forward with the testing process.
Verify your multimeter is functioning correctly before you start. Check the battery connections for any corrosion, as this can affect your readings.
Remember to handle all tools and the battery with care. Proper preparation will lead to accurate results, allowing you to assess the battery's voltage effectively.
When you're equipped with these tools, you'll be well-prepared for the next steps in testing your golf cart battery charger.
Measure Voltage Output
With your tools ready, it's time to measure the voltage output of your golf cart battery.
Start by verifying your multimeter is set to the DC voltage setting. This is essential, as using the wrong setting can lead to inaccurate readings.
Next, connect the multimeter probes to the battery terminals. Place the red probe on the positive terminal and the black probe on the negative terminal. Confirm you have a solid connection for an accurate reading.
Once you've connected the probes, take note of the voltage displayed on the multimeter. Ideally, a fully charged golf cart battery should read around 12.6 volts or higher. If your reading is markedly lower, it may indicate that your battery is undercharged or faulty.
After recording the voltage, disconnect the probes carefully to avoid any short circuits. Remember to turn off your multimeter to preserve battery life.
This measurement is vital for evaluating the health of your battery and determining if your charger is functioning properly. Regular voltage checks can help you maintain peak performance and extend the life of your golf cart battery.
Interpret Voltage Readings
Interpreting voltage readings accurately is essential for evaluating your golf cart battery's condition. By understanding these readings, you can determine whether your charger is functioning properly and if the battery needs attention.
Here are three key voltage thresholds to keep in mind:
- Fully Charged: A healthy, fully charged battery typically reads between 12.6 to 12.8 volts.
- Partially Charged: If your reading is between 12.4 to 12.5 volts, your battery is partially charged and may benefit from a charging cycle.
- Discharged: A reading below 12.0 volts indicates a discharged battery, which requires immediate charging to prevent damage.
To interpret the readings effectively, verify your multimeter is properly connected to the battery terminals. A reading notably below the normal range suggests that the battery might be aging or failing.
Regularly checking voltage levels helps you maintain your golf cart's performance and extend the battery's lifespan. If you consistently find low readings, consider consulting a professional to assess the charger and battery system.
This proactive approach can save you from unexpected failures on the course.
Measure Output Voltage
To guarantee your golf cart battery charger is functioning correctly, measuring the output voltage is essential.
Begin by disconnecting the charger from the power source and the battery. Use a digital multimeter, which provides accurate readings. Set the multimeter to the appropriate voltage range, typically over 20 volts for most chargers.
Next, locate the charger's output terminals. These are generally marked as positive (+) and negative (−). Connect the multimeter's red probe to the positive terminal and the black probe to the negative terminal. Verify your connections are secure to prevent erroneous readings.
Once connected, plug the charger back into the wall outlet while keeping an eye on the multimeter display. You should see a voltage reading that matches the charger's specifications, usually around 36 volts for a 36-volt system or 48 volts for a 48-volt system.
If the output voltage is considerably lower than expected, your charger may be malfunctioning, requiring further inspection or repair.
Monitor Charging Time
To guarantee ideal charging duration, you need to monitor how long your golf cart battery charger is running.
Watch for signs of overcharging, such as excessive heat or a decrease in performance, which can indicate that the battery isn't receiving the appropriate charge.
Keeping track of these factors will help maintain your battery's lifespan and efficiency.
Optimal Charging Duration
Monitoring charging time is essential for guaranteeing the longevity and performance of your golf cart's battery. Properly managing how long you charge your battery can prevent issues and extend its lifespan.
Here are three critical factors to take into account when determining ideal charging duration:
- Battery Type: Different battery types, such as lead-acid or lithium-ion, have varying charging requirements. Consult your battery's manual for specific recommendations.
- Charger Specifications: Check the charger's output voltage and amperage. A charger with higher amperage may charge your battery faster, but you need to verify it's compatible with your specific battery type.
- State of Charge: Regularly assess your battery's state of charge (SOC). Most golf cart batteries should be charged when they drop to about 20-30% capacity to avoid damage.
Signs of Overcharging
Overcharging can greatly damage your golf cart battery, leading to reduced performance and a shorter lifespan. To prevent this, you need to monitor the charging time closely. Each battery type has a specific charging duration, generally ranging from 6 to 8 hours. If you notice your charger running longer than this, it may indicate overcharging.
You should also be aware of the signs of overcharging. Excessive heat is a primary indicator; if your batteries feel hot to the touch, it's a red flag. Additionally, if you observe bulging or swelling in the battery casing, this can signify internal damage caused by overcharging.
Another sign is a significant drop in performance; if your cart isn't holding a charge or runs out of power quickly, it may be due to previous overcharging episodes.
Listen for Unusual Noises
While charging your golf cart battery, it's essential to listen for unusual noises that may indicate underlying issues.
These sounds can provide important clues about the condition of your battery charger and the overall health of the charging system. Here are three specific noises to be aware of:
- Buzzing or Humming: A constant buzzing or humming sound can suggest that the charger is working harder than it should be, potentially indicating an internal fault or an overload condition.
- Clicking or Ticking: If you hear intermittent clicking or ticking noises, this may signal that the charger is cycling on and off repeatedly. This could be due to a defective component or a connection issue.
- Fizzling or Popping: Any fizzling or popping noises should raise immediate concern. This can indicate gas release from the battery or even overheating, which can be dangerous.
Assess Indicator Lights

When evaluating your golf cart battery charger's performance, pay close attention to the indicator lights. These lights serve as essential signals for the charger's operational status. Typically, a green light indicates that the charger is functioning correctly and the batteries are fully charged.
If the light is red or flashing, this could signify a problem, such as an overcurrent condition or that the batteries aren't charging properly.
Make certain you're familiar with your specific charger's indicator light meanings, as they can vary by model. Consult the user manual for detailed information.
If you notice an unusual light pattern, turn off the charger immediately to prevent potential damage to the batteries.
Additionally, check for any other warning lights that may indicate issues like overheating or connection faults. If your charger has a digital display, take note of any error codes, as these can help diagnose the problem.
Remember, before troubleshooting further, always verify the charger is unplugged to avoid electric shock.
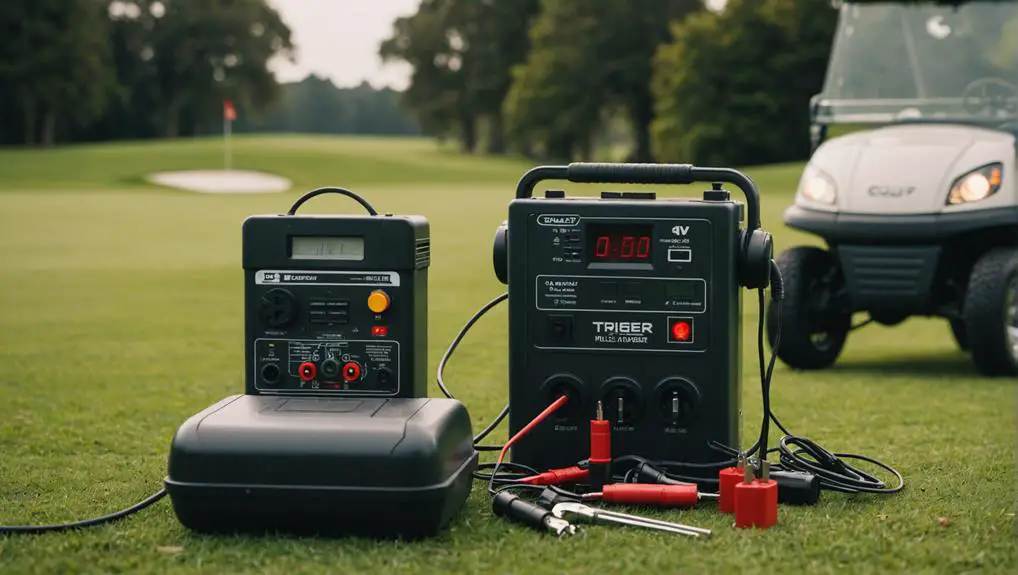
Perform a Load Test
Once you've assessed the indicator lights on your golf cart battery charger, it's important to perform a load test to evaluate the batteries' actual performance under typical operating conditions.
This test simulates real-world usage and helps identify any issues affecting your batteries.
Here are the steps to conduct a load test:
- Gather Equipment: You'll need a load tester specifically designed for golf cart batteries. Confirm it's rated for the voltage of your battery system.
- Connect the Load Tester: Securely attach the load tester's clamps to the battery terminals—positive to positive and negative to negative. Make sure the connections are tight to avoid inaccurate readings.
- Perform the Test: Activate the load tester according to the manufacturer's instructions.
Typically, you should apply a load equal to half the battery's CCA (Cold Cranking Amps) rating for 15 seconds, then observe the voltage reading.
A healthy battery should maintain above 12.0 volts under load.
Frequently Asked Questions
How Often Should I Test My Golf Cart Battery Charger?
You should test your golf cart battery charger regularly to guarantee it's functioning properly. Ideally, check it every few months or before the start of the golf season.
If you notice any performance issues with your cart or if the charger becomes unusually hot, test it immediately. Consistent testing helps you identify potential problems early, securing peak performance and extending the lifespan of both your charger and batteries.
Regular maintenance is key to reliability.
What Are Common Signs of a Failing Battery Charger?
About 25% of battery charger failures occur due to overheating.
You'll notice common signs like the charger not powering on, excessive heat during operation, or inconsistent charging cycles.
If you see a decrease in charge capacity or if the indicator lights are malfunctioning, it's time to investigate further.
Regularly checking these symptoms can save you from unexpected breakdowns and guarantee your golf cart remains reliable on the course.
Can I Use a Multimeter for This Test?
Yes, you can use a multimeter to test your battery charger.
Set the multimeter to the voltage setting and connect the probes to the charger's output terminals. If the reading matches the charger's specifications, it's functioning properly. If it's considerably lower, the charger may be failing.
Always verify the charger is unplugged when connecting the multimeter to avoid damage. This method provides a clear assessment of the charger's performance.
Is It Safe to Test the Charger While It's Plugged In?
It's generally not safe to test the charger while it's plugged in.
Doing so poses a risk of electric shock, damaging your equipment, or creating a short circuit. It's best to disconnect the charger from the power source before conducting any tests.
Always prioritize safety by ensuring the area is dry and using insulated tools.
Following these precautions helps protect both you and your charger during testing procedures.
What Should I Do if My Charger Is Under Warranty?
If your charger's under warranty, swiftly seek support from the manufacturer.
Start by scanning your warranty documents for specifics. Then, contact customer service to describe your situation clearly. Prepare to provide proof of purchase and details about the problem.
They might request you to return the charger for inspection. Stay patient and persistent—warranties exist to protect you, so take advantage of that assurance and guarantee your charger's functioning properly without hassle.
Conclusion
Testing your golf cart battery charger doesn't just confirm it works; it can reveal underlying issues that might affect performance. By following these 10 steps, you can guarantee your charger operates efficiently and prolongs your battery life. Remember, a well-maintained charger not only saves you money but also enhances your golf cart's reliability on the course. So, don't overlook this essential process—your next round could depend on it!