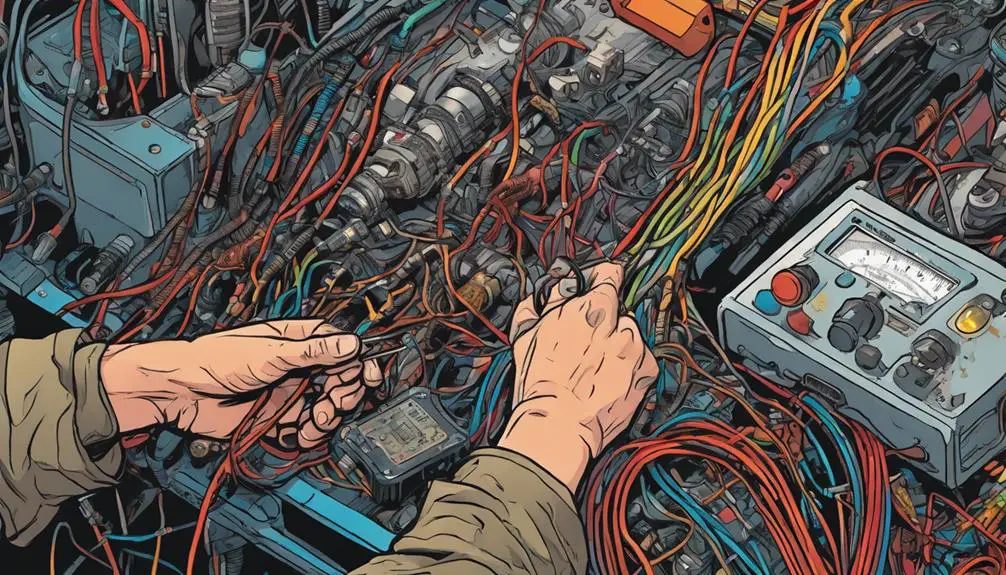
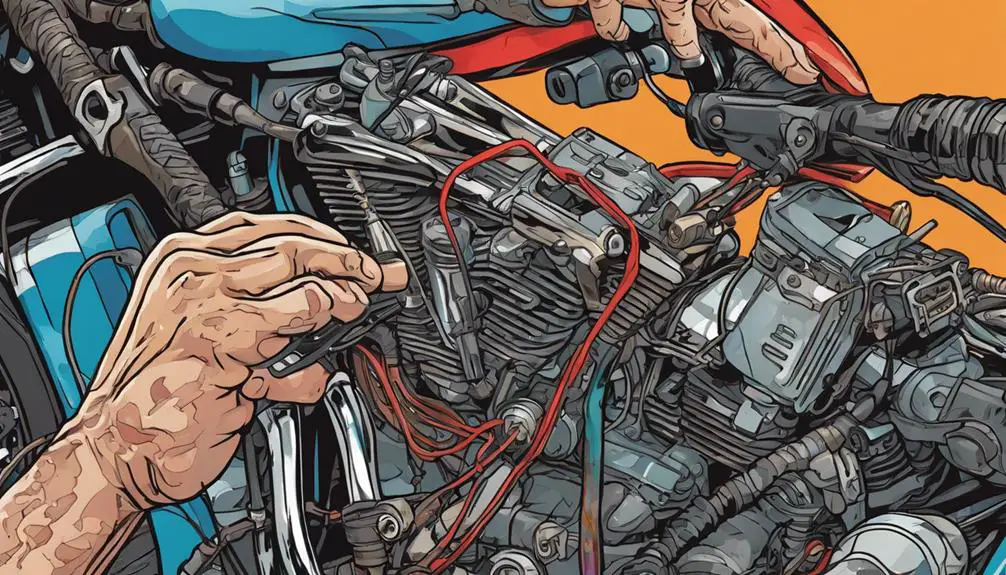
Inspecting wiring connections, testing electrical components, and replacing damaged wires are essential steps to tackle motorcycle wiring problems effectively. You might find that a simple loose terminal can cause significant issues, or that a faulty fuse is hiding in plain sight. Understanding how to address these common problems can save you time and frustration on the road. What's more, knowing the right tools and techniques can make all the difference in your repair efforts, ensuring your motorcycle runs smoothly and reliably. Discover how you can get started with these straightforward fixes.
Key Takeaways
- Inspect all wiring connections for frayed wires and loose terminals, ensuring they are secure to prevent electrical issues.
- Use a multimeter to test battery voltage and electrical components, confirming they are functioning properly.
- Replace any damaged wires by cutting away the affected sections and using new wire with secure connections.
- Clean corroded connectors to ensure optimal electrical flow and prevent future problems.
Inspecting Wiring Connections

When inspecting wiring connections on your motorcycle, make sure to check for any frayed wires or loose terminals that could cause electrical issues. These problems can lead to frustrating breakdowns or safety hazards on the open road.
Grab a flashlight and get a good look at each connection. Pay close attention to areas where vibrations might cause wear—like near the engine or under the seat.
Don't forget to examine the insulation around the wires. Any cracks or discoloration can signal trouble ahead. If you spot any damaged wires, it's essential to replace them before they fail completely.
Loose terminals can prevent your bike from starting or cause intermittent electrical issues, so be sure to tighten any connections that seem shaky.
Also, consider the type of connectors used. Corroded or dirty connectors can disrupt the flow of electricity, leading to performance issues. Cleaning them can make a world of difference.
Testing Electrical Components
To guarantee your motorcycle's electrical system is functioning properly, regularly test its components for any signs of malfunction.
Start with the battery—check the voltage using a multimeter. A healthy battery should read around 12.6 volts when fully charged. If it's lower, you might need to recharge or replace it.
Next, inspect the fuses. Pull them out and examine for any breaks or discoloration. If a fuse is blown, replace it with one of the same amperage to avoid further issues.
Moving on to the starter relay, use a multimeter to verify it's receiving power. If you don't hear a click when you press the start button, it could be faulty.
For the lights, test the bulbs and connectors. A simple visual inspection can reveal burnt-out bulbs or corroded connectors.
Replacing Damaged Wires

After testing the electrical components, you may discover damaged wires that need replacing to restore your motorcycle's functionality. Don't let faulty wiring keep you from the open road. Start by identifying the extent of the damage; a simple visual inspection can reveal frayed insulation, burnt sections, or corrosion.
Once you've pinpointed the issue, gather your tools: wire strippers, connectors, and electrical tape.
Next, cut away the damaged wire using your wire strippers, guaranteeing you remove enough length to reach solid, undamaged wire. Strip the ends of the new wire to expose enough copper for a secure connection. Insert the stripped ends into your connectors, crimping them tightly to guarantee a solid bond. If you prefer soldering, guarantee a clean, strong joint for maximum conductivity.
After connecting the new wire, use electrical tape to secure the area, providing protection from moisture and vibrations.
Frequently Asked Questions
What Tools Do I Need for Motorcycle Wiring Repairs?
When you tackle motorcycle wiring repairs, you'll need a few essential tools.
Grab wire strippers for cutting and stripping wires, a multimeter for testing voltages and continuity, and soldering equipment for secure connections.
A heat gun or shrink tubing comes in handy for insulation.
Don't forget electrical tape to wrap up your work neatly.
With the right tools, you're ready to liberate your ride from electrical troubles and hit the road confidently!
How Can I Prevent Future Wiring Issues?
How can you keep your wiring in top shape?
Start by regularly inspecting connections and wiring for wear or corrosion.
You've gotta avoid exposing your bike to harsh elements whenever possible.
Use high-quality materials for repairs and upgrades, and don't forget to secure loose wires to prevent damage.
Staying proactive will save you from future headaches and keep your ride liberating.
Embrace the freedom of a well-maintained machine!
Are There Specific Wiring Colors I Should Know?
When you're diving into motorcycle wiring, knowing the color codes is essential.
Generally, red is for power, black is for ground, and green usually indicates a signal.
You'll often see blue for headlights and yellow for turn signals.
Familiarizing yourself with these colors can empower you to tackle any wiring project confidently.
Can I Use Electrical Tape for All Wiring Repairs?
Electrical tape can be a quick fix, offering a sense of freedom from chaos, yet it's not a permanent solution.
You might feel tempted to rely on it for all your wiring repairs, but remember that it can deteriorate over time, leaving you vulnerable.
Instead, consider using it alongside proper connectors and heat shrink tubing.
This way, you empower your repairs while ensuring safety and reliability in your work.
Embrace the journey!
When Should I Consult a Professional Mechanic?
You should consult a professional mechanic when you feel overwhelmed or unsure about a repair.
If you notice persistent issues despite your efforts, it's time to seek help.
Don't hesitate if you encounter complex problems that require specialized tools or knowledge.
Remember, your safety's paramount, and a mechanic can guarantee everything's in top shape.
Trust your instincts; if something doesn't feel right, getting a pro involved can save you time and money.
Conclusion
By following these steps, you can tackle motorcycle wiring problems like a skilled mechanic tuning a finely crafted engine.
Regularly inspecting connections, testing components, and replacing damaged wires not only keeps your bike running smoothly but also gives you peace of mind on the road.
Remember, a little maintenance goes a long way in preventing bigger issues down the line.
So, roll up your sleeves, grab your tools, and get your ride back in top shape!