Much like a phoenix rising from the ashes, your golf cart batteries can regain their former glory with just a few straightforward steps. You might think reconditioning is a challenging task, but it's actually quite manageable if you approach it methodically. By inspecting, cleaning, and properly charging your batteries, you can greatly extend their lifespan and performance. So, what does it take to start this revitalizing journey? Let's explore the essential steps that can transform your batteries and save you money in the long run.
Key Takeaways
- Inspect batteries for damage and corrosion before starting the reconditioning process to ensure safety.
- Use a multimeter to check voltage levels; healthy batteries should read approximately 6.3 volts for 6-volt batteries and 12.6 volts for 12-volt batteries.
- Clean battery terminals with a baking soda solution to remove corrosion, ensuring optimal electrical connections.
- Charge the batteries using a compatible charger, monitoring the process until fully charged for effective restoration.
- Perform a load test after charging to evaluate battery performance, ensuring they maintain voltage above 10.5 volts under load.
Gather Necessary Tools
Before diving into the reconditioning process, you need to gather the necessary tools to guarantee efficiency and safety.
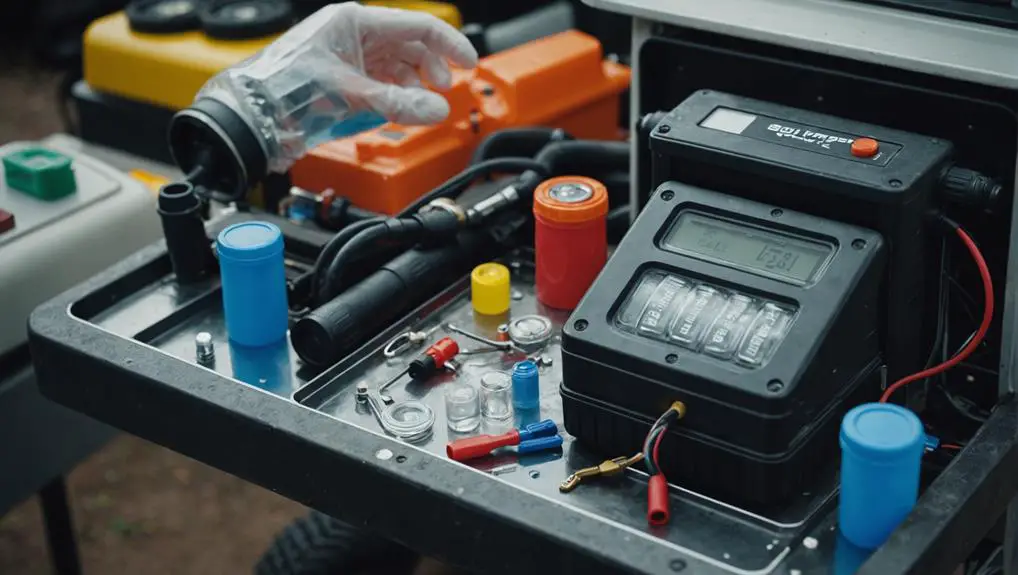
Start with a multimeter to measure voltage and assess battery health. A hydrometer is essential for checking specific gravity, which indicates the state of charge. You'll also need a battery charger compatible with your specific battery type, whether it's lead-acid or lithium.
Next, assemble safety gear, including gloves and safety glasses to protect yourself from corrosive materials.
A wrench set will help you remove battery terminals and connect cables securely. A funnel and a suitable container are necessary for handling any electrolyte fluids safely.
If you plan to clean the battery terminals, have a wire brush or terminal cleaner available.
You'll also want a spray bottle filled with a baking soda and water solution to neutralize any acid spills.
Safety Precautions
When reconditioning golf cart batteries, safety should be your top priority.
Always wear protective gear, like gloves and goggles, to shield yourself from hazardous materials.
Additionally, work in a well-ventilated area and handle the batteries with care to prevent accidents and exposure to harmful fumes.
Wear Protective Gear
It's important to wear protective gear while reconditioning golf cart batteries to guarantee your safety. When dealing with batteries, especially lead-acid types, you expose yourself to hazardous materials and potential injuries.
Start by donning safety goggles to protect your eyes from any splashes or acid fumes that may arise during the reconditioning process.
Next, wear a pair of heavy-duty gloves, preferably rubber or nitrile, to shield your hands from corrosive substances. This guarantees you maintain a firm grip while handling battery components without risking skin contact with harmful chemicals.
Additionally, consider wearing a long-sleeved shirt and long pants to cover your skin and minimize exposure to any spills. An apron or lab coat can provide an extra layer of protection.
Closed-toe shoes are also vital; opt for boots that cover your ankles to prevent acid contact. If you're particularly sensitive or if the environment is unpredictable, a face mask can help filter out harmful vapors.
Work in Ventilated Area
After putting on your protective gear, ensuring a well-ventilated area is key to safely reconditioning golf cart batteries. Proper ventilation minimizes the risk of inhaling harmful gases, such as hydrogen, which can accumulate during the reconditioning process.
You should choose an open space, preferably outdoors, or in a garage with adequate airflow. Avoid enclosed areas where gas buildup can occur, as this poses serious health hazards.
Use fans or open windows to enhance air circulation if you're working indoors. This will help disperse any potentially toxic fumes, ensuring a safer environment.
It's also a good idea to avoid working near any open flames or sparks, as hydrogen gas is highly flammable.
Before beginning, check for any obstacles or clutter that might impede airflow or create a hazardous situation.
If you're unable to secure a well-ventilated space, reconsider the timing of your project until conditions improve.
Handle Batteries Carefully
Handling batteries carefully is essential for your safety and the effectiveness of the reconditioning process. Always wear protective gear, including gloves and safety goggles, to shield yourself from acid spills and chemical exposure.
When lifting batteries, use proper techniques to avoid strain; keep your back straight and lift with your legs.
Before you begin, inspect the batteries for any signs of damage, such as cracks or leaks. If you notice any issues, avoid handling them further and consult a professional.
Always disconnect the batteries from the golf cart before starting the reconditioning process to prevent electrical shocks.
When working with battery terminals, use insulated tools to minimize the risk of short circuits. Keep metallic objects away from the terminals, as they can create dangerous sparks.
If you're working with lead-acid batteries, be aware that they contain sulfuric acid, which is corrosive. In case of spills, neutralize the acid with baking soda and clean it up immediately.
Remove Battery From Cart

Removing the battery from your golf cart is a crucial step in the reconditioning process.
Begin by confirming the cart is turned off and parked on a stable surface. Gather the necessary tools, such as a socket wrench and safety goggles. If your cart has a battery cover, remove it to expose the battery compartment.
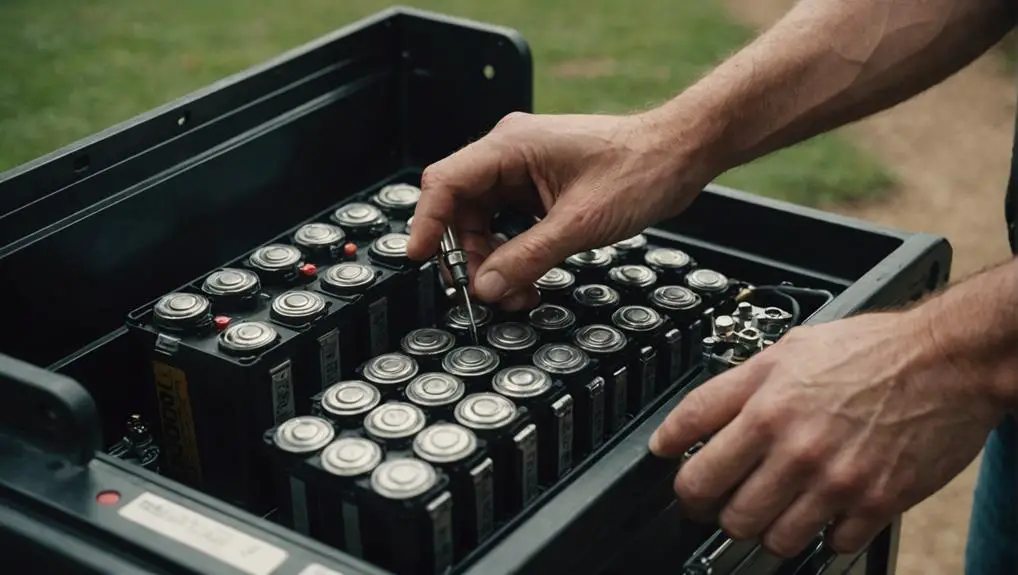
Next, locate the battery terminals. Always disconnect the negative (-) terminal first to minimize the risk of short circuits. Use your socket wrench to loosen the terminal clamp and gently lift it off.
Repeat this process for the positive (+) terminal.
Once both terminals are disconnected, check for any securing brackets or straps holding the battery in place. Use the appropriate tools to remove these fasteners carefully.
With the battery free from its restraints, grasp it firmly and lift it straight out of the compartment. Be cautious, as batteries can be heavy. If the battery is too cumbersome, consider using a battery lift or asking for assistance.
Place the battery on a flat, non-conductive surface, away from any metallic objects, to confirm safety while you proceed with the reconditioning process.
Inspect Battery Condition
Before reconditioning your golf cart batteries, you must inspect their condition thoroughly.
Start with a visual damage assessment to identify any corrosion, leaks, or physical deformities.
Next, perform voltage testing procedures to guarantee the batteries are within acceptable voltage ranges for effective reconditioning.
Visual Damage Assessment
A thorough visual damage assessment is essential for determining the condition of your golf cart batteries.
Start by inspecting the outer casing for cracks, bulges, or any signs of physical damage. These defects can indicate internal issues that may compromise battery performance.
Next, check for corrosion around the terminals and connectors. White, powdery residue often signifies a chemical reaction, which can hinder electrical conductivity.
Pay attention to the battery's vent caps. Verify they're intact and not leaking, as leaks can lead to electrolyte loss, reducing battery efficiency.
Also, examine the battery's overall cleanliness; dirt or grime can mask more serious problems.
Look for swelling or deformation, as this could suggest overcharging or aging.
If you notice any unusual smells, such as rotten eggs, it might indicate a severe problem like venting gases from overcharging.
Voltage Testing Procedures
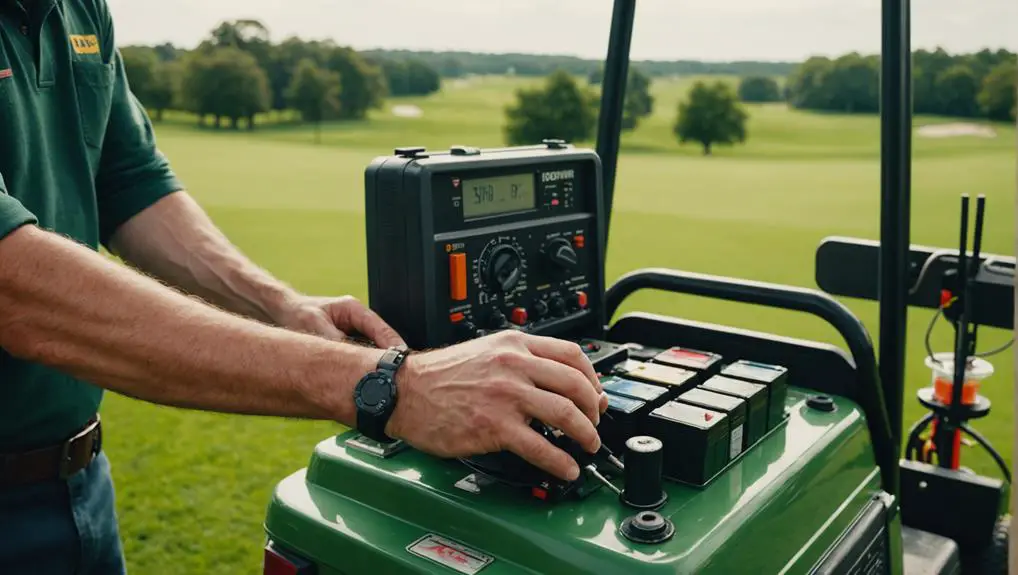
Conducting voltage tests is essential for evaluating the health of your golf cart batteries. Start by ensuring you've got a digital multimeter, which will give you accurate readings.
First, turn off the golf cart and disconnect the battery cables to prevent any short circuits. Set your multimeter to the DC voltage setting.
Next, connect the multimeter leads to the battery terminals—red to positive and black to negative. A fully charged 6-volt battery should read about 6.3 volts, while a 12-volt battery should show approximately 12.6 volts. If your readings fall below these thresholds, it indicates undercharging or potential battery failure.
After taking the initial readings, perform a load test by applying a known load for a specified duration, typically 10 to 15 seconds. Monitor how the voltage responds; a significant drop indicates diminished capacity.
Clean Battery Terminals

Clean battery terminals are essential for maintaining peak performance in your golf cart. Corrosion and dirt can accumulate on the terminals, impeding electrical flow and reducing your battery's efficiency.
To clean them effectively, you'll need a few supplies: a wrench, a wire brush or terminal cleaner, baking soda, water, and a non-conductive grease.
Start by disconnecting the negative terminal first, followed by the positive terminal. This reduces the risk of short-circuiting. Mix a solution of baking soda and water—about one tablespoon of baking soda per cup of water. Apply this mixture to the terminals using a brush, which will neutralize any acid corrosion.
Scrub the terminals thoroughly with the wire brush or terminal cleaner until you see shiny metal. Rinse with clean water to remove any residue, then dry the terminals completely.
Once dry, reconnect the positive terminal first, followed by the negative terminal. To prevent future corrosion, apply a thin layer of non-conductive grease on the terminals.
This simple maintenance step can notably extend the lifespan of your batteries and guarantee your golf cart runs smoothly. Regularly checking and cleaning your battery terminals is a key aspect of battery maintenance.
Check Electrolyte Levels
Maintaining proper electrolyte levels is fundamental for the longevity and efficiency of your golf cart batteries. Electrolyte fluid, typically a mixture of water and sulfuric acid, facilitates the chemical reactions that generate electrical energy. To check the electrolyte levels, you'll need to carefully remove the battery caps. Use a flashlight to inspect the fluid levels in each cell. Ideally, the electrolyte should cover the lead plates within each cell, guaranteeing peak performance.
If you notice that any cells have low electrolyte levels, it indicates that water has evaporated or been consumed during the charging process. It's imperative to check all cells, as uneven levels can lead to reduced battery capacity and damage over time. A consistent level across all cells guarantees balanced charging and discharging, which is essential for maintaining battery health.
While inspecting, look for signs of corrosion or sediment at the bottom of the cells, as these can affect conductivity. After completing your inspection, securely replace the battery caps to prevent contamination.
Regular checks of your electrolyte levels will help you maximize your golf cart battery's lifespan and performance, assuring you get the most out of your investment.
Add Distilled Water

To guarantee ideal performance and longevity of your golf cart batteries, adding distilled water is essential when electrolyte levels are low. Distilled water is vital because it lacks impurities found in tap water that can harm battery components.
Before you add water, verify the battery is fully charged and cool to prevent overfilling.
First, carefully remove the battery caps to access the cells. Inspect each cell visually to confirm the electrolyte level. If it's below the lead plates, it's time to add distilled water. Use a funnel to avoid spills, filling each cell until the electrolyte covers the plates but doesn't reach the cap opening. Overfilling can lead to overflow when the battery charges, causing acid leakage.
After you've added the distilled water, replace the caps securely to prevent contamination. This process not only helps maintain the battery's efficiency but also extends its lifespan.
Regularly check your battery's electrolyte levels, ideally every month, to verify peak performance. Remember, maintaining proper water levels is a key part of reconditioning your golf cart batteries, setting the stage for effective charging and use.
Charge the Batteries
Charging the batteries is a crucial step in reconditioning your golf cart batteries. After adding distilled water, you'll want to verify that the batteries are charged correctly to restore their capacity and performance.
Start by using an appropriate charger that matches the voltage ratings of your batteries—typically 36V or 48V for most golf carts.
Connect the charger to your batteries, making sure that the positive and negative terminals are properly aligned to avoid short circuits. Before plugging in the charger, double-check that all connections are secure.
Once connected, plug in the charger and monitor the charging process. Keep an eye on the charger's indicators; they usually display when charging is in progress and when it's complete.
Allow the batteries to charge fully—this may take several hours depending on the charger's output and battery condition. Avoid interrupting the charging cycle, as this can affect the reconditioning process.
After charging, unplug the charger and disconnect the cables carefully. Your batteries should now be primed for performance, but remember, regular maintenance and monitoring are necessary for longevity.
Perform a Load Test

A load test is essential for evaluating the true performance of your reconditioned golf cart batteries. You'll need a load tester, which simulates the demand your batteries will experience during use.
Begin by ensuring your batteries are fully charged, as an accurate load test requires them to be at peak capacity. Connect the load tester's clamps to the respective positive and negative terminals of the first battery.
Set the load tester to draw a current that's roughly half of the amp-hour rating of the battery. For example, if your battery has a 100 amp-hour rating, apply a 50-amp load. Maintain this load for a duration of 5 to 10 seconds while monitoring the voltage. A healthy battery should maintain a voltage above 10.5 volts under load. If the voltage drops considerably below this threshold, the battery may not be holding a charge effectively.
Repeat this process for each battery in your golf cart. Document the results for comparison. This data helps you identify which batteries may need further reconditioning or replacement, ensuring your cart performs efficiently on the course.
Reinstall and Test
After completing the load test, it's vital to reinstall the batteries correctly to guarantee peak performance. Proper installation guarantees that your golf cart runs efficiently and safely. Follow these steps to reinstall and test your batteries:
- Position the Batteries: Carefully place each battery back into its designated compartment, making sure that the terminals are positioned for easy access and connection.
- Reconnect the Terminals: Starting with the positive terminal, connect it to the battery first, followed by the negative terminal. Make sure that the connections are tight and secure to prevent any electrical failures.
- Check for Corrosion: Before testing, inspect all terminal connections for any signs of corrosion. Clean any corroded areas with a mixture of baking soda and water to establish a solid electrical connection.
Once you've reinstalled the batteries, it's imperative to perform a functionality test. Turn on the golf cart and check for any warning lights or unusual sounds.
Monitor the battery performance during a short drive to verify everything operates smoothly. If issues arise, double-check your connections and consider repeating the load test to confirm battery health.
Frequently Asked Questions
How Often Should I Recondition My Golf Cart Batteries?
You should recondition your golf cart batteries every 6 to 12 months, depending on usage and performance.
If you notice a drop in power or shorter run times, it's a good sign that reconditioning is needed sooner.
Regular maintenance will extend battery life and improve efficiency.
Keep an eye on the battery's voltage and capacity; if they consistently fall below ideal levels, it's time to take action and recondition.
Can I Use Tap Water Instead of Distilled Water?
You shouldn't use tap water for your golf cart batteries. Tap water contains minerals and impurities that can lead to corrosion and reduced battery efficiency.
Instead, stick with distilled water, which is free of these contaminants. Regularly checking your battery water levels and topping off with distilled water will help maintain peak performance and extend the life of your batteries.
Always prioritize quality to guarantee your golf cart operates smoothly.
What Signs Indicate My Batteries Need Reconditioning?
Are your batteries struggling to hold a charge? If you notice a significant drop in performance, such as reduced run time or slower acceleration, it's time to pay attention.
Other signs include swollen cases, leakage, or a strong sulfur smell, indicating potential damage.
Additionally, if your batteries require frequent recharging or show inconsistent voltage readings, these are clear indicators they might need reconditioning to restore their efficiency and lifespan.
Is It Safe to Recondition Leaking Batteries?
Reconditioning leaking batteries isn't safe.
When a battery leaks, it can release harmful chemicals, posing health risks and environmental hazards.
Attempting to recondition a leaking battery can worsen the situation, leading to potential explosions or further leaks.
Instead, it's essential to handle leaking batteries with care, using protective gear, and dispose of them properly according to local regulations.
Always prioritize safety over attempting to salvage a compromised battery.
What Should I Do if My Battery Won't Hold a Charge?
If your battery won't hold a charge, start by checking for corrosion on the terminals and clean them if necessary.
Test the battery with a multimeter to determine its voltage. If it's considerably lower than the rated voltage, consider replacing it.
Make certain your charger is functioning correctly, as a faulty charger can prevent proper charging.
If issues persist, consult a professional to assess the battery's condition and explore potential solutions.
Conclusion
By following these ten easy steps, you can effectively recondition your golf cart batteries and breathe new life into them. Just imagine the performance boost—like upgrading your cart from a clunky old jalopy to a high-speed racing machine! With proper maintenance, these batteries will serve you well for many rounds to come. So, stay proactive, keep your connections clean, and enjoy the longer-lasting power and efficiency that a reconditioned battery provides.