While the thrill of riding a motorcycle can be exhilarating, the thought of brake failure is unsettling. You need to guarantee your safety by regularly inspecting your brake system, starting with the basics like brake fluid levels and pad wear. It's not just about feeling confident on the road; understanding how to spot potential issues can prevent serious accidents. So, what are the essential steps you should take to keep your brakes in top condition? Let's explore the key tips that will help you maintain reliable stopping power.
Key Takeaways
- Regularly check brake fluid levels and inspect for leaks around lines and connections to maintain optimal braking performance.
- Inspect brake pads for thickness, wear patterns, and surface condition to ensure effective stopping capabilities.
- Examine brake discs for warping, cracks, and uneven wear to identify potential braking issues early.
- Test brake levers and pedals for responsiveness and comfort, ensuring smooth operation and safety while riding.
Understand Brake Components
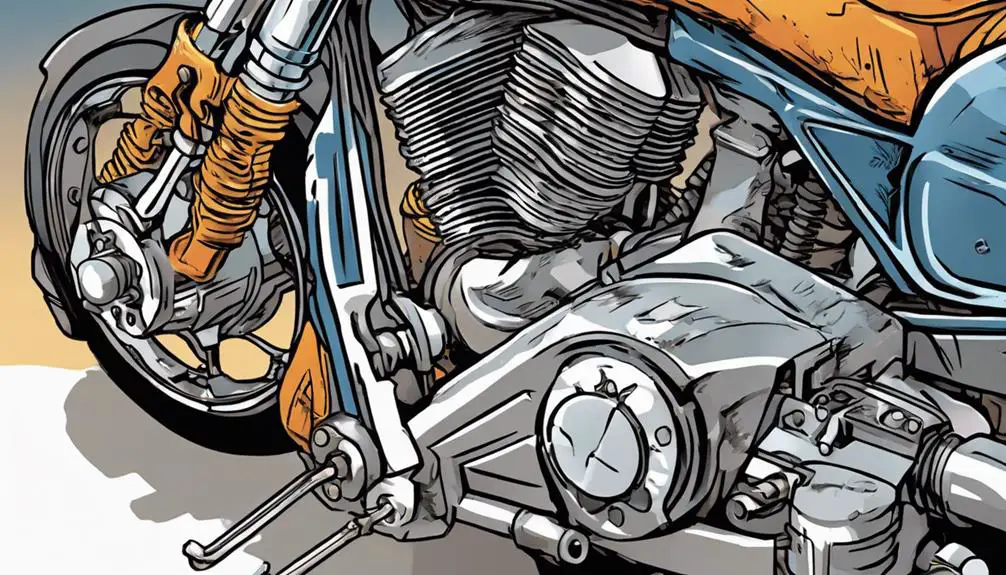
To keep your motorcycle safe, it's essential to understand the key brake components that make up the braking system. The key parts include the brake lever, brake calipers, brake pads, and rotors. Each component plays an important role in ensuring you can stop effectively when you need to.
When you pull the brake lever, it activates the hydraulic system, sending fluid to the calipers. The calipers then squeeze the brake pads against the rotors, creating the friction that slows you down. If any component isn't functioning properly, you could find yourself in a compromising situation on the open road.
You'll also want to familiarize yourself with the difference between disc brakes and drum brakes, as they operate differently. Disc brakes offer better heat dissipation and performance, while drum brakes are more compact and can be easier to maintain.
Knowing your bike's specific system empowers you to make informed decisions about upkeep and repairs.
Check Brake Fluid Level
Regularly checking your brake fluid level is essential for maintaining ideal braking performance on your motorcycle. Low brake fluid can lead to a spongy feel in the brakes or, worse, brake failure.
Take a moment to locate the brake fluid reservoir, usually situated near the handlebars or by the rear brake. Once you've found it, inspect the fluid level through the transparent reservoir. It should fall between the minimum and maximum marks.
If it's low, don't just top it off; you must identify the cause. Check for leaks around the lines and connections. Leaks can compromise your safety and indicate that you need immediate repairs.
When you add fluid, use the type specified in your motorcycle's owner manual. Mixing different types can cause issues.
After adding fluid, cap the reservoir tightly and give the brakes a gentle squeeze. This helps circulate the new fluid and guarantees everything's working properly.
Inspect Brake Pads
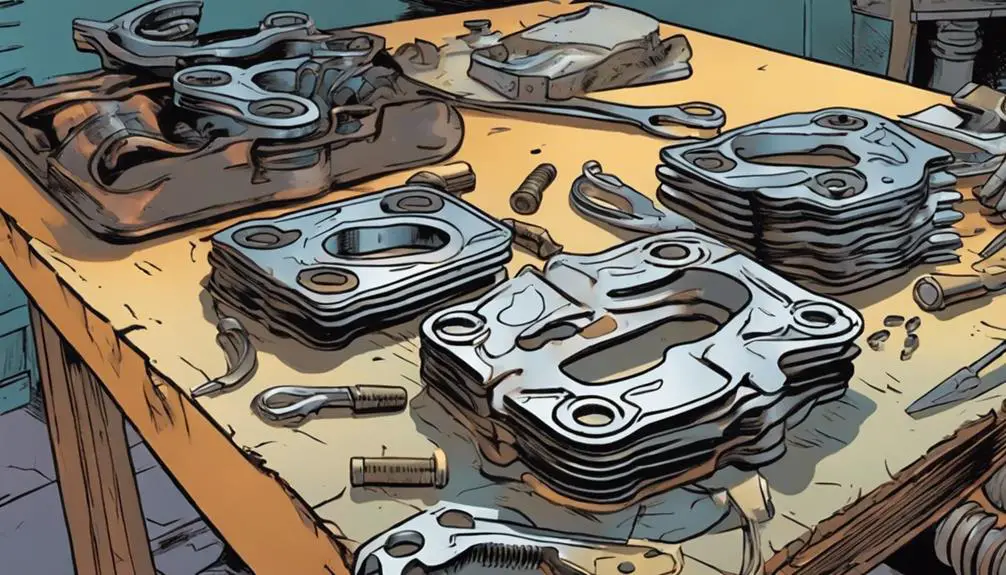
Inspecting your brake pads is essential for ensuring your motorcycle stops safely and effectively. Start by checking the thickness of the pads. If they're worn down to about a quarter inch or less, it's time to replace them. Thin brake pads can compromise your ability to stop, which can lead to dangerous situations.
Next, look for any signs of uneven wear. If one pad is markedly thinner than the other, it could indicate a problem with your braking system, potentially affecting your control and freedom on the open road.
Examine the surface of the pads as well. Cracks, glazing, or excessive dust buildup can signal that they're past their prime. If you notice any of these issues, don't hesitate to replace them.
Examine Brake Discs
When examining your motorcycle's brake discs, start by checking for warping, as this can affect braking performance.
Next, inspect the surface condition for cracks or uneven wear, which can indicate deeper issues.
Check for Warping
Checking for warping in your brake discs is essential for ensuring ideal stopping power and safety on the road.
When you ride, you crave the freedom that comes with open roads and the rush of wind against your skin. Don't let warped discs hold you back!
Here's how to check for warping:
- Feel the vibrations: As you brake, pay attention to any pulsations that might signal a problem.
- Visual inspection: Look closely at your discs for any signs of uneven wear or warping.
- Use a dial gauge: For accuracy, a dial gauge can help you measure any deviations in thickness.
Inspect Surface Condition
After ensuring your brake discs aren't warped, it's important to examine their surface condition for any signs of damage or wear.
Start by looking for grooves or scratches on the surface. These imperfections can affect braking performance, leading to a less responsive ride. If you notice deep grooves, it might be time to contemplate replacing the discs.
Next, check for discoloration. A blue tint often indicates overheating, which can compromise the metal's integrity. If you see this, don't ignore it; overheating can lead to serious brake failure.
Additionally, look for rust or corrosion, especially if you frequently ride in wet conditions. Surface rust can often be cleaned, but deep corrosion usually signals a need for new discs.
Measure Thickness Regularly
Regularly measuring the thickness of your brake discs is essential for maintaining ideal braking performance and safety. As a rider who craves freedom on the open road, you need to verify your brakes are up to the task. Worn brake discs can lead to decreased stopping power, putting you at risk.
Here's what to keep in mind when measuring:
- Enhanced Safety: Knowing your brake disc thickness gives you peace of mind on every ride.
- Optimal Performance: Thick discs verify your brakes respond when you need them most.
- Prolonged Lifespan: Regular checks can help identify wear, extending the life of your braking system.
Grab a caliper and measure the thickness according to your motorcycle's specifications. If you find your discs are below the recommended thickness, it's time to replace them.
Embrace the liberation of riding with confidence, knowing your motorcycle is equipped to handle whatever the road throws your way. Regular maintenance makes all the difference in riding safe and free!
Test Brake Levers
To guarantee your motorcycle's safety, test the brake levers for proper responsiveness and feel. Grab the handlebars and squeeze the brake levers firmly. You should notice a smooth, progressive resistance as you apply pressure. If the lever feels spongy or travels too far before engaging, it's a sign that something's off. You're not just seeking functionality; you're seeking freedom on the open road, and effective brakes are your best ally.
Next, check the lever's position. It should return to its original position swiftly without sticking. If it doesn't, you might face unexpected challenges when you need to stop.
Feel the lever with your fingers—does it grip comfortably? It should fit naturally into your hand. If there's discomfort or you find yourself straining, it's time to contemplate adjustments.
Look for Fluid Leaks
Inspecting for fluid leaks is vital, as even a small leak can compromise your motorcycle's braking performance. A reliable brake system is essential for your freedom on the open road, and any fluid loss can lead to dangerous situations. To protect that exhilarating ride, you need to be vigilant.
Here are some signs to look for when checking your motorcycle:
- Puddles: Any fluid pooling beneath your bike is a red flag.
- Wet Spots: Notice any dampness around brake calipers or master cylinders.
- Discoloration: Look for any unusual staining on components or the ground.
Addressing fluid leaks not only guarantees your safety but also enhances your riding experience. The thrill of conquering the roads is diminished when you can't trust your brakes.
Assess Brake Lines
After checking for fluid leaks, it's important to assess the condition of your brake lines to guarantee they're free from cracks and wear that could jeopardize your stopping power. Start by visually inspecting the lines for any signs of damage. Look for frays, bulges, or discoloration—these can be indicators of a serious issue.
Next, gently squeeze the brake lines; they should feel firm and not spongy. If you notice any softness, it could mean the lines are compromised. Pay attention to the fittings as well; they should be secure and free of corrosion.
You'll want to check for any kinks or sharp bends in the lines, as these can restrict fluid flow and affect performance. When you're out riding, listen for unusual noises, too. Any hissing sound might mean air is getting into the lines, which can lead to brake failure.
If you find any damage, don't hesitate to replace the brake lines. Your freedom on the road hinges on reliable brakes, so take this assessment seriously. Trust your instincts, and ride with confidence knowing your brake system is in top shape.
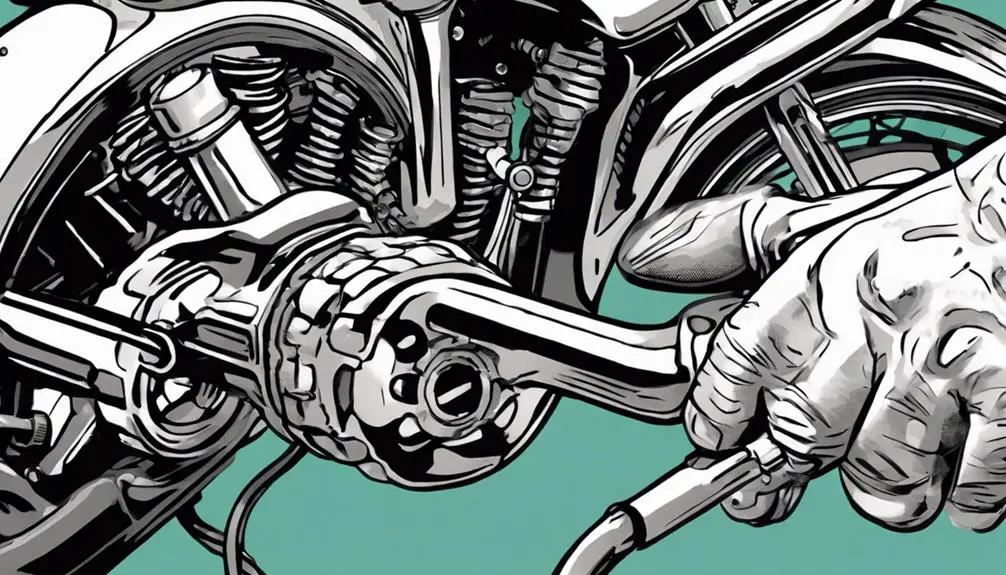
Review Brake Calipers
When reviewing your motorcycle's brake calipers, start by checking for any leaks that could compromise performance.
Next, inspect the brake pads for wear and verify they still have adequate material.
Check for Leaks
To guarantee your motorcycle's braking system functions effectively, check the brake calipers for any signs of fluid leaks. A small leak can lead to significant braking issues, compromising your freedom on the open road. Look closely for any fluid pooling or staining around the calipers, as this can indicate trouble brewing.
When inspecting, keep an eye out for:
- Puddles of brake fluid that signal a potential failure.
- Corrosion or discoloration on the caliper surfaces that can weaken the system.
- Soft or spongy brake feel, hinting that something's not right.
Catching leaks early can save you from a dangerous ride and preserve your exhilarating experience on two wheels.
Don't let a small issue turn into a big problem—take charge of your motorcycle's safety.
Embrace the spirit of liberation by ensuring your ride is as reliable as your thirst for adventure.
Regular checks empower you to ride with confidence, knowing your brakes are ready to respond when you need them most.
Stay vigilant, and your freedom will remain unshackled!
Inspect Brake Pads
Inspecting your brake pads is essential for maintaining ideal stopping power, so make it a habit to check their condition regularly. Start by visually examining the pads for wear. You want to see a consistent thickness; if they're worn down past the manufacturer's specified limit, it's time to replace them. Remember, worn-out pads can lead to reduced braking efficiency and put you at risk.
Next, feel for any uneven surfaces or grooves. If you notice these imperfections, it might indicate that your brake calipers aren't functioning properly, which could affect your ride. Also, check for any signs of glazing, which manifests as a shiny surface. This can occur when the pads overheat, leading to decreased friction.
While you're at it, don't forget to inspect the pad material itself. If it's cracked or crumbling, replace it immediately. This simple check can enhance your freedom on the road, giving you the confidence you need to ride boldly.
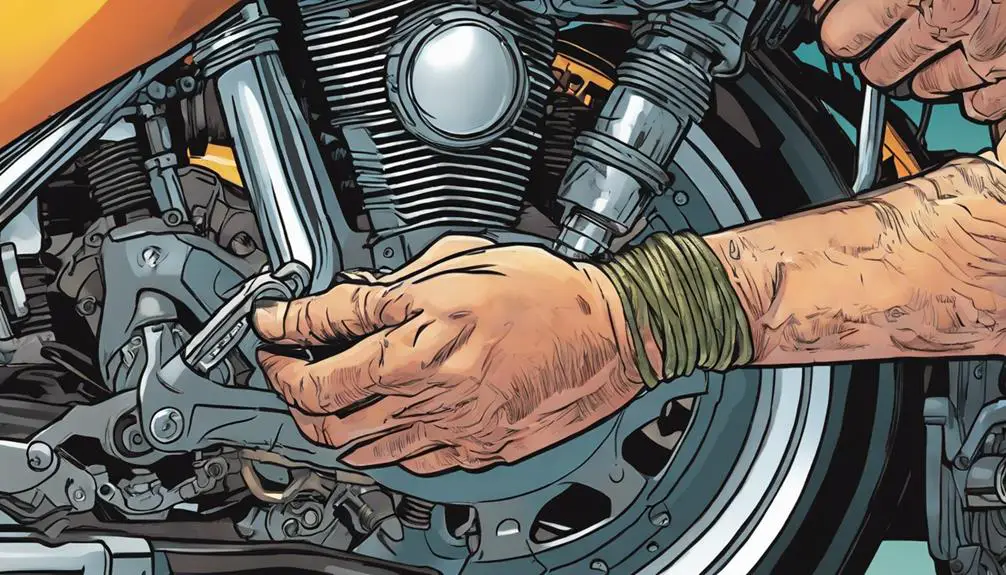
Examine Caliper Mounting
After checking your brake pads, it's important to examine the caliper mounting for any signs of wear or damage that could affect your braking performance. A secure caliper is essential for a safe ride, empowering you to feel free on the open road. Take a moment to inspect the mounting bolts and the caliper itself.
Look for:
- Cracks or deformation that could compromise strength.
- Corrosion or rust that may indicate neglect or exposure to the elements.
- Loose bolts that can lead to misalignment, affecting your stopping power.
If you notice any of these issues, don't hesitate to address them. A well-mounted caliper guarantees your motorcycle responds to your commands, allowing you to embrace the thrill of the ride without hesitation.
Trust your instincts; if something feels off, it likely is. Remember, the road is yours to conquer, but your safety hinges on your brakes.
Perform Brake System Tests
Performing brake system tests is essential for ensuring your motorcycle's safety and reliability on the road.
Start by checking the brake lever and pedal feel. Squeeze the lever or press the pedal firmly; it should feel solid without any sponginess. If you notice any give, it's a sign that air might be trapped in the brake lines or that your brake fluid is low.
Next, conduct a stopping test in a safe area. Accelerate to a moderate speed and then apply the brakes firmly. The bike should come to a smooth, controlled stop without pulling to one side. If it does, you may need to inspect your brake pads or calipers for issues.
Lastly, listen for any unusual noises during your tests. Squealing or grinding sounds indicate worn-out brake pads or potential damage.
Schedule Regular Maintenance
To keep your motorcycle's brakes in top shape, schedule regular maintenance checks to catch any issues before they become serious. Ignoring brake maintenance can lead to dangerous situations on the open road. By staying proactive, you're not just protecting your ride; you're safeguarding your freedom.
Consider these essential maintenance tips:
- Inspect brake pads for wear and tear to verify they're ready for your next adventure.
- Check brake fluid levels regularly; low fluid can mean trouble ahead.
- Examine the brake lines for any signs of leaks or cracks that could compromise your safety.
Embrace the thrill of the ride by knowing your brakes are reliable. Scheduling regular maintenance not only enhances your motorcycle's performance but also boosts your confidence on the road.
Each check-up brings you closer to that exhilarating feeling of liberation, allowing you to focus on the journey ahead without worry. So gear up, hit the road, and enjoy the ride, knowing you've got the power of well-maintained brakes backing you up.
Frequently Asked Questions
How Often Should I Replace My Motorcycle Brake Components?
You should replace your motorcycle brake components based on how often you ride and the conditions you encounter.
If you're hitting the road frequently, check them every 6,000 to 12,000 miles.
But if you're riding hard or in tough conditions, you might need to replace them sooner.
Trust your instincts—if you feel any decline in performance, don't hesitate to change them.
Your safety and freedom on the road depend on solid brakes!
Can Weather Conditions Affect Motorcycle Brake Performance?
Absolutely, weather conditions can greatly affect your motorcycle's brake performance.
Rain can create slippery surfaces, increasing stopping distances.
Cold weather can harden brake pads, reducing their effectiveness, while heat can cause brake fade.
When riding in different weather, you've got to adjust your braking technique and stay alert.
Keeping your brakes in top shape is essential for your freedom on the road, so always be mindful of the conditions you're riding in.
What Are the Signs of Worn Brake Pads?
When you're checking your motorcycle's brake pads, look out for a few key signs of wear.
If you notice squeaking or grinding noises when braking, that's a red flag.
Also, if the pads appear thin or worn down to the metal, it's time for a replacement.
Vibration during braking can signal uneven wear, and reduced stopping power means your safety's at risk.
Trust your instincts, and don't ignore these signs!
How Can I Tell if My Brake Fluid Is Contaminated?
Imagine your brake fluid like a clear stream, flowing smoothly and reflecting the sky.
If it looks dark, cloudy, or has particles swirling in it, it's time for a change. You might also notice a sweet smell, hinting at contamination.
Don't ignore these signs; instead, embrace the freedom of riding safely. Your brakes are essential, so keep that fluid fresh, and let your spirit soar without fear of failure.
Is It Safe to Ride With a Spongy Brake Lever?
Riding with a spongy brake lever isn't safe. It usually means there's air in the brake lines or a fluid issue, which can compromise your stopping power.
You deserve a ride that feels strong and secure, so don't ignore that sponginess. Instead, check your brake fluid and lines, and if you're unsure, have a professional look it over.
Your safety and freedom on the road should always come first.
Conclusion
By understanding your brake components, checking fluid levels, inspecting pads, and examining discs, you're setting the stage for a safer ride.
Testing levers, evaluating lines, reviewing calipers, and performing system tests all contribute to your peace of mind.
Regular maintenance is your shield against potential hazards.
So, gear up, stay vigilant, and ride confidently, knowing your brakes are as ready as you are, ensuring every journey is smooth, safe, and satisfying.