Riding a Harley is like living a dream with the throttle in your hand, the open road ahead, and the legendary rumble beneath you. Yet, even the most idyllic dreams can have their interruptions, especially when mechanical gremlins decide to make an appearance. Among these, the Harley tank lift problem stands out as a pesky intruder, capable of turning your smooth ride into a bumpy adventure. But fear not, because there’s a silver lining to this cloud. With the right know-how, most of these issues aren’t just fixable; they can be prevented from crashing your ride in the first place.
Welcome to your ultimate guide on navigating the waters of Harley tank lift issues. This isn’t just another manual; it’s a lifeline designed for Harley enthusiasts of all stripes, from the battle-hardened veterans to the wide-eyed newcomers who’ve just embarked on the Harley journey. Here, we’re breaking down the mystery behind tank lift problems, from identifying the early warning signs to implementing fixes that stick.
So, gear up and let’s delve into the world of Harley tank lift solutions. Our mission is simple: to arm you with the knowledge and strategies needed to keep your Harley roaring louder and prouder than ever, free from the hiccups that tank lift issues can cause. Ready to reclaim the joy of the ride and ensure your Harley’s power and speed remain unbridled? Let’s throttle up and dive in!
Impact of a Tank Lift on Harley’s Performance
A tank lift modification on a Harley Davidson motorcycle can impact its performance in multiple ways. While some impacts are positive, such as improved aesthetics and better engine cooling, there can be negative effects as well.
One of the main concerns is the impact on the fuel system. Due to the elevated position of the tank, the fuel pump may struggle to supply adequate fuel to the engine, especially when the fuel level is low. This can result in poor engine performance, increased fuel consumption, and in severe cases, engine stalling.
Another concern is the impact on the bike’s center of gravity. Lifting the tank raises the center of gravity of the motorcycle, which may impact the handling and stability of the bike, especially at higher speeds.
Risks of Installing a Tank Lift on a Harley Davidson
There are several risks associated with installing a tank lift on a Harley Davidson motorcycle. The most significant risk is potential damage to the fuel system. If the tank lift is not installed correctly, it can lead to fuel leakage or damage to the fuel pump.
Another risk is interference with the handlebars or other parts of the motorcycle. If the tank is lifted too high, it may come into contact with the handlebars, especially when they are turned to full lock. This can cause damage to the tank and also affect the bike’s maneuverability.
Also, in the case of larger lifts, the fuel gauge may not read accurately as the fuel sender unit, which is designed for a level tank, may not function properly with the tank at an angle.
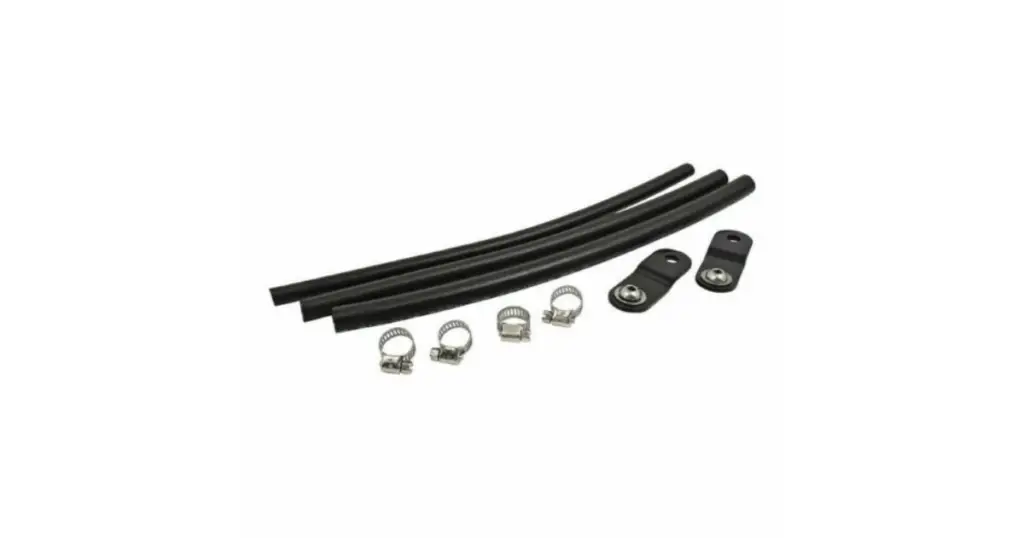
Proper Installation of a Tank Lift on a Harley
Proper installation of a tank lift on a Harley Davidson is crucial to avoid potential problems. Here are some steps to ensure a correct installation:
- Check the Clearance: Before installing the tank lift, check the clearance between the tank and handlebars. The handlebars should not contact the tank when turned to full lock in either direction.
- Choose the Right Size: Tank lifts are available in different sizes. Choose a size that suits your motorcycle and does not interfere with other parts of the bike.
- Follow the Instructions: Always follow the manufacturer’s instructions when installing a tank lift. This includes steps like loosening the rear tank bolt before removing the front one, and ensuring all bolts are tightened to the correct torque.
- Check the Fuel Lines: After installing the tank lift, check the fuel lines for any kinks or pinches that could restrict fuel flow.
- Test Ride: After the installation, take a short test ride to check for any issues. Pay attention to the bike’s handling, fuel gauge accuracy, and any signs of fuel leakage.
Fuel Delivery Issues in Harley Davidson Bikes due to Tank Lift
As mentioned earlier, one of the main concerns with a tank lift on a Harley Davidson is potential fuel delivery issues. Due to the elevated position of the tank, the fuel pump may struggle to supply enough fuel to the engine, especially when the fuel level is low. This can result in a decrease in performance, increased fuel consumption, and in severe cases, engine stalling.
Additionally, if the fuel lines are not properly routed after the tank lift installation, it can lead to kinks or pinches in the lines, further restricting fuel flow.
Signs of Improper Tank Lift Installation on a Harley
If you notice any of the following signs after installing a tank lift on your Harley Davidson, it might indicate an improper installation:
- Poor Engine Performance: If the engine is not getting enough fuel, it can lead to poor performance, such as lack of power or rough running.
- Increased Fuel Consumption: If the fuel pump has to work harder due to the elevated tank position, it can lead to increased fuel consumption.
- Engine Stalling: In severe cases, the engine may stall, especially when the fuel level is low.
- Fuel Leakage: If the fuel lines are damaged or not properly sealed during the installation, it can lead to fuel leakage.
- Interference with Handlebars: If the tank is lifted too high, it may interfere with the handlebars, especially when they are turned to full lock.
Does a Tank Lift Affect the Center of Gravity on a Harley Davidson?
Yes, lifting the tank on a Harley Davidson motorcycle can affect its center of gravity. The center of gravity is the point at which the weight of an object is evenly dispersed and all sides are in balance.
When you lift the tank, you’re essentially moving some of the bike’s weight higher up, which raises the bike’s overall center of gravity. This can impact the handling and stability of the bike, especially at higher speeds or during cornering.
While the effect on the center of gravity is minimal with smaller tank lifts, it can become significant with larger lifts. Therefore, it’s important to choose a tank lift size that is appropriate for your bike and riding style.
How to Resolve Problems Caused by a Tank Lift on a Harley
If you’re experiencing problems with your Harley Davidson motorcycle after installing a tank lift, there are several steps you can take to resolve the issues:
- Check the Installation: Ensure the tank lift has been installed correctly as per the manufacturer’s instructions. Make sure all bolts are tightened to the correct torque and the tank is secure.
- Inspect the Fuel Lines: Check the fuel lines for any kinks, pinches, or damage that could restrict fuel flow. If necessary, reroute the lines or replace them.
- Adjust the Tank Lift: If the tank lift is too high and causing interference with the handlebars or other parts of the bike, consider adjusting it to a lower position.
- Consult a Professional: If you’re unable to resolve the issues yourself, consider seeking help from a professional mechanic or a Harley Davidson dealership.
Conclusion
While a tank lift can enhance the look of your Harley Davidson motorcycle and offer some performance benefits, it’s important to be aware of the potential problems and risks associated with this modification. By understanding these issues and taking the necessary precautions during installation, you can enjoy the benefits of a tank lift while minimizing potential problems. Always remember, if in doubt, consult a professional.
Read More of My Latest & Greatest:
- How to Inspect Your Harley After Winter Storage Before Taking It on the Road
- Winter Care Tips for Harley-Davidson Custom Parts and Accessories
- How to Prevent Your Harley From Freezing While in Storage
- Why You Should Consider Upgrading Your Harley’s Winter Gear
- The Best Motorcycle Wax to Protect Your Harley in Winter
- What to Know Before Riding Your Harley in Snowy Conditions
- How to Avoid Flat Spots on Your Harley’s Tires Over Winter
- Best Practices for Winter Riding With Your Harley-Davidson
- How to Keep Your Harley’s Clutch and Shifting Smooth in Winter
- How to Care for Harley’s Leather Gear During Winter Months