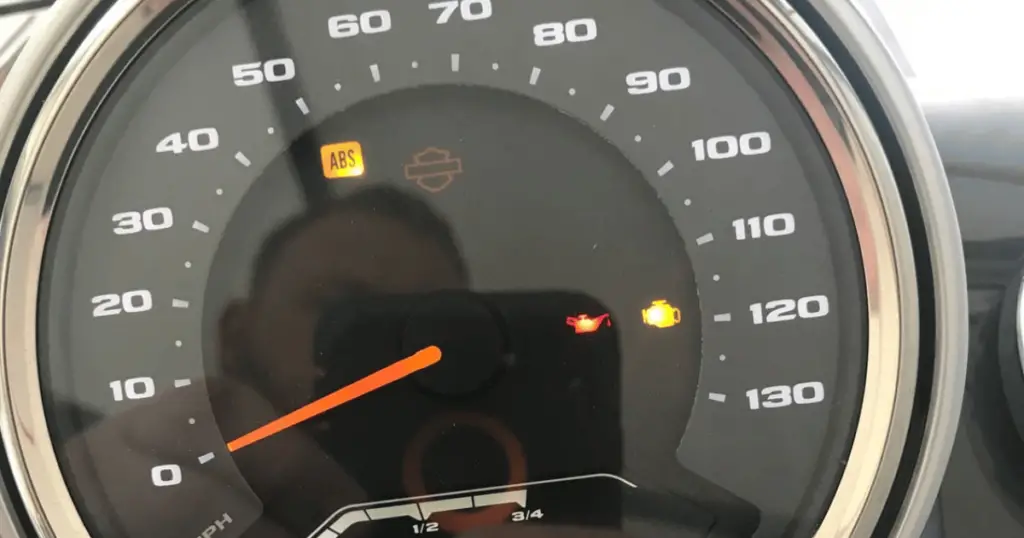
As every grizzled road warrior knows, the sight of the check engine light blazing on their Harley Davidson is enough to spike your pulse – it’s an unwanted symbol of problems on the horizon. What’s that? Yours is constantly on? Hold the panic! Your faithful metal steed isn’t headed for the junkyard yet. There are many innocuous reasons why a Harley Davidson check engine light stays on. The causes range from the more benign, like a loosened gas cap or an overdue oil change, to serious – think malfunctioning oxygen sensors or ignition system issues. But how do you diagnose it all? Buckle up and get ready for a dive down the greasy heart of your beloved Harley Davidson, as we explore the most common reasons why your check engine light stays stubbornly illuminated. Don’t worry, you’ll be back ruling the highway in no time!
The Significance of the Check Engine Light
When the check engine light illuminates on your Harley Davidson motorcycle, it is an indication that the onboard diagnostics system has detected either a current or a history of trouble codes, also known as Diagnostic Trouble Codes (DTCs). These codes serve as a key to identifying the root cause of the problem. A persistently illuminated check engine light signifies the presence of an active fault, while a light that goes off after being cleared but returns after a few drive cycles points to a historic fault.
Diagnostic Trouble Codes
Harley Davidson motorcycles utilize an onboard diagnostics system that can display these DTCs. To access these codes, you’ll need to enter the diagnostic system of your bike. This is usually done by holding down the trip reset button while turning the ignition from off to on. Once in the diagnostic system, you can use the trip reset button to cycle through the codes in each category, noting down the DTC displayed.
Understanding the Codes
The DTCs are categorized into different modules. On newer Harley Davidson models, the abbreviations used for these modules include ECM (Electronic Control Module), BCM (Body Control Module), SPDO (Speedometer), and RAD (Radio). Older models use different letters to represent the modules.
The DTCs themselves are alphanumeric, with the letters indicating the affected system or module and the numbers pointing to the specific part or component within the module causing the error code.
Read more:
– Unlock the Power of Harley Diagnostic Codes (PDF Included)
– Most Common Harley Davidson Diagnostic Codes Get Explained
Common Causes Why Your Harley Davidson Check Engine Light Stays On
There could be various reasons why the check engine light on your Harley Davidson stays on. Some of the most common ones include:
- Loose Gas Cap: A loose gas cap disrupts the fuel delivery system of the bike, leading to fuel loss and triggering the check engine light.
- Faulty Sensors or Sending Units: Components like O2 and MAF (Mass Airflow) sensors play crucial roles in the bike’s air intake and combustion process. If they become defective, they can cause a host of issues, including the illumination of the check engine light.
- Potential Brake Failure: If your check engine light comes on after starting the engine, it may be indicating a brake issue.
- Vacuum Leak: Extreme temperatures or hard riding can cause the vacuum system of the bike, along with shaft seals and rubber boots, to develop cracked fittings or loose connections. This upsets the air-fuel mixture and can trigger the check engine light.
- Installation of Aftermarket Accessories: The installation of add-ons can upset the balance of the bike and cause the check engine light to flash non-stop.
Addressing the Issue
To resolve the issue of a persistently illuminated check engine light, you’ll need to identify the trouble code causing it. Once you’ve retrieved the code, you can clear it and then perform a few drive cycles to see if it returns. If it does, it means you’re dealing with a current error code, and further action may be needed.
In some cases, you may need to seek professional help to resolve the issue. For instance, if the problem lies in the bike’s electrical system, it’s best to consult a mechanic or technician who specializes in diagnosing and repairing such issues.
In Conclusion
An illuminated check engine light on your Harley Davidson motorcycle is not something to be ignored. It’s an indication that there’s an issue that needs addressing. By noting down the diagnostic trouble codes and understanding what they signify, you can take the necessary steps to resolve the issue and keep your bike running smoothly.
Read next: Harley Davidson Throttle Body Problems: Causes and Solutions
Read More of My Latest & Greatest:
- How to Inspect Your Harley After Winter Storage Before Taking It on the Road
- Winter Care Tips for Harley-Davidson Custom Parts and Accessories
- How to Prevent Your Harley From Freezing While in Storage
- Why You Should Consider Upgrading Your Harley’s Winter Gear
- The Best Motorcycle Wax to Protect Your Harley in Winter
- What to Know Before Riding Your Harley in Snowy Conditions
- How to Avoid Flat Spots on Your Harley’s Tires Over Winter
- Best Practices for Winter Riding With Your Harley-Davidson
- How to Keep Your Harley’s Clutch and Shifting Smooth in Winter
- How to Care for Harley’s Leather Gear During Winter Months