If you’re a Harley owner, you may have experienced issues with your brake light switch. This can be frustrating and potentially dangerous if not addressed promptly. In this article, we will explore common problems with the front and rear brake light switches, discuss possible causes, and provide step-by-step troubleshooting tips to help you fix the issue. So, grab your toolbox and let’s dive in!
Understanding the Brake Light Switch
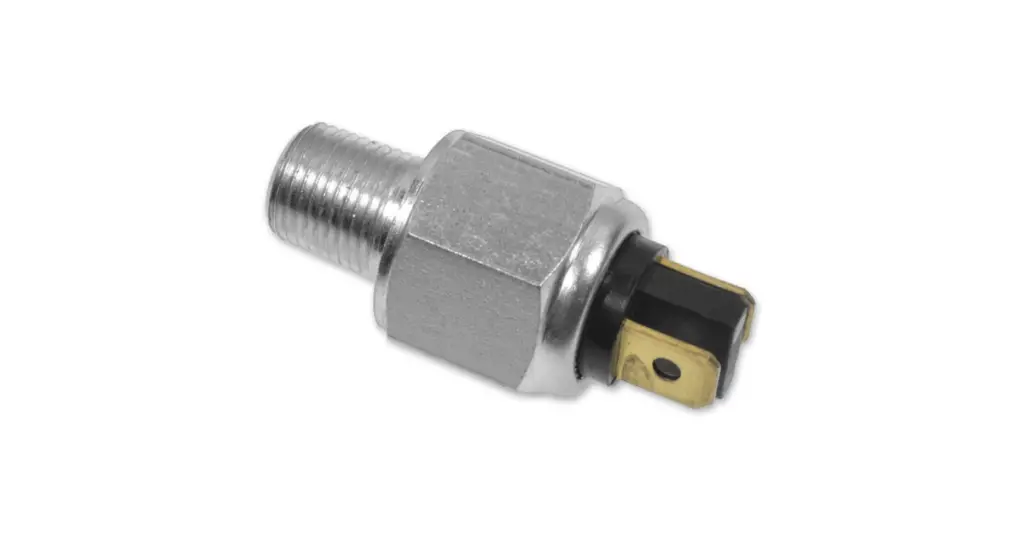
The brake light switch is a crucial component in your motorcycle’s electrical system. It’s responsible for activating the lights when you apply the brakes, alerting other motorists of your intention to stop or slow down. The switch is typically located in the right-hand control on the handlebars for the front brake and near the rear brake pedal for the rear brake.
Symptoms of a Faulty Brake Light Switch
Identifying a faulty switch is essential for troubleshooting and resolving the issue. Here are some common symptoms to watch out for:
- Brake lights stuck on: If the brake lights remains illuminated even when the brake is not applied, it may indicate a problem with the brake switch.
- Brake light not working: On the other hand, if the brake light fails to illuminate when you apply the brakes, the switch may be malfunctioning.
- Intermittent light operation: If the brake lights works sporadically or only when you manipulate the front brake lever or rear brake pedal, there may be an issue with the switch’s alignment or internal components.
Front Brake Light Switch Troubleshooting
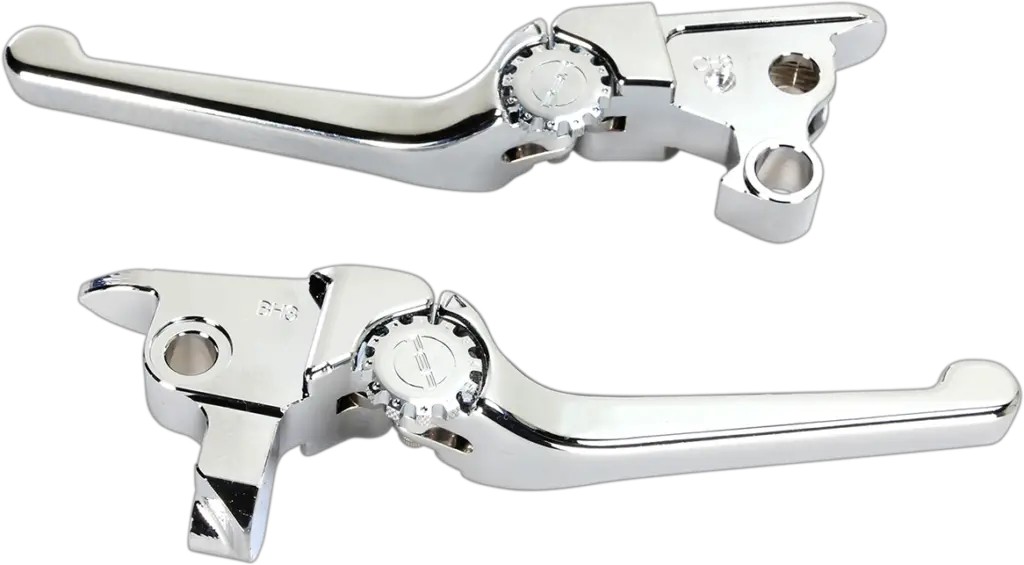
The front brake switch is prone to misalignment, which can cause the brake lights to stay on or fail to activate. Follow these steps to troubleshoot the front brake switch:
- Start by loosening the handlebar clamp to allow for adjustment.
- Move the master cylinder and lever to ensure proper alignment with the switch housing.
- Tighten the clamp and check if the brake lights functions correctly.
- If the issue persists, consider inspecting the switch housing for any damage or wear.
- Adjust or replace the switch housing as necessary.
Rear Brake Light Switch Troubleshooting
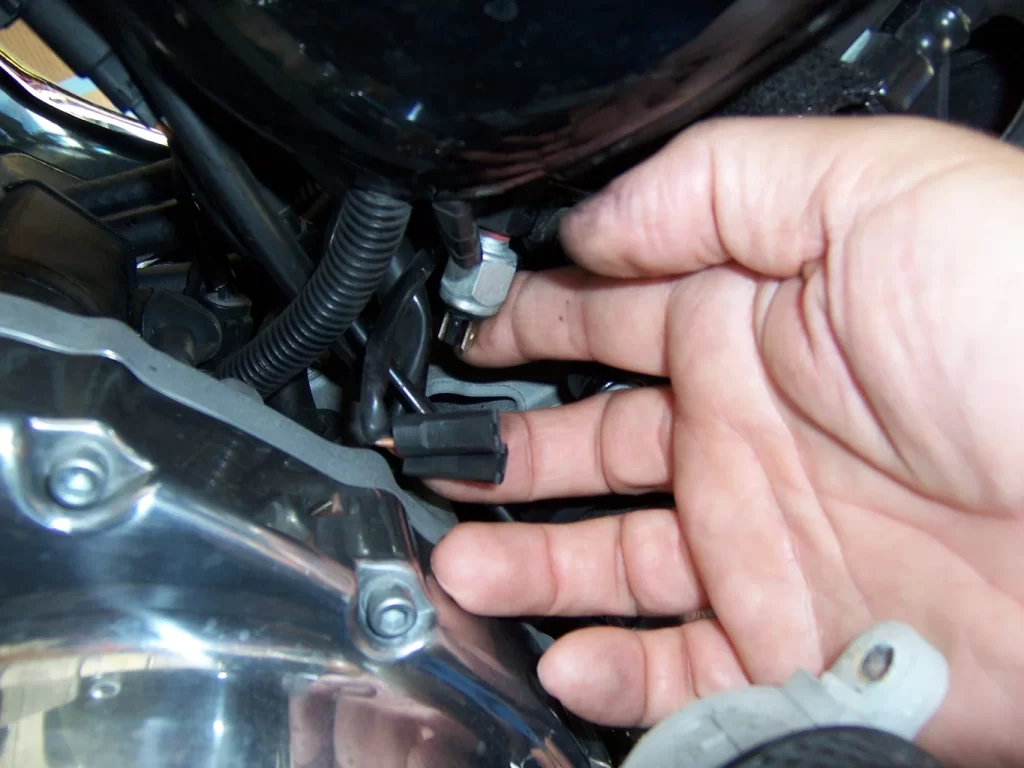
The rear brake switch may encounter problems due to heat exposure or mechanical issues. Here’s how you can troubleshoot the rear brake light switch:
- Check the switch’s location near the exhaust system. Excessive heat can cause the rear switch to malfunction.
- Inspect the switch for any signs of fluid leaks, which may indicate a faulty internal mechanism.
- If the switch appears to be in good condition, ensure it is properly aligned with the brake pedal.
- Make sure the switch engages and disengages smoothly when you press and release the brake pedal.
- If necessary, replace the switch to resolve the issue.
Common DIY Fixes for Brake Light Switch Problems
If you’re a DIY enthusiast, there are several quick fixes you can try before resorting to replacing the brake switches. Here are some common solutions:
- Check for loose or damaged wires: Ensure all connections to the brake switch are secure and free from damage.
- Clean the switch contacts: Over time, dirt and grime can accumulate on the switch contacts, impeding proper electrical flow. Use a contact cleaner to remove any debris.
- Lubricate moving parts: Apply a small amount of lubricant to the switch’s moving parts, such as the plunger or The Brake lever itself, to ensure smooth operation.
- Install a heat shield: If heat exposure is a recurring issue, consider installing a heat shield near the switch to protect it from excessive temperatures.
When to Seek Professional Help
While many brake light switch issues can be resolved through DIY troubleshooting and fixes, there may be instances where professional assistance is necessary. Consider seeking professional help if:
- The problem persists despite your best efforts to troubleshoot and fix it.
- You lack the necessary technical knowledge or tools to address the issue.
- The switch requires complex repairs or replacement.
Recall and Warranty Information
It’s worth noting that Harley Davidson has issued recalls for certain models due to these switch problems. If your motorcycle falls within the affected range, contact your local dealership directly to inquire about any available recalls or warranty coverage.
Conclusion
Brake light switch problems can be frustrating, but with the right knowledge and troubleshooting steps, you can diagnose and fix the issue. Remember to prioritize safety and seek professional help if needed. By addressing these switch problems promptly, you can ensure a safer and more enjoyable riding experience on your Harley Davidson motorcycle.
If you have any further questions or need assistance, don’t hesitate to reach out and leave a comment below!