When your golf cart won't start but the lights work, it can be frustrating. You'll want to start by checking the battery's charge and condition, as well as ensuring that the terminals are clean and securely connected. Next, take a moment to inspect the fuses and wiring. But don't stop there; the problem could lie deeper within the ignition switch or solenoid. Understanding what to test next could save you time and effort, so let's explore the essential steps to get your cart back on the course.
Key Takeaways
- Check battery voltage and condition; ensure connections are tight and clean to prevent starting issues.
- Inspect fuses for damage and replace any blown fuses to restore electrical flow.
- Test the ignition switch for continuity; if faulty, replace it to enable starting.
- Verify the solenoid and starter motor for voltage; damaged components may need replacement.
- Evaluate the throttle system and controller for proper functionality and connections to ensure effective operation.
Check the Batteries
When diagnosing golf cart issues, the first step is to check the batteries, your cart's power source. Begin by confirming the batteries are fully charged. Use a voltmeter to measure the voltage; each battery should read between 6 to 8 volts for a 36-volt system or 8 to 10 volts for a 48-volt system. If the readings are low, charge the batteries and retest.
Next, inspect the battery connections. Look for corrosion or loose terminals, as these can impede electrical flow. Clean any corrosion with a mixture of baking soda and water, and confirm all connections are tight.
It's also important to check the age of the batteries. If they're older than five years, they may be nearing the end of their lifespan and might need replacing.
Inspect the Fuses
Although batteries are essential for your golf cart's operation, inspecting the fuses is equally important for diagnosing electrical issues. Fuses protect your cart's electrical components by preventing excessive current flow, which can cause damage. When your golf cart won't start but the lights work, a blown fuse could be the culprit.
Start by locating the fuse box, which is typically found under the seat or near the battery compartment. Once you've found it, carefully open the cover.
Visually inspect each fuse; they're usually small, glass, or plastic components. Look for any signs of damage, such as a broken wire or discoloration within the fuse. If you spot a blown fuse, replace it with one of the same amperage rating to avoid further issues.
After replacing a blown fuse, try starting your golf cart again. If it starts, you've resolved the issue; if not, move on to further troubleshooting.
Test the Ignition Switch
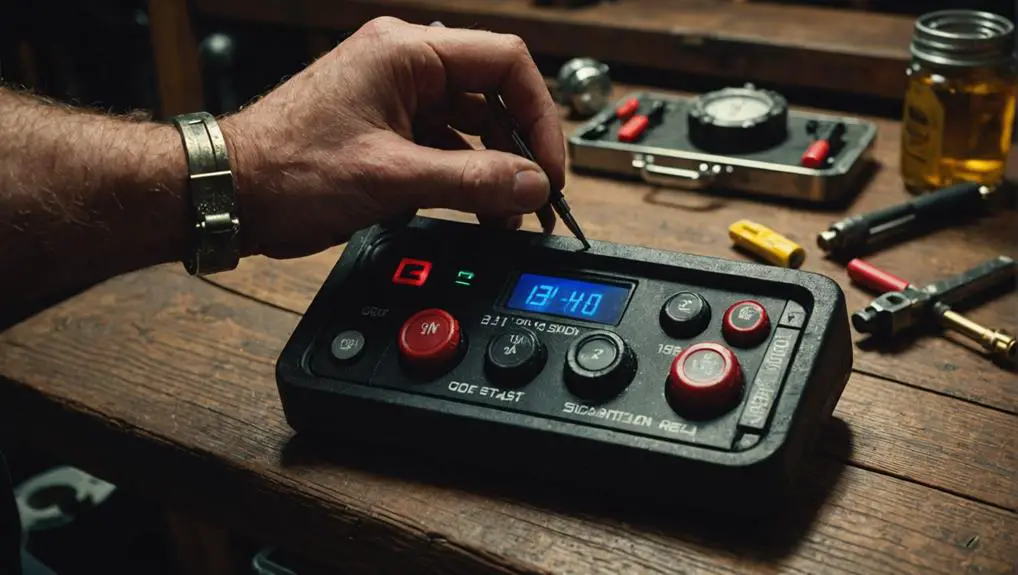
Testing the ignition switch is a crucial step in diagnosing issues with your golf cart's starting system. Begin by ensuring the cart is in the "OFF" position. Disconnect the battery to prevent any accidental short circuits. You'll need a multimeter for this test. Set the multimeter to the continuity setting, which allows you to check if electrical current can flow through the switch.
Next, locate the ignition switch wiring harness. You'll typically find two wires connected to the switch: the power input and the output to the solenoid. Disconnect these wires to isolate the ignition switch.
Connect one probe of the multimeter to the power input terminal and the other probe to the output terminal. Turn the ignition key to the "ON" position. If the multimeter beeps or shows continuity, the switch is functioning correctly. If there's no continuity, the ignition switch is likely faulty and needs replacement.
Reconnect everything after testing to avoid any loose connections. Remember, a malfunctioning ignition switch can prevent your golf cart from starting, even if the lights work.
Examine the Solenoid
The solenoid plays a vital role in your golf cart's starting system, acting as a switch that controls the flow of electricity from the battery to the motor. If your golf cart won't start but the lights work, examining the solenoid is a key step in diagnosing the issue.
First, locate the solenoid, usually positioned near the battery or under the seat. You'll want to inspect it for any signs of damage or corrosion.
Here's what to check:
- Connections: Verify that the connections to the solenoid are tight and free from corrosion. Loose or corroded connections can prevent proper operation.
- Click Sound: When you press the accelerator, listen for a clicking sound from the solenoid. If you hear it, the solenoid is attempting to engage. If not, it might be faulty.
- Voltage Test: Use a multimeter to check for voltage at the solenoid terminals when the accelerator is pressed. You should see a reading; if not, the solenoid may need replacement.
Assess the Starter Motor
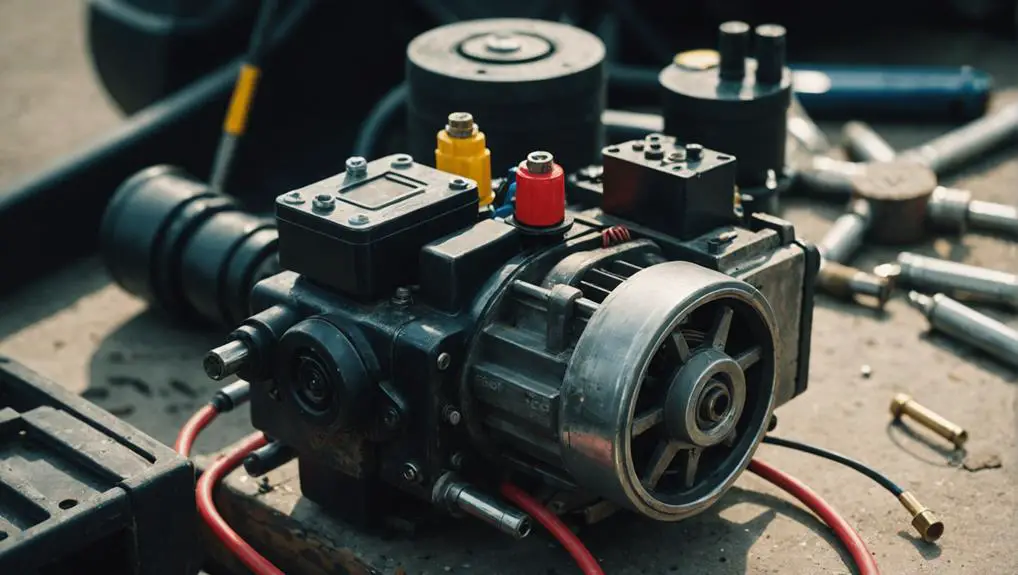
After checking the solenoid, it's important to assess the starter motor, as it directly influences your golf cart's ability to start.
First, locate the starter motor, typically mounted near the rear of the cart, connected to the engine. Inspect the motor for any visible signs of damage, such as corrosion or burnt components.
Next, use a multimeter to test the voltage at the starter motor terminals while someone turns the ignition key. You should see a reading of around 12 volts. If there's no voltage, the issue may not lie with the starter motor itself, but you'll need to investigate further.
If you're getting voltage and the starter still doesn't engage, tap the motor lightly with a hammer. Sometimes, this can help free up a stuck rotor. After tapping, try starting the cart again.
If it still won't start, the starter motor may need to be replaced. Before making that decision, consult your golf cart's manual for specific troubleshooting steps related to your model.
Look for Loose Connections
When diagnosing your golf cart, start by inspecting the battery terminals for any loose or corroded connections.
Next, check the wiring harness for signs of wear or disconnection.
Ensuring all connections are secure can prevent power loss and improve overall performance.
Inspect Battery Terminals
Inspecting battery terminals is essential for diagnosing golf cart issues, as loose connections can lead to power loss or erratic performance.
Begin your inspection by visually evaluating the battery terminals for any signs of looseness or corrosion. If the terminals aren't secured tightly, your golf cart mightn't start, despite the lights functioning.
Here are some key points to reflect on while inspecting your battery terminals:
- Check for Tightness: Verify the terminal connections are snug. Use a wrench to tighten the bolts if they're loose.
- Look for Corrosion: Examine the terminals for any white or greenish buildup, which indicates corrosion. This can hinder electrical flow.
- Inspect Cable Condition: Evaluate the cables for fraying or damage. Any integrity issues with the cables can also lead to performance problems.
After completing your inspection, make necessary adjustments or clean the terminals if needed.
If the connections are tight and corrosion-free, you can move on to other potential issues with your golf cart.
Check Wiring Harness
Once you've confirmed the battery terminals are tight and free of corrosion, the next step involves checking the wiring harness for loose connections.
Inspect each connector along the wiring harness that runs from the battery to the motor and other components. Look for any signs of wear, fraying, or damage that could affect the electrical flow.
Start by gently tugging on each connector to verify they're seated properly. If a connection feels loose or comes apart, that could be your issue. Pay special attention to key areas like the throttle, solenoid, and controller. These components often experience vibration, which can lead to loose wires over time.
While you're at it, check for any corrosion around the connectors. Corrosion can impede electrical flow, making your cart appear dead even though the lights work. If you find any corroded connectors, clean them with a wire brush or replace them if necessary.
Once you've inspected the wiring harness and secured any loose connections, try starting the golf cart again.
If it still won't start, it could indicate a deeper issue that requires further diagnosis.
Evaluate the Throttle Position
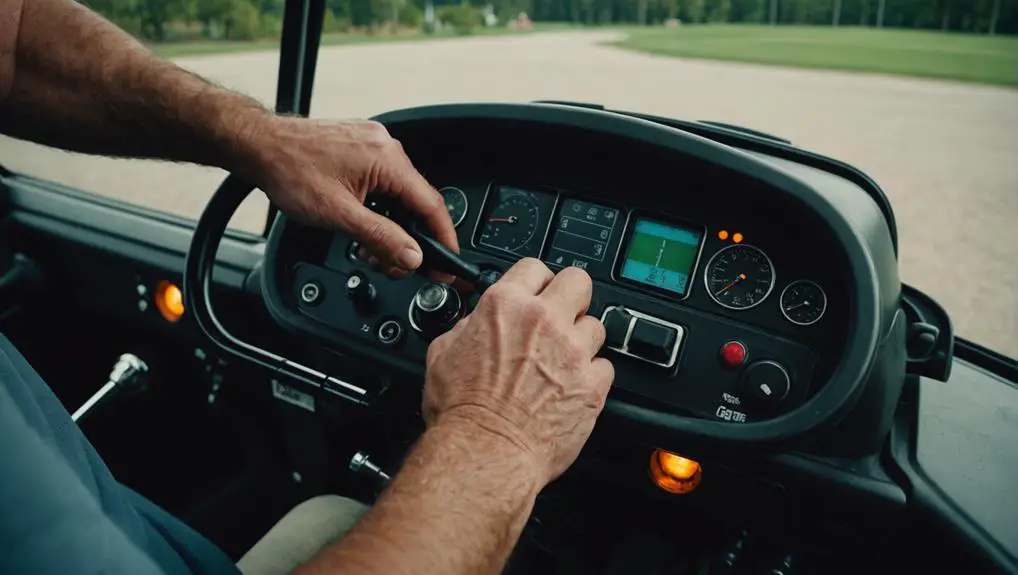
Evaluating the throttle position is vital for diagnosing performance issues in your golf cart. A malfunctioning throttle can prevent your cart from starting, even when the lights are operational.
Start by checking the throttle cable for any signs of wear or damage. If the cable is frayed or stuck, it may not allow the throttle to fully engage.
Next, inspect the throttle sensor. This component monitors the position of the throttle and sends signals to the controller. A faulty sensor can lead to incorrect readings, causing starting issues.
Here are some key points to take into account during your evaluation:
- Cable Condition: Look for fraying or kinks in the throttle cable.
- Sensor Functionality: Test the throttle sensor with a multimeter to verify it's providing accurate readings.
- Connections: Check all electrical connections related to the throttle for corrosion or looseness.
After reviewing these components, if you find any issues, you'll need to repair or replace them. A properly functioning throttle position is vital for your golf cart's performance, so don't overlook this step in your troubleshooting process.
Review the Controller
The controller is a critical component in your golf cart's electrical system, acting as the brain that manages power delivery to the motor. When your golf cart won't start but the lights work, it's crucial to check the controller for issues.
Begin by inspecting the wiring connections; loose or corroded connections can interrupt power flow. Verify that the connectors are securely fastened and free from rust or debris.
Next, look for any visible signs of damage on the controller itself. Cracked or burnt components may indicate a failure.
If you've got a multimeter, test the voltage at the controller input and output terminals. You should see a consistent reading; any significant drop could signal a malfunction.
You can also check for error codes if your controller has a diagnostic feature. This can provide insight into specific issues affecting the system.
If you're comfortable, consider resetting the controller to see if that resolves the problem. Remember, handling electrical components requires caution, so verify the cart is powered down during this inspection.
Evaluating the controller thoroughly can help pinpoint the root cause of your starting issues.
Consult a Professional

When troubleshooting persistent golf cart issues, consulting a professional can save you time and prevent further damage.
If you've already checked the controller and the lights work but the cart still won't start, it might be time to get expert help. Professionals have the tools and knowledge to diagnose complex electrical and mechanical problems that you may not be able to identify on your own.
Consider these key reasons to consult a professional:
- Diagnostic Expertise: Technicians can accurately assess issues using specialized equipment and experience.
- Time Efficiency: Professionals work quickly, allowing you to get back on the course sooner.
- Warranty Protection: If your cart is under warranty, having a professional handle repairs may keep your coverage intact.
Frequently Asked Questions
What Tools Do I Need for Diagnosing My Golf Cart?
To diagnose your golf cart, you'll need a few essential tools. A multimeter is vital for checking voltage and continuity in the electrical system.
A basic toolset, including wrenches and screwdrivers, helps in accessing components. A battery tester guarantees your batteries are in good condition.
Additionally, a wiring diagram specific to your golf cart model can be invaluable for troubleshooting. Having these tools handy will make your diagnosis process more efficient and effective.
How Often Should I Perform Maintenance on My Golf Cart?
You should perform maintenance on your golf cart at least once a year or every 100 hours of use, whichever comes first.
Regular checks include inspecting the battery, tires, brakes, and electrical connections. Keep an eye on fluid levels and clean the cart to prevent corrosion.
If you use your cart frequently or in harsh conditions, consider more frequent inspections to guarantee peak performance and longevity.
Staying proactive saves you time and money in the long run.
Can Weather Conditions Affect My Golf Cart's Starting Issues?
Yes, weather conditions can definitely affect your golf cart's starting issues. Cold temperatures can weaken the battery's performance, leading to insufficient power for starting.
Similarly, excessive heat can cause battery fluid to evaporate, reducing its efficiency. Humidity may also impact electrical connections, causing corrosion.
To minimize these effects, keep your golf cart in a climate-controlled environment when possible and regularly check the battery and connections for signs of wear or damage.
Is a Clicking Noise Normal When Trying to Start the Cart?
If you hear a clicking noise when trying to start your golf cart, it's not the end of the world; it's often a sign of an underlying issue.
This sound usually indicates that the starter solenoid is engaging, but there's insufficient power from the battery. Check your battery connections and voltage.
If they're fine, your starter or solenoid might need attention. Don't ignore this noise—it could be your cart's way of begging for help!
How Can I Tell if My Golf Cart Battery Is Dead?
To determine if your golf cart battery is dead, start by checking the voltage with a multimeter. A fully charged battery should read around 12.6 volts.
If it's below 12.4 volts, it's likely discharged. Next, inspect for corrosion on terminals and make certain connections are secure.
If the battery's age exceeds three to five years, it might need replacing. Finally, try charging it; if it doesn't hold a charge, it's time for a new battery.
Conclusion
In the garden of golf carts, a stubborn seed may refuse to sprout despite sunlight shining down. By nurturing the roots—checking batteries, fuses, and connections—you can help it thrive once more. Each component plays an essential role, just as every part of a plant contributes to its growth. If your diligent efforts yield no fruit, it's wise to seek the gardener's expertise. Sometimes, the right touch can bring life back to a weary machine.