When your golf cart won't start, when it makes strange noises, or when the lights flicker, it's time to troubleshoot. You might be surprised at how many common issues can be resolved with a few straightforward checks. Start by evaluating the battery and fuses, then move on to the wiring and starter. If you've done all that and it still won't budge, you may need to contemplate other underlying problems. Understanding what to do next could save you time and money, so let's explore this step-by-step guide together.
Key Takeaways
- Check the battery charge and connections; ensure terminals are clean and secure to prevent starting issues.
- Inspect fuses for damage and replace any faulty ones to restore electrical functionality.
- Examine the starter for proper functionality using a multimeter; replace if it fails testing.
- Verify fuel level and quality; ensure fuel lines and filter are clear of clogs or leaks.
- Evaluate ignition components, including the ignition switch and spark plug, for wear and proper operation.
Identify the Problem
Before diving into repairs, it's essential to pinpoint why your golf cart won't start. Start by checking for any obvious signs of malfunction. Listen for any clicking sounds when you turn the ignition. If you hear it, the starter solenoid may be working, but the issue could lie elsewhere. Look for dashboard warning lights; they can indicate electrical issues or other problems.
Next, inspect the key switch. If it's worn or damaged, it mightn't be making a proper connection. Wiggle the key in the ignition to see if that helps. Additionally, observe the throttle pedal. If it's stuck or not engaging properly, your cart won't start.
Don't forget about the wiring. Look for frayed or loose connections, particularly around the battery and ignition system. Examine the fuses, as a blown fuse can interrupt power flow.
Check the Battery
Start by checking the battery charge level; a low charge can prevent your golf cart from starting.
Next, inspect the terminal connections for corrosion or loose wires, as these issues can disrupt the power flow.
Battery Charge Level
Checking the battery's charge level is vital when troubleshooting a golf cart that won't start. First, verify you have a multimeter or a battery tester. Set the multimeter to DC voltage and connect the probes to the battery terminals: red to positive and black to negative. A fully charged 12-volt battery should read around 12.6 volts or higher. If your reading falls below 12.4 volts, your battery is undercharged and may not provide enough power to start the cart.
Next, if the voltage is considerably low, consider charging the battery with an appropriate charger. For a lead-acid battery, slow charging is preferable to avoid damage. Allow the battery to charge fully and then retest the voltage. If the battery reads 12.6 volts or more after charging, it's in good condition.
However, if the voltage remains low even after charging, the battery might be nearing the end of its lifespan. In that case, you should consider replacing it, as a failing battery could lead to persistent starting issues.
Terminal Connections Inspection
Making certain that the terminal connections are secure and free of corrosion is essential for your golf cart's startup performance. Start by turning off the cart and disconnecting the battery for safety.
Inspect both the positive and negative terminals. Look for any signs of corrosion, which appears as a white, chalky substance. If you find corrosion, you'll need to clean it off. Use a mixture of baking soda and water to neutralize acid buildup, applying it with a brush. Rinse with water and dry thoroughly.
Next, check the tightness of the connections. Use a wrench to make sure the bolts are snug but not overly tight, which could damage the terminals. Loose connections can prevent the battery from delivering the necessary power to start your cart.
Examine the battery cables for any fraying or damage that could disrupt the electrical flow. If you notice any issues, replace the cables immediately.
Battery Age Check
After verifying the terminal connections, it's important to assess the battery's age, as older batteries can greatly impact your golf cart's ability to start. A battery typically lasts around 4 to 6 years, and if yours is nearing or exceeds this range, it may be time for a replacement.
Here's how to check the age and condition of your battery:
- Locate the date code: Check for a label on the battery that usually includes a date code in a two-digit format (e.g., "21" for 2021).
- Inspect for corrosion: Look for any corrosion around the terminals, which can indicate deterioration.
- Test voltage: Use a multimeter to measure the battery's voltage. A healthy battery should read around 12.6 volts or more; anything below 12.4 volts signals a problem.
- Load test: If you have access to a load tester, apply a load to the battery. It should maintain at least 9.6 volts for 15 seconds under load.
Inspect the Fuses
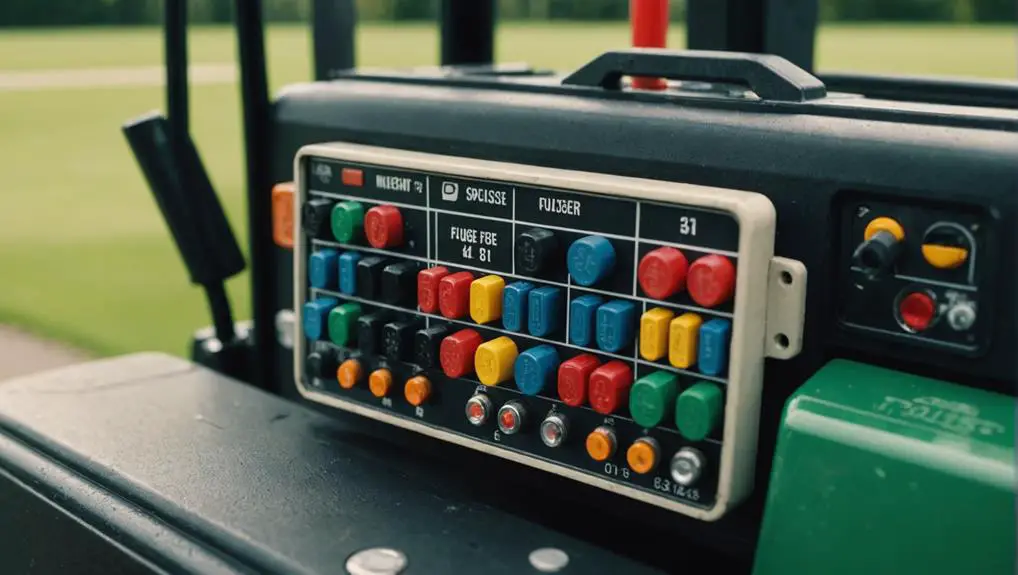
Next, you'll want to locate the fuse box in your golf cart, which is typically found under the seat or near the battery compartment.
Once you've found it, inspect the fuses for any signs of damage, such as burns or breaks, as these issues can prevent your cart from starting.
If you spot a faulty fuse, replacing it's a quick and straightforward fix that could get your cart running again.
Locate the Fuse Box
To get started with troubleshooting your golf cart, you'll need to locate the fuse box, which is typically found under the seat or near the battery compartment. Identifying this component is vital, as it houses the fuses that protect your cart's electrical system.
Here's how to find the fuse box:
- Check Under the Seat: Lift the seat cushion or bench. Look for a panel or cover that may be hiding the fuse box.
- Examine the Battery Compartment: If it's not under the seat, look around the battery area. The fuse box might be mounted on the side or rear of the compartment.
- Look for Labels: Many golf carts have labels indicating the fuse box location. Check for any stickers that could guide you.
- Consult the Manual: If you're still unsure, refer to your owner's manual. It should provide a detailed diagram of the fuse box location.
Once you've located the fuse box, you can proceed to inspect the fuses for any damage or blown components. This step is essential for ensuring your golf cart starts smoothly.
Check for Damage
Once you've found the fuse box, it's crucial to inspect the fuses for any signs of damage, as a blown fuse can prevent your golf cart from starting.
Start by removing the cover of the fuse box, usually secured by clips or screws. Look closely at each fuse; a blown fuse typically has a broken filament or is discolored.
Using a multimeter, you can test the continuity of each fuse. Set the multimeter to the continuity setting and touch the probes to both terminals of the fuse. If the multimeter beeps or shows a reading, the fuse is intact. If there's no beep or reading, the fuse is blown and needs replacement.
Take note of the fuse ratings—often indicated on the fuse itself and in your owner's manual. Replace any blown fuses with new ones of the same rating to avoid electrical issues.
After replacing, confirm the fuse box cover is securely fastened. Once you've done this, try starting your golf cart again. If it still won't start, you may need to investigate other electrical components.
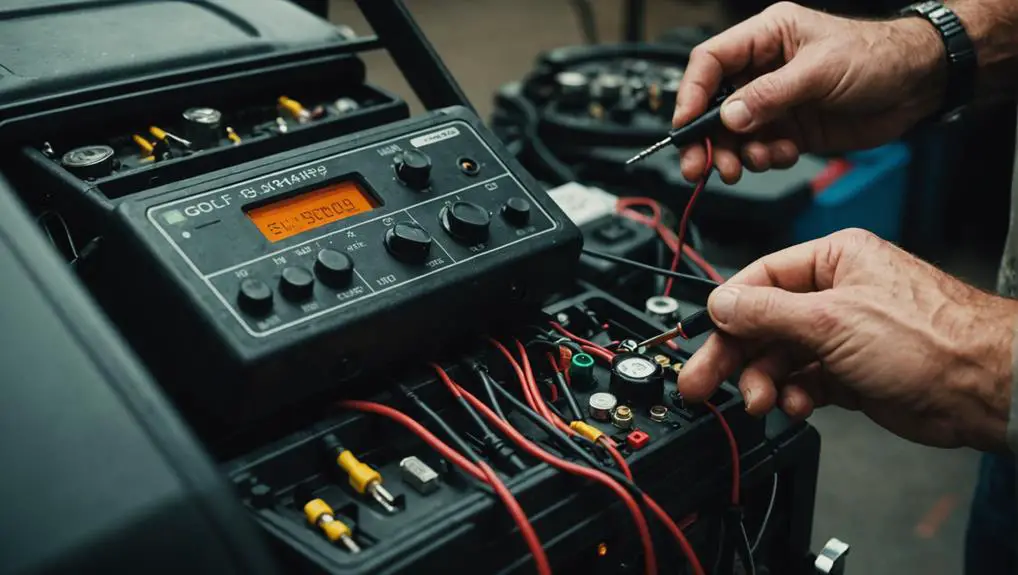
Examine the Wiring
Your golf cart's wiring can often be the culprit behind a no-start condition, so it's essential to conduct a thorough examination.
Start by visually inspecting the wiring harness for any signs of wear or damage. Look closely for frayed wires, corrosion, or loose connections. These issues can disrupt electrical flow and prevent your cart from starting.
Follow these steps to examine the wiring:
- Inspect Connectors: Check all connectors for corrosion or dirt. Clean or replace them if necessary.
- Trace Wires: Follow the wiring from the battery to the motor, confirming no breaks or loose sections are present.
- Test Continuity: Use a multimeter to test for continuity in critical wires. This will help identify any hidden breaks.
- Check Ground Connections: Verify that ground wires are securely connected to the frame. A poor ground can lead to electrical issues.
Test the Starter
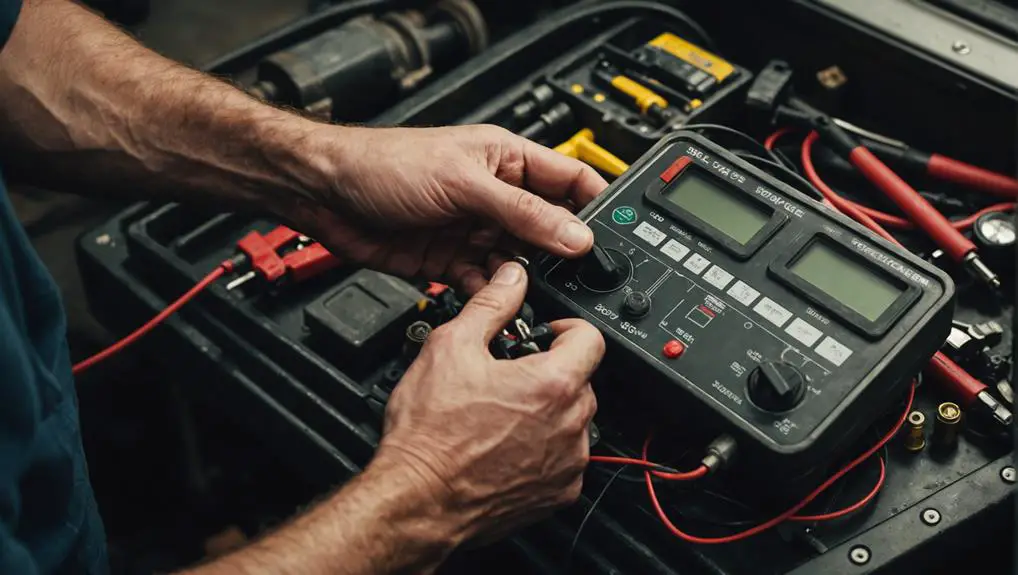
Testing the starter is an essential step in diagnosing why your golf cart won't start. Begin by ensuring your battery is fully charged and the terminals are clean and secured. Once you've confirmed this, locate the starter, typically situated near the engine. Disconnect the wires connected to the starter to prevent any short circuits during your test.
Using a multimeter, set it to the DC voltage setting. Connect the positive probe to the starter's positive terminal and the negative probe to a grounded metal surface on the cart. Have a helper turn the key to the "start" position while you observe the multimeter reading. If you notice a voltage drop below 10 volts, it indicates a faulty battery or poor connections.
Next, you can perform a bench test on the starter. Remove the starter from the cart, connect it directly to a fully charged battery using jumper cables, and see if it spins. If it doesn't, the starter is likely defective and needs replacement. If it does spin, the issue may lie elsewhere, and further investigation is necessary.
Look for Fuel Issues
When a golf cart won't start, fuel issues can often be the culprit. Before you plunge into complicated repairs, check the fuel system.
Here's a quick checklist to help you troubleshoot:
- Fuel Level: Verify there's sufficient fuel in the tank. It's surprising how often an empty tank causes starting issues.
- Fuel Quality: Inspect the fuel for contamination. Old or dirty fuel can clog the system, so consider replacing it if it's been sitting for an extended period.
- Fuel Filter: Examine the fuel filter for clogs. A blocked filter restricts fuel flow, making it hard for the engine to start. If it looks dirty, replace it.
- Fuel Lines: Check for leaks or cracks in the fuel lines. Damaged lines can lead to fuel loss and pressure drops, preventing the engine from receiving the needed fuel.
Evaluate the Ignition System
A malfunctioning ignition system can be a major reason why a golf cart won't start. Begin by checking the ignition switch. If it feels loose or doesn't click into place, it could be faulty. Use a multimeter to test for continuity; if there's no continuity when you turn the key, replace the switch.
Next, inspect the ignition coil. This component sends voltage to the spark plug. Look for cracks or corrosion on the coil and wires. If you suspect it's defective, measure the resistance with a multimeter. Verify it falls within the manufacturer's specifications. If not, replace it.
Then, examine the spark plug itself. Remove it and check for wear or carbon buildup; a worn or fouled plug can prevent ignition. Clean or replace the spark plug as necessary, verifying the gap is set correctly.
Lastly, check the wiring connected to the ignition system. Look for frayed wires or loose connections that could disrupt the electrical flow. Repair any damaged wiring and verify all connections are secure.
Seek Professional Help
Sometimes, your golf cart's stubborn refusal to start might signal the need for professional intervention. When your DIY efforts haven't resolved the issue, it's time to call in the experts. They possess the specialized knowledge and tools necessary to diagnose complex problems that can elude even seasoned enthusiasts.
Here's when you should seek professional help:
- Persistent Electrical Issues: If you've checked the wiring, fuses, and battery, yet the cart still won't start, a technician can pinpoint hidden electrical faults.
- Motor Problems: Unusual noises or overheating while trying to start the cart may indicate motor failure. A specialist can assess and, if needed, rebuild or replace the motor.
- Controller or Solenoid Failures: If the cart doesn't respond at all, it could be due to a faulty controller or solenoid. Professionals can test these components accurately.
- Routine Maintenance: Sometimes, it's just time for a check-up. Regular maintenance can prevent larger issues down the line, ensuring your cart runs smoothly.
Don't hesitate to seek professional help when needed; it could save you time, money, and frustration in the long run.
Frequently Asked Questions
What Tools Do I Need for Golf Cart Repairs?
For golf cart repairs, you'll need a few essential tools.
Start with a socket set for removing bolts and nuts. A multimeter's vital for diagnosing electrical issues, while a screwdriver set helps with various screws.
Don't forget pliers for gripping and cutting wires. A wrench set is handy for tightening fittings, and a tire gauge guarantees your tires are properly inflated.
How Can I Prevent My Golf Cart From Not Starting Again?
To prevent your golf cart from not starting again, regularly check the battery connections.
For instance, if you once faced a dead battery on the course, ensuring tight and clean connections could've saved you from that hassle.
You should also inspect the battery's fluid levels and replace any worn-out parts promptly.
Is It Safe to Jump-Start a Golf Cart?
Jump-starting a golf cart can be safe if you follow proper procedures.
Make certain both carts are turned off and connect the positive terminals first, then the negative.
Confirm the voltage matches; most golf carts use 36 or 48 volts.
Always use heavy-duty cables to reduce resistance and prevent overheating.
Monitor the process closely, and avoid jump-starting a cart with damaged wiring or a faulty battery to prevent further issues.
Can Weather Conditions Affect Golf Cart Performance?
Weather conditions can drastically affect your golf cart's performance, almost like turning your reliable ride into a stubborn mule.
Extreme temperatures can drain your battery life, while rain can create traction issues, making it feel like you're trying to drive on ice.
Humidity can also impact electrical components.
To keep your cart performing at its best, always check the weather and adjust your maintenance routine accordingly.
How Often Should I Service My Golf Cart?
You should service your golf cart at least once a year or every 100 hours of use, whichever comes first.
Regular maintenance includes checking the battery, inspecting tires, and ensuring the brakes function correctly.
If you frequently use your cart in harsh conditions, consider more frequent checks.
Keeping an eye on fluid levels and cleaning the cart can also prolong its lifespan and maintain peak performance.
Don't neglect these essential tasks!
Conclusion
If your golf cart still won't start after all these checks, don't panic—you're not stranded on a deserted island! Sometimes, despite your best efforts, the issues can be more complex than they seem. At this point, calling in a professional might just save you from turning your cart into an elaborate lawn ornament. Don't let frustration drive you to madness; expert help can get you back on the green faster than you can say "fore!"