Imagine you're on the green, and your golf cart suddenly stops, leaving you stranded. You might instinctively check the battery connections first, but there's more to troubleshooting than just that. Understanding common issues can save you time and frustration, especially when you're in a hurry to get back on the course. From fuses to ignition systems, knowing what to look for can make all the difference. Let's explore some essential tips that could help you get your cart back up and running in no time.
Key Takeaways
- Check battery connections for corrosion or loose cables; clean and secure them to ensure proper power delivery.
- Inspect fuses for damage and replace any blown fuses to restore electrical functionality.
- Test the ignition system by measuring voltage output and checking the ignition coil for proper resistance.
- Evaluate tires for damage, proper pressure, and tread depth to maintain safety and performance.
- Examine the motor and controller for wear, continuity, and secure connections to ensure efficient operation.
Check the Battery Connections
When troubleshooting your golf cart, one of the first things you should do is check the battery connections.
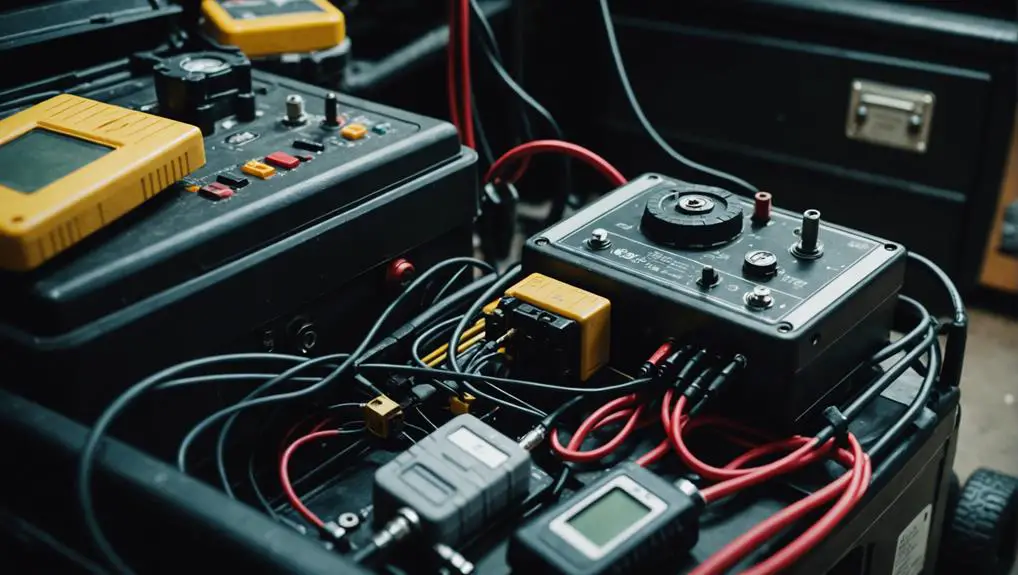
Start by turning off the cart and removing the key to guarantee safety. Locate the battery compartment, usually under a seat or in a designated area. Inspect the battery terminals for any corrosion, dirt, or loose connections. Corrosion can often appear as a white, powdery substance. If you see this, use a wire brush or a mixture of baking soda and water to clean it off.
Next, verify that the battery cables are securely attached. Tighten any loose connections with a wrench, but don't overtighten, as you could damage the terminals.
After securing the connections, check the battery's voltage using a multimeter. A fully charged battery should read around 12.6 volts; if it's lower, it may need charging or replacement.
Don't forget to inspect the condition of the cables themselves. Look for fraying or damage, which can lead to electrical issues.
Inspect the Fuses
After ensuring the battery connections are in good condition, the next step is to inspect the fuses. Fuses protect your golf cart's electrical system from overloads and short circuits, so if you're experiencing power issues, blown fuses could be the culprit.
Start by locating the fuse panel, usually found under the dash or near the battery compartment. Carefully remove the cover and take a close look at each fuse. You'll want to check for any visible signs of damage, such as a broken filament or discoloration. If a fuse appears burnt or broken, it's time to replace it.
Use a multimeter to test the fuses if you're unsure about their condition. Set the multimeter to the continuity setting and touch the probes to each end of the fuse. If the meter beeps or shows continuity, the fuse is good. If not, replace it with one of the same amperage rating.
After replacing any blown fuses, reassemble the fuse panel and test your golf cart. If it powers up, you've successfully identified and fixed the issue. If problems persist, further troubleshooting may be necessary.
Test the Ignition System

Testing the ignition system is essential for diagnosing starting issues in your golf cart. Begin by ensuring the battery is fully charged and that all connections are secure.
Next, locate the ignition switch and check for any signs of wear or damage. If the switch feels loose or unresponsive, it may need replacement.
Use a multimeter to check for voltage at the ignition switch. Turn the key to the "on" position and measure the voltage output. You should see a reading close to the battery voltage. If not, you might've a faulty ignition switch or wiring issue.
Next, inspect the ignition coil. Disconnect the coil's primary lead and use a multimeter to measure its resistance. Consult your golf cart's manual for the specific resistance range.
If the reading is outside this range, you'll need to replace the coil.
Evaluate the Tires
Evaluating the tires on your golf cart is essential for guaranteeing a smooth and safe ride. Proper tire maintenance affects performance, handling, and comfort, so don't overlook this critical component.
Here's how to check your tires effectively:
- Inspect for Damage: Look for cracks, bulges, or punctures. Any visible damage can lead to tire failure and should be addressed immediately.
- Check Tire Pressure: Use a pressure gauge to measure the inflation levels. Ideally, maintain the manufacturer's recommended PSI. Under-inflated tires can cause poor handling, while over-inflated ones may wear unevenly.
- Tread Depth Assessment: Examine the tread for wear. A simple way to check is the penny test: insert a penny into the tread with Lincoln's head down. If you can see the top of his head, it's time for new tires.
- Alignment and Rotation: Confirm your tires are aligned correctly and rotated regularly. This will promote even wear and prolong their lifespan.
Examine the Motor and Controller

Your golf cart's motor and controller play an essential role in its overall performance, so it's important to give them a thorough examination. Start by inspecting the motor for any visible signs of wear or damage. Look for frayed wires, corrosion, or loose connections. A multimeter can help you check for continuity and voltage output, guaranteeing the motor functions correctly.
Next, examine the controller. This component regulates the power to the motor, so any malfunction can lead to performance issues. Check for burn marks or any unusual smells that might indicate overheating. Ascertain all connections are tight and free from corrosion. If you notice any error codes on the controller's display, refer to the manufacturer's manual for troubleshooting steps.
Additionally, verify that the controller is receiving the correct voltage inputs from the battery pack. If the readings are off, it could point to battery issues. Make sure the power supply is stable and that all components are grounded properly.
Frequently Asked Questions
How Often Should I Perform Maintenance on My Golf Cart?
You should perform maintenance on your golf cart at least every six months.
Regular checks on the battery, tires, and brakes keep your cart running smoothly.
After every 40 hours of use, inspect the motor and electrical components.
Additionally, clean the battery terminals and guarantee fluid levels are adequate.
If you notice any issues, address them immediately to prevent costly repairs down the line.
Regular maintenance enhances performance and extends your golf cart's lifespan.
What Tools Do I Need for Basic Golf Cart Repairs?
For basic golf cart repairs, you'll need a few essential tools.
Start with a socket set and wrenches for tightening bolts and nuts. A multimeter's vital for checking electrical issues, while pliers help with wiring tasks.
Don't forget screwdrivers in various sizes for securing panels. A tire pressure gauge guarantees your tires are inflated properly.
Are There Any Common Signs of a Failing Golf Cart Battery?
When your golf cart's battery starts failing, you'll notice signs like sluggish acceleration, dim lights, and a shorter driving range.
Picture cruising along the course, only for your cart to sputter and slow down unexpectedly. You might hear unusual clicking sounds when turning the key.
If the battery's fluid level is low or there's corrosion on the terminals, it's time to check or replace it to keep enjoying those sunny rounds.
Can I Use Regular Automotive Parts for My Golf Cart?
You shouldn't use regular automotive parts for your golf cart, as they're designed for different performance standards and specifications.
Golf carts require specific components tailored to their electric or gas systems. Using automotive parts can lead to compatibility issues, inefficiency, or even damage to the cart.
Always opt for parts specifically designed for your golf cart model to guarantee peak performance and longevity.
Check the manufacturer's recommendations for the best results.
How Can I Improve My Golf Cart's Overall Performance?
To improve your golf cart's overall performance, start by checking the battery's health and connections. Clean any corrosion and guarantee tight connections.
Upgrade to high-performance tires for better traction. Consider adding a performance controller to enhance speed and efficiency.
Regularly inspect the motor for wear and tear, and lubricate moving parts to reduce friction.
Conclusion
By following these troubleshooting tips, you can quickly address common golf cart issues and keep your cart running smoothly. Remember, regular maintenance not only prevents problems but also extends the life of your equipment. Each step you take—checking battery connections, inspecting fuses, testing the ignition system, evaluating tires, and examining the motor—reveals a deeper truth: proactive care is the key to reliability. Don't wait for problems to arise; stay ahead and enjoy your time on the course.