Many golf cart owners overlook the impact of battery health on performance, but it's essential for your cart's speed and efficiency. If yours starts fast and then gradually slows down, there could be a variety of underlying issues at play. You might want to evaluate factors like the condition of your cables, the accelerator pedal's responsiveness, or even the state of the motor itself. Understanding these components can lead you to the right solution, but knowing where to start can be a bit tricky. Let's explore what you can do to get your golf cart back in ideal shape.
Key Takeaways
- Check and inflate tire pressure to manufacturer's levels to improve performance and handling.
- Inspect battery connections for corrosion and ensure tightness; test voltage levels for optimal power.
- Evaluate the accelerator pedal for wear and ensure unobstructed movement; check voltage output while pressing the pedal.
- Assess the motor for signs of wear, listen for unusual noises, and verify tight connections.
- Regularly clean components and perform routine inspections to maintain golf cart efficiency.
Common Causes of Slowdown
Have you ever wondered why your golf cart is losing speed? Several factors could be causing this frustrating issue.
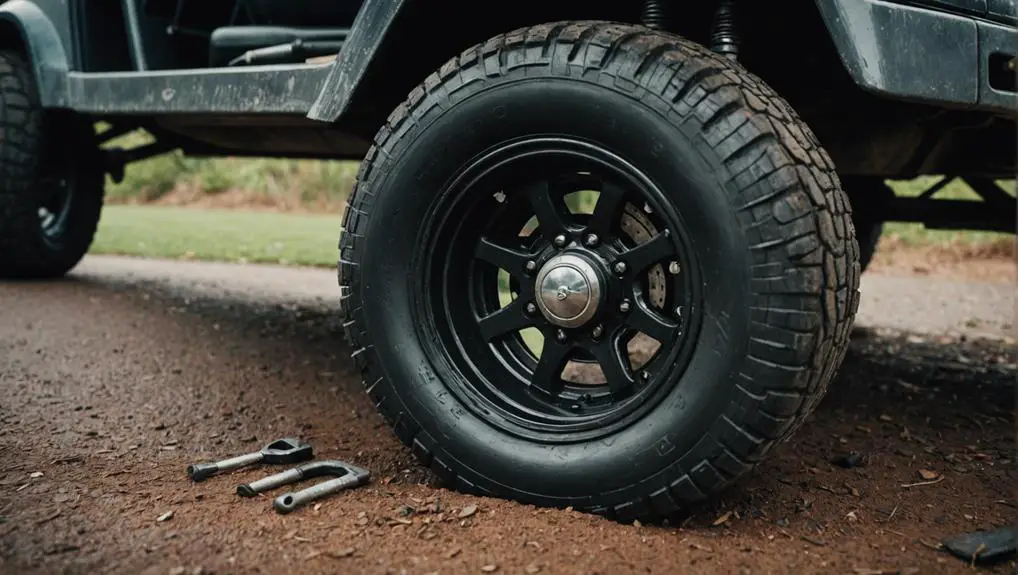
First, check the tires. Low tire pressure can greatly impact performance, so verify they're inflated to the manufacturer's recommended levels.
Next, look at the motor. Overheating or wear and tear can lead to reduced efficiency. If the motor's components are damaged or worn, you might experience a decrease in speed.
Another common culprit is the drivetrain. Inspect the belts and chains for any signs of wear or damage. A slipping belt can hinder the power transfer from the motor to the wheels, causing noticeable sluggishness.
Additionally, consider the weight of any cargo you're carrying; exceeding the recommended load can strain the cart's capabilities.
Lastly, a dirty or clogged air filter can restrict airflow to the engine, affecting overall performance. Regular maintenance, including cleaning or replacing the air filter, can help prevent slowdowns.
Checking the Battery Health
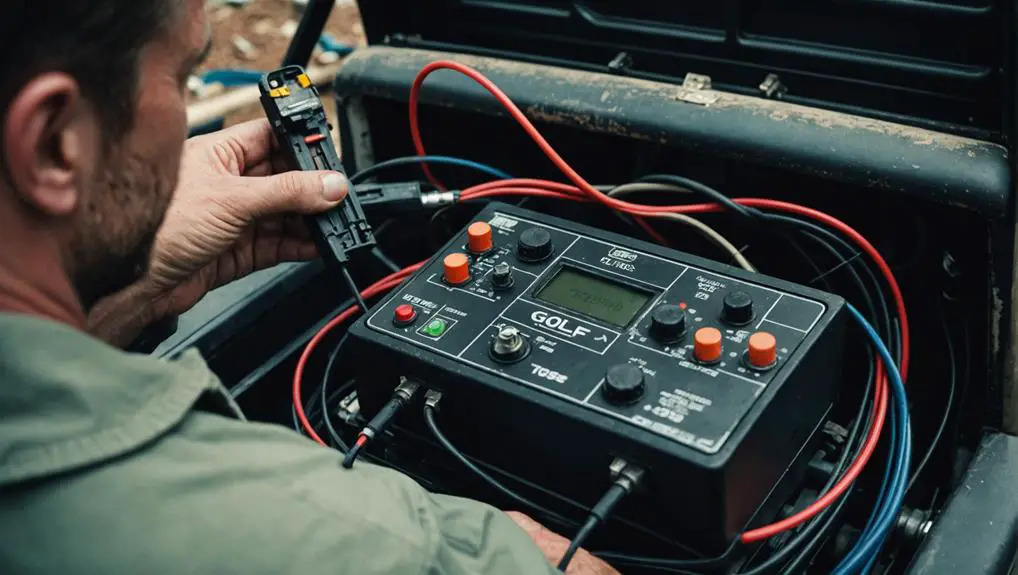
To guarantee your golf cart operates efficiently, start by inspecting the battery connections for any signs of corrosion or looseness.
Next, test the voltage levels using a multimeter to confirm the battery's health.
These steps will help you identify potential issues that could affect performance.
Inspect Battery Connections
Since battery health is essential for your golf cart's performance, inspecting the battery connections is an important first step in troubleshooting.
Begin by verifying the cart is powered off and safely positioned. Locate the battery compartment and carefully remove the cover if applicable.
Check each battery terminal for corrosion, which appears as a white, powdery substance. If you spot any corrosion, clean it using a mixture of baking soda and water. Apply the solution with a brush, scrub gently, and rinse with water to verify no residue remains.
Next, examine the tightness of each connection. Loose terminals can cause poor electrical contact, leading to performance issues. Use a wrench to tighten any loose connections, but be careful not to overtighten, as this can damage the terminal.
Also, inspect the cables for any signs of wear or fraying. Damaged cables should be replaced to guarantee superior conductivity.
After completing the inspection and any necessary cleaning or tightening, reassemble the battery compartment. This thorough inspection will help eliminate battery connection issues, setting the stage for further diagnostics if needed.
Test Voltage Levels
Before you can determine if your golf cart's battery is functioning properly, testing the voltage levels is essential.
Start by using a multimeter to measure the voltage of each battery in the cart. Set the multimeter to the DC voltage setting, ensuring it's appropriate for your battery type, typically 12 volts for most golf carts.
Connect the multimeter's red probe to the positive terminal and the black probe to the negative terminal of the battery. A fully charged 12-volt battery should read around 12.6 to 12.8 volts. If it reads below 12.4 volts, the battery may be partially discharged, and anything below 12 volts indicates a considerable issue.
Next, check the voltage while the cart is under load. Have someone press the accelerator while you measure the voltage again. If the voltage drops considerably—below 10 volts—this suggests that the battery can't maintain power under stress.
Inspecting the Cables and Connections

When troubleshooting a golf cart, inspecting the cables and connections is vital for guaranteeing peak performance.
Start by visually examining all battery cables and connections. Look for frayed wires, corrosion, or loose terminals that could cause intermittent power loss. Pay particular attention to the cable connections at both the battery terminals and the controller.
Next, verify that all connections are tight and free from rust. A poor connection can lead to voltage drops, which might explain why your cart starts fast but slows down afterward. If you notice any corrosion, it's important to clean it using a mixture of baking soda and water, followed by a thorough rinse.
Additionally, inspect the main power cable and any connectors along the circuit for wear or damage. If you find any issues, consider replacing the damaged cables or connectors to restore ideal conductivity.
Testing the Accelerator Pedal
To guarantee your golf cart accelerates properly, start by inspecting the connections at the accelerator pedal.
Loose or corroded connections can hinder performance, so check for any visible issues.
Next, test the voltage output to verify that the pedal is sending the correct signal to the controller.
Inspect Pedal Connections
Although you may be enthusiastic to hit the course, verifying your golf cart's accelerator pedal is functioning properly is vital for a smooth ride. The first step in inspecting pedal connections is to check the physical connections at the pedal itself. Look for any signs of wear, corrosion, or loose connections. If any wires appear frayed or disconnected, you'll need to repair or replace them.
Next, make certain the pedal is securely mounted and moves freely without obstruction. Any binding or sticking could hinder its performance, causing the cart to start fast and then slow down. If the pedal mechanism is dirty, clean it to guarantee smooth operation.
Additionally, inspect the micro switch or potentiometer connected to the pedal. This component is essential for regulating the throttle response. A faulty micro switch can cause erratic acceleration, so verify it's functioning correctly. If it seems damaged or unresponsive, consider replacing it.
Lastly, recheck all connections for tightness. Loose connections can lead to intermittent issues. By thoroughly inspecting these components, you'll be better positioned to diagnose any problems affecting your golf cart's performance.
Test Voltage Output
Testing the voltage output of the accelerator pedal is essential for guaranteeing proper functionality. Start by locating the pedal's wiring harness and disconnecting it. You'll notice several wires; typically, two will be responsible for the voltage output.
Set your multimeter to the DC voltage setting and connect the positive probe to the output wire and the negative probe to the ground wire.
Now, press the accelerator pedal slowly to the floor while observing the multimeter reading. You should see a gradual increase in voltage as you press down. For most golf carts, the expected output range is between 0 to 5 volts. If the voltage doesn't rise or peaks unexpectedly, it indicates a faulty accelerator pedal or potential wiring issues.
After testing, reconnect the wiring harness securely. If the voltage output is within the acceptable range and you're still experiencing performance issues, consider checking other components like the controller or battery condition.
Regular voltage output tests can prevent future problems and guarantee your golf cart operates smoothly. Always follow safety precautions when working with electrical components to avoid injury or damage.
Evaluating the Motor Performance

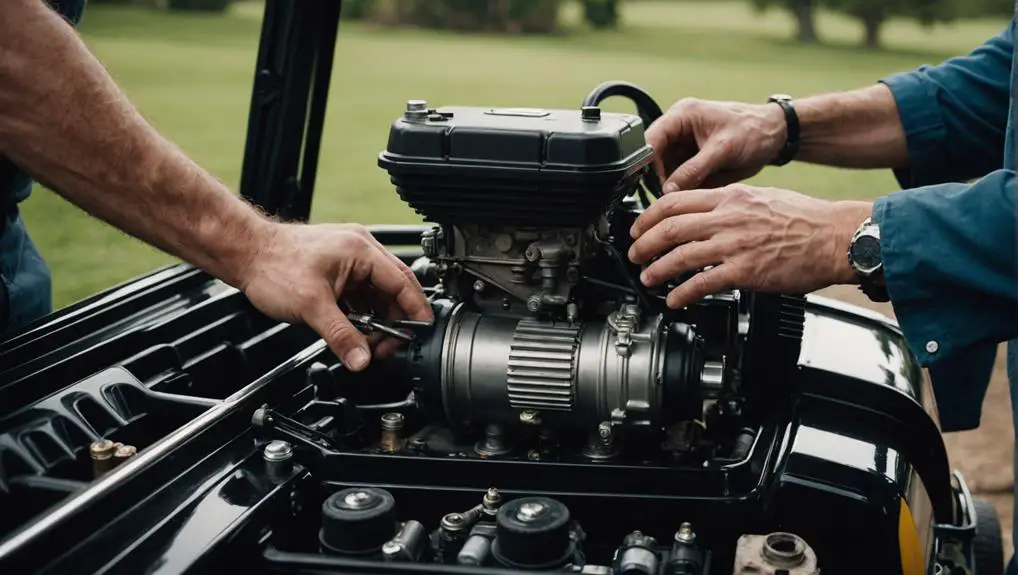
Evaluating the motor performance of your golf cart is essential for ensuring ideal functionality and longevity. Start by inspecting the motor for any visible signs of wear or damage. Look for frayed wires, burnt connectors, or corrosion, as these issues can lead to poor performance.
Next, check the motor's brushes and commutator. Worn brushes can cause inconsistent power delivery, resulting in the cart starting fast and then slowing down. If the brushes are worn down, replace them to restore optimal contact.
You should also listen for unusual noises while the motor is running. Grinding or squealing sounds can indicate internal damage or misalignment.
Additionally, feel for excessive heat after a short run. Overheating may suggest that the motor is working harder than it should, possibly due to mechanical resistance or electrical issues.
Reviewing the Controller Functionality
Verifying your golf cart's controller functions properly is crucial for maintaining smooth operation and responsiveness. The controller acts as the brain of the cart, regulating power from the battery to the motor based on your input via the accelerator pedal. If the cart starts quickly but then slows down, the controller might be malfunctioning or misconfigured.
Begin by inspecting the controller connections. Loose or corroded terminals can disrupt the flow of electricity, leading to inconsistent performance. Tighten any loose connections and clean corroded terminals as needed.
Next, check for error codes if your controller is equipped with a diagnostic system. This can provide insights into underlying issues.
You should also verify the controller settings. Some controllers have adjustable parameters that can affect acceleration and speed. Validate these settings align with your cart's specifications.
If you suspect your controller is defective, test it with a multimeter to measure voltage output while accelerating. If the output fluctuates considerably, replacement may be necessary.
Examining the Tires and Brakes

To guarantee safe operation, start by checking the tire pressure on your golf cart; it's vital for peak performance.
Next, inspect the brake system for any signs of wear or malfunction, as effective brakes are essential for stopping safely.
Regular maintenance of these components helps prevent accidents and prolongs the life of your cart.
Tire Pressure Check
Regularly checking tire pressure is crucial for maintaining your golf cart's performance and safety. Under-inflated tires can lead to poor handling, increased rolling resistance, and excessive wear, causing your cart to start fast but slow down quickly.
To begin, use a reliable tire pressure gauge to measure the pressure in each tire. Refer to your owner's manual for the recommended pressure, typically between 12 to 25 PSI, depending on your specific model.
Next, assess the condition of the tires. Look for signs of uneven wear, cracks, or bulges, which may indicate issues that need addressing. If the pressure is low, inflate the tires to the recommended levels using an air compressor. Remember not to over-inflate, as this can decrease traction and lead to blowouts.
After adjusting the tire pressure, take your golf cart for a short test drive. Monitor its handling and performance; if you still experience issues with speed or control, further investigation may be necessary.
Regular tire pressure checks not only enhance your golf cart's efficiency but also contribute to your overall safety on the course. Keep this maintenance routine to guarantee peak performance.
Brake System Inspection
How can you be confident your golf cart's brake system is functioning properly? Start by inspecting the brake pads for wear. If they're less than a quarter-inch thick, it's time to replace them.
Next, check the brake fluid level; low fluid can indicate leaks or worn components. If the fluid is dark or contaminated, flush the system and replace it with fresh fluid.
Next, examine the brake lines for any signs of damage, such as cracks or leaks. Any issues here can greatly impact braking performance.
Inspect the brake drums or discs for scoring or excessive wear. Uneven surfaces can lead to poor braking and should be resurfaced or replaced as necessary.
Don't forget to check the tires. Make sure they're evenly inflated and have adequate tread. Poor tire condition can affect braking efficiency, especially in wet conditions.
Finally, test the brakes while driving at low speed. If you notice any grinding noises, decreased responsiveness, or pulling to one side, it's vital to address these issues immediately.
Regular brake system inspections help maintain safety and performance, guaranteeing your golf cart operates smoothly.
Assessing the Fuel System
The fuel system in your golf cart plays a crucial role in ensuring smooth operation and performance. To assess it, start by checking the fuel level. Low fuel can cause erratic behavior, so make sure it's adequately filled.
Next, inspect the fuel lines for any cracks or leaks; damaged lines can lead to pressure loss and reduced performance.
Examine the fuel filter as well. A clogged filter restricts fuel flow, causing your cart to start strong but then slow down. If you suspect it's dirty, replace it to restore proper fuel delivery.
Additionally, look at the fuel pump. Listen for any unusual noises when the ignition is on, as a failing pump may struggle to maintain consistent pressure.
Cleaning and Maintaining Components

Keeping your golf cart's components clean and well-maintained is essential for peak performance and longevity. Regular cleaning guarantees that dirt and grime don't accumulate, which can lead to poor functionality. Here are key areas to focus on:
- Battery Terminals: Corrosion can hinder electrical flow. Clean terminals with a mixture of baking soda and water, then dry thoroughly.
- Motor and Controller: Dust buildup can cause overheating. Use a soft brush and compressed air to remove debris, guaranteeing everything's dry before reassembling.
- Wheels and Tires: Check for dirt and damage. Clean tires with soap and water, and inspect for proper air pressure regularly.
Make it a habit to inspect these components after every few uses. Regular maintenance not only improves performance but also extends the life of your golf cart.
If you notice any wear or damage, address it promptly to prevent further issues. By keeping these components in top condition, you'll greatly reduce the chances of your golf cart starting fast and then slowing down unexpectedly.
When to Seek Professional Help
At times, diagnosing issues with your golf cart can be challenging, especially when symptoms aren't clear-cut. If you've performed basic troubleshooting—like checking the battery, inspecting the connections, and cleaning the components—but the problem persists, it might be time to seek professional help.
When you notice that your golf cart starts fast but then slows down unexpectedly, it could indicate deeper electrical or mechanical issues. If you hear unusual noises, experience erratic performance, or notice any burning smells, don't hesitate to consult a technician. These signs often point to serious problems like a failing motor or controller, which require specialized knowledge and tools to diagnose and repair.
Moreover, if you've replaced key components—like the battery or speed controller—and the issue continues, professional assistance is advisable. Golf carts can have intricate wiring or software systems that may not be easily understood without experience.
Frequently Asked Questions
How Can I Tell if My Golf Cart Is Under Warranty?
To determine if your golf cart's under warranty, check the purchase documents for warranty information.
Look for a warranty card or any included paperwork detailing terms and duration.
If you can't find it, contact the dealer or manufacturer directly—they can verify your warranty status using the serial number.
Keep in mind that most warranties have specific coverage periods and conditions, so review those carefully to guarantee you understand your rights.
What Tools Do I Need for Basic Golf Cart Repairs?
Think of your golf cart as a finely-tuned engine, needing the right tools to keep it running smoothly.
For basic repairs, you'll need a socket set, wrenches, screwdrivers, and pliers. A multimeter can help you troubleshoot electrical issues, while a tire pressure gauge guarantees your cart rolls without a hitch.
Don't forget a good cleaning brush and some lubricant for those squeaky parts.
With these tools, you're ready to tackle common repairs with confidence.
Are There Any Quick Fixes for a Slow Golf Cart?
If you're dealing with a slow golf cart, start by checking the battery connections. Tighten any loose cables and clean corrosion off terminals.
Inspect the tires for proper inflation, as under-inflated tires can hinder performance. Additionally, verify that the motor and controller are functioning correctly; a faulty controller can limit speed.
How Often Should I Perform Maintenance on My Golf Cart?
Your golf cart deserves maintenance as often as a race car needs fuel!
Generally, you should perform maintenance every 50 to 100 hours of use or at least once a year. This includes checking the battery, tires, and brakes, as well as tightening loose connections.
Staying on top of these tasks not only enhances performance but also extends the lifespan of your cart. Regular upkeep keeps your ride smooth and enjoyable!
Can Weather Conditions Affect My Golf Cart's Performance?
Yes, weather conditions can greatly affect your golf cart's performance.
High humidity can lead to moisture buildup in electrical components, causing malfunctions. Cold temperatures may reduce battery efficiency, leading to sluggish acceleration.
Conversely, extreme heat can overheat batteries, reducing their lifespan.
It's crucial to regularly check your cart's systems and consider covering it or storing it in a controlled environment during harsh weather to maintain peak performance.
Conclusion
In conclusion, addressing a golf cart that starts fast then slows down requires a systematic approach. Think of it like tuning a musical instrument; every component must harmonize for peak performance. If one string's out of tune, the entire melody falters. Regular checks of the battery, connections, and other parts can prevent future issues. However, if you're still experiencing problems after your efforts, don't hesitate to seek professional help—sometimes, a specialist can play the perfect note to restore balance.