Did you know that nearly 30% of golf cart issues stem from electrical failures, particularly with the solenoid? If you find your cart not responding and the solenoid isn't clicking, it's crucial to pinpoint the problem quickly. By checking battery connections and using a multimeter, you can gather essential information about the solenoid's health. But what do you do if you discover an underlying issue? Understanding the next steps can make all the difference in getting your golf cart back on the course efficiently.
Key Takeaways
- Check for a clicking noise when attempting to start; no sound indicates potential solenoid failure.
- Use a multimeter to measure voltage at the solenoid; readings should be 36 to 48 volts when the accelerator is pressed.
- Inspect all electrical connections for corrosion, looseness, or damage; ensure tight and clean connections to improve current flow.
- If the solenoid is faulty, replace it by disconnecting the battery and carefully removing and installing the new solenoid.
- Perform regular maintenance on battery and wiring to prevent future solenoid issues, ensuring optimal performance of the golf cart.
Understanding the Solenoid Function
When you press the accelerator on your golf cart, the solenoid plays an essential role in energizing the electric motor. Acting as an electromagnetic switch, it connects the battery to the motor, allowing electrical current to flow. This action is significant for the motor to generate the power needed to propel your cart forward.
The solenoid consists of a coil of wire wrapped around a metal core. When you engage the accelerator, the battery sends voltage to the solenoid, creating a magnetic field that pulls a plunger or armature. This movement closes the circuit, allowing high current to reach the motor.
In essence, the solenoid guarantees a seamless shift from low to high current, enabling the electric motor to operate efficiently. It also provides a level of safety by isolating the battery from the motor when not in use.
Understanding this function is key to diagnosing any issues that may arise in your golf cart's electrical system. A well-functioning solenoid guarantees that your cart responds promptly to your commands, enhancing your overall driving experience.
Identifying Symptoms of a Faulty Solenoid
Detecting symptoms of a faulty solenoid is essential for maintaining your golf cart's performance. One of the first signs you might notice is a lack of clicking noise when you attempt to start the cart. If your solenoid is functioning correctly, you should hear a distinct click when the ignition is engaged. If there's no sound, the solenoid could be defective.
Another symptom is an intermittent or weak connection. You may find that your cart starts only occasionally or requires multiple attempts to engage. This inconsistency indicates that the solenoid isn't making a solid electrical connection, which can lead to further electrical issues.
Additionally, check for overheating. If the solenoid feels excessively hot to the touch after use, it may be overworking due to internal faults. This can lead to complete failure if not addressed promptly.
Tools Needed for Diagnosis
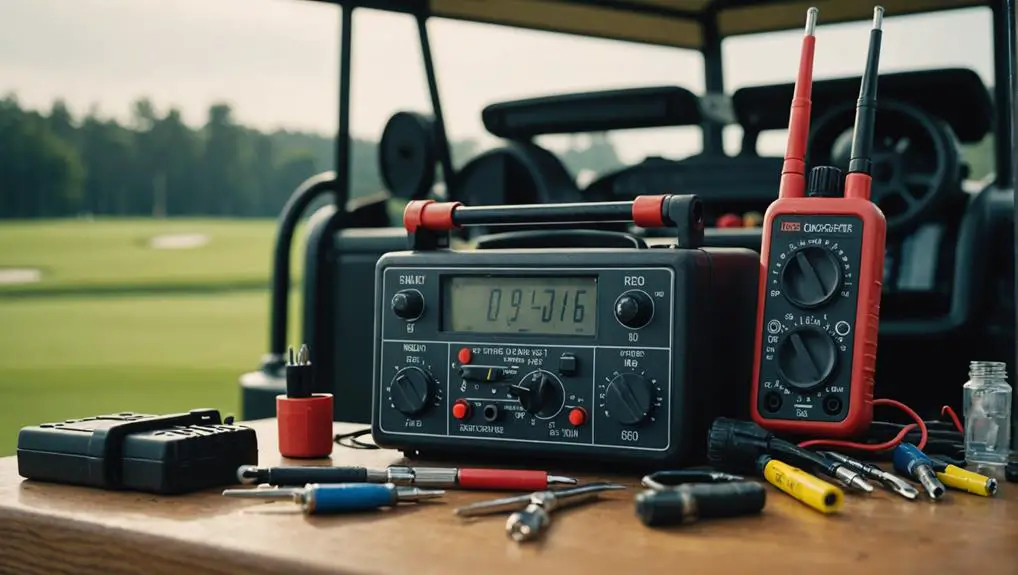
To effectively diagnose a golf cart solenoid, you'll regularly need a few essential tools.
First, a multimeter is vital for measuring voltage and checking continuity. This device allows you to confirm whether the solenoid is receiving power and if it's functioning properly.
Next, you'll want a set of basic hand tools, including a socket set and wrenches. These tools help you access the solenoid and its connections, making it easier to inspect for loose wires or corrosion.
A screwdriver set is also handy for removing any covers or panels that may obstruct your view.
Additionally, consider having a jumper wire on hand. This tool can temporarily bypass certain components to test the solenoid directly. It's a practical way to determine if the solenoid itself is the problem.
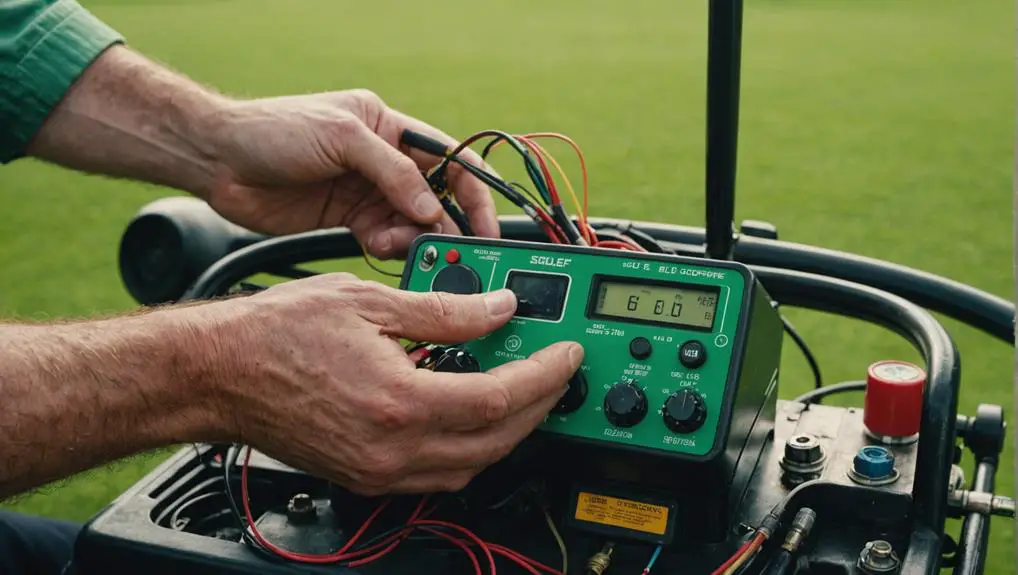
Testing the Solenoid Voltage
Testing the solenoid voltage is vital for determining whether your golf cart's solenoid is functioning properly. Start by ensuring your golf cart is turned off and safely secured.
You'll need a multimeter set to measure DC voltage. Locate the solenoid, which is typically found near the battery or motor.
Connect the multimeter leads to the solenoid terminals. The positive lead goes to the terminal connected to the battery, and the negative lead connects to the terminal that goes to the motor.
With someone in the driver's seat, have them press the accelerator pedal while you observe the multimeter reading. You should see a voltage reading of around 36 to 48 volts, depending on your cart's battery configuration.
If the voltage reading falls considerably below this range or shows no voltage at all, the solenoid may be defective. However, if you get a proper voltage reading but the solenoid isn't clicking, it may still indicate an internal failure.
Document your findings, as this information will be vital for any further troubleshooting or repairs. Always prioritize safety when working on electrical components.
Inspecting Electrical Connections
After checking the solenoid voltage, the next step involves inspecting the electrical connections.
Start by examining the battery terminals. Confirm they're clean, tight, and free of corrosion. Loose or corroded connections can impede current flow, preventing the solenoid from operating correctly. If you notice any buildup, use a wire brush or terminal cleaner to remove it.
Next, check the wiring leading to and from the solenoid. Look for frayed wires, breaks, or any signs of wear. Damaged wires can cause intermittent connections, which may result in the solenoid not clicking. If you find any issues, consider replacing the affected wires.
Also, inspect the connections at the solenoid itself. Confirm that the terminal screws are tight and that the connections are secure. A poor connection here can lead to the same clicking issue.
Replacing the Solenoid
When you've confirmed that the solenoid is faulty and needs replacement, it's vital to gather the necessary tools and components before proceeding. Make certain you have the following items ready:
- New Solenoid: Verify it's compatible with your golf cart model.
- Wrench Set: You'll need these to remove and attach the solenoid.
- Multimeter: Essential for testing electrical connections before and after installation.
Next, disconnect the battery to avoid any electrical shock. Remove the old solenoid by unscrewing the bolts and carefully detaching the wires. Take note of how the wires are connected, as this will be helpful when attaching the new solenoid.
Once removed, install the new solenoid by securing it with the bolts and reconnecting the wires in the same configuration.
After installation, double-check all connections for tightness and verify there are no exposed wires. Finally, reconnect the battery and test the golf cart. If everything is working correctly, you should hear the solenoid click when you press the accelerator.
This simple replacement can restore your golf cart's functionality and get you back on the course!
Preventative Maintenance Tips
Maintaining your golf cart can prevent issues like a faulty solenoid from arising in the first place. Regular upkeep is essential to keep your cart running smoothly and efficiently.
Start by checking the battery connections—make sure they're clean and tight. Corroded or loose connections can lead to insufficient power, causing the solenoid to malfunction.
Next, inspect the wiring for any signs of wear or damage. Look for frayed wires or loose terminals, as these can disrupt the electrical flow and lead to solenoid problems. Additionally, clean the solenoid terminals with a wire brush to guarantee good contact.
It's also important to perform routine maintenance on the battery. Regularly check the water levels in lead-acid batteries and top them off as needed. If your cart uses gel or AGM batteries, monitor their charge levels to avoid deep discharges.
Frequently Asked Questions
Can a Faulty Solenoid Affect Other Golf Cart Components?
Yes, a faulty solenoid can definitely affect other golf cart components.
When the solenoid fails, it disrupts the flow of electricity, which can prevent the motor from receiving power. This lack of power can lead to issues with the battery, controller, or even the charger.
Additionally, if the solenoid is stuck, it might cause excessive wear on these components due to improper operation, leading to further complications down the line.
How Often Should I Check My Golf Cart Solenoid?
You should check your golf cart solenoid regularly to guarantee peak performance and prevent unexpected breakdowns. Aim for at least once every few months or before the start of the season.
Look for signs of wear, corrosion, or loose connections. Keeping an eye on your solenoid helps you maintain the overall health of your golf cart, guaranteeing a smooth ride and extending the lifespan of your cart's electrical components.
Don't wait until it's too late!
What Are Common Brands of Solenoids for Golf Carts?
When you're looking for solenoids for your golf cart, several brands are popular among enthusiasts.
You'll often find Curtis, Solenoid, and GE solenoids being widely used. These brands are known for their reliability and performance in various golf cart models.
Always check compatibility with your specific cart and consider factors like voltage and amperage ratings to guarantee peak function.
Investing in a quality solenoid can enhance your golf cart's overall efficiency.
Is It Safe to Test the Solenoid Without Professional Help?
Testing a solenoid without professional help can be safe if you take necessary precautions.
Make certain you're wearing safety gear and working in a well-ventilated area. Disconnect the battery to avoid electric shock before you start.
Use a multimeter to check for continuity and voltage, which can help you identify issues effectively.
If you're unsure about any step, it's best to consult a professional to prevent accidental damage or injury.
Can Weather Conditions Impact Solenoid Performance?
Yes, weather conditions can impact solenoid performance.
Extreme temperatures, both hot and cold, may affect the solenoid's components and electrical connections. High humidity can lead to corrosion, while freezing temperatures can cause lubricant thickening, impeding movement.
When you're troubleshooting, consider these factors, as they can contribute to solenoid malfunctions.
It's crucial to keep the solenoid and surrounding areas clean and dry, ensuring peak performance in varying weather conditions.
Conclusion
To sum up, diagnosing and fixing a golf cart solenoid not clicking is manageable with the right approach. You might worry that it's too complicated, but by following these steps, you'll gain confidence in your ability to tackle the issue. Remember, a little patience and attention to detail can go a long way in ensuring your golf cart operates smoothly. Regular maintenance will also help prevent future problems, keeping your ride enjoyable and hassle-free.