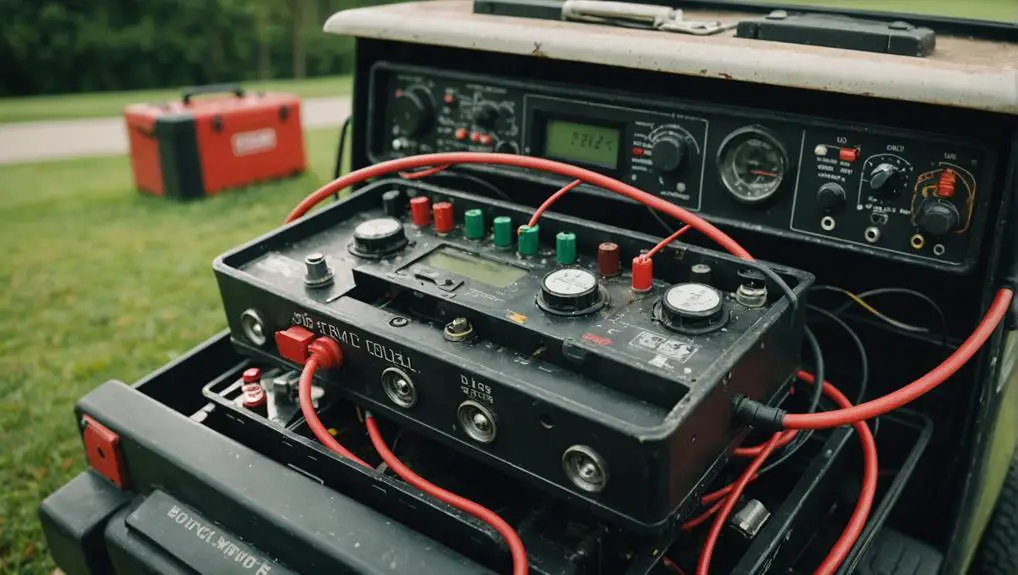
It's funny how your golf cart decides to stop moving just as your friends arrive for a day on the course. You're probably wondering what could've gone wrong, and the good news is, troubleshooting is often straightforward. Start by checking the battery charge and connections, but don't stop there; there are several key steps you'll want to follow to pinpoint the issue. As you work through each part, you might uncover something unexpected that could save your game.
Key Takeaways
- Check the battery voltage; it should be 12.6 volts or higher for optimal performance.
- Inspect all battery connections and wiring for cleanliness, tightness, and corrosion.
- Test the solenoid by listening for a clicking sound when pressing the accelerator.
- Verify the speed controller's functionality by measuring voltage at the output terminals.
- Look for any error codes on the controller and consult the manufacturer's manual for troubleshooting.
Check the Battery Charge
Before diving into more complex issues, the first step in troubleshooting your golf cart is to check the battery charge.
Start by verifying the cart is turned off and safely parked. Locate the battery compartment, usually under the seat or at the rear of the cart. Remove the cover if necessary.
Use a multimeter to measure the voltage across the battery terminals. A fully charged 12-volt battery should read around 12.6 volts or higher. If it's below 12 volts, the battery likely needs charging.
Next, inspect the battery connections. Confirm they're clean, tight, and free of corrosion. Corroded terminals can hinder performance. If you see corrosion, use a mixture of baking soda and water to clean the terminals, then reconnect them securely.
If your golf cart has multiple batteries, check each one individually. The performance of one weak battery can affect the entire system.
After addressing the battery charge and connections, attempt to power on the cart.
If it still won't move, you may need to explore other potential issues. Remember, a well-maintained battery is vital for peak performance.
Inspect the Fuses
After ensuring the battery is charged and connections are secure, the next step is to inspect the fuses. Fuses protect your golf cart's electrical system from overloads and shorts, and a blown fuse can prevent your cart from moving.
Start by locating the fuse box; it's typically found near the battery or under the dashboard.
Once you've located the fuse box, carefully remove the cover. Visually check each fuse for any signs of damage, such as a broken wire inside the glass casing or discoloration. If you spot a blown fuse, it'll need to be replaced. Make sure you use a fuse of the same amperage rating to avoid further issues.
To test the fuses, you can use a multimeter set to the continuity setting. Touch one probe to each end of the fuse; if the multimeter beeps or shows continuity, the fuse is good. If not, replace it.
After replacing any blown fuses, reassemble the fuse box and retest your golf cart. If your cart still doesn't move, continue troubleshooting with the next steps.
Examine the Wiring Connections

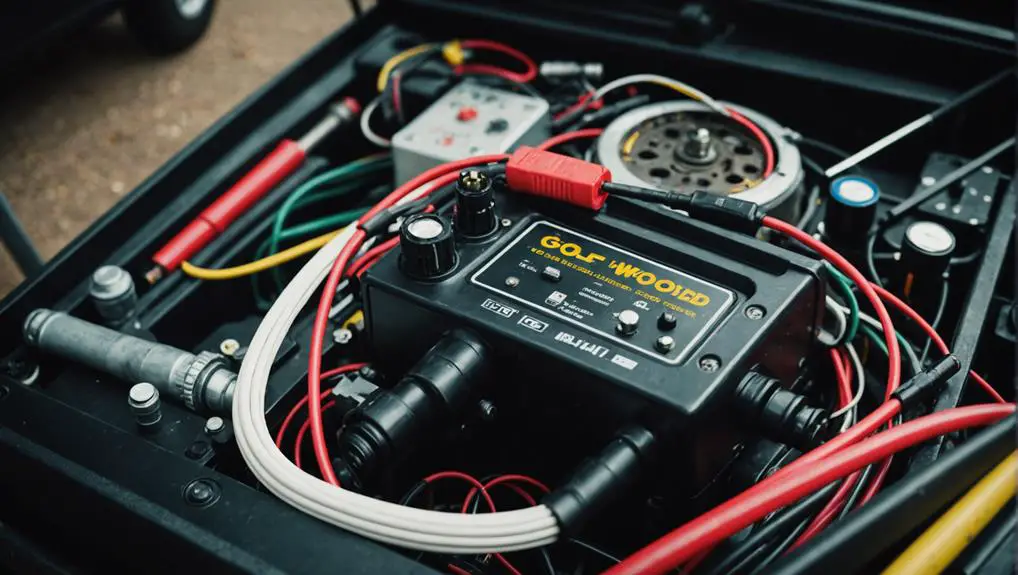
Inspect the wiring connections to verify they're secure and free of corrosion. Loose or corroded wires can prevent your golf cart from moving.
Start by checking all the battery cables, confirming they're tightly connected and show no signs of rust or wear.
Next, look for any frayed or damaged wires. If you spot any issues, it's essential to repair or replace them immediately to avoid further complications.
Here are key areas to focus on:
- Battery Connections: Confirm terminals are tightly fastened and corrosion-free.
- Controller Wiring: Examine all connections to the controller for tightness and integrity.
- Motor Leads: Check the connections between the motor and the rest of the system for any signs of wear or damage.
Test the Solenoid
To test the solenoid, first locate it, usually near the battery or controller.
Next, listen for a clicking sound when you engage the accelerator; this indicates the solenoid is functioning.
Identify Solenoid Location
Locating the solenoid in your golf cart is vital for diagnosing movement issues. The solenoid acts as an electromagnetic switch, controlling the flow of power from the battery to the motor.
To find it, follow these steps:
- Check the Owner's Manual: Your manual often has a diagram pinpointing the solenoid's exact location.
- Look Near the Battery: The solenoid is typically mounted close to the battery or on the controller. Inspect this area for a cylindrical metal component.
- Identify the Wires: The solenoid will have two large terminals connected to the battery and smaller terminals leading to the motor.
Once you've identified the solenoid, verify you have the necessary tools to proceed with testing.
Safety is paramount, so disconnect the battery before handling any components. Proper identification of the solenoid will streamline your troubleshooting process and help you understand the electrical flow within your golf cart.
Check for Click Sound
After identifying the solenoid, the next step is to test its functionality by checking for a click sound when the ignition is turned on. This click indicates that the solenoid is engaging properly.
Begin by guaranteeing your golf cart is in the "Run" position. Then, turn the ignition key to the "On" position.
Listen carefully for a distinct click. If you hear it, the solenoid is likely functioning correctly, and you can proceed to the next troubleshooting step. However, if you don't hear a click, it could signal a problem with the solenoid, the ignition switch, or the wiring.
To confirm, you should verify all connections to the solenoid are secure and free from corrosion. Wiggle the wires gently to check for any intermittent connections.
If necessary, use a multimeter to verify the continuity and integrity of the wiring leading to the solenoid.
If everything checks out but you still don't hear a click, the solenoid may need replacement.
Test Voltage Output
Testing the voltage output of the solenoid is essential for diagnosing issues with your golf cart's movement. The solenoid acts as a switch, controlling the flow of electricity to the motor. If your golf cart isn't moving, a faulty solenoid could be the culprit. Here's how to test it:
- Gather your tools: You'll need a multimeter, safety gloves, and a screwdriver.
- Locate the solenoid: It's usually found near the battery or motor, depending on your model.
- Check the connections: Verify that all wiring is secure and free of corrosion.
To test the voltage output:
- Set your multimeter to the DC voltage setting.
- Connect the positive lead to the input terminal and the negative lead to the ground.
- Press the accelerator pedal and observe the reading; you should see a voltage reading between 36-48 volts, depending on your golf cart's specifications.
If the voltage is low or nonexistent, your solenoid might need replacement.
Always make sure you follow safety protocols, disconnecting the battery before performing any tests.
Review the Motor Function

When troubleshooting a golf cart that won't move, reviewing the motor function is crucial. Start by inspecting the motor for any visible signs of damage, such as frayed wires or burnt components. These issues can prevent the motor from operating correctly.
Next, check the connections at the motor terminals; verify they're secure and free from corrosion. Loose or corroded connections can impair electrical flow.
Once you've visually assessed the motor, it's time to test its functionality. Use a multimeter to measure the resistance across the motor terminals. A notably high or low reading could indicate a malfunctioning motor. Consult your manufacturer's specifications for the acceptable resistance range.
If your motor has brushes, check their condition as well. Worn brushes can lead to poor performance or failure to move. Replace them if they appear worn down or damaged.
Lastly, if everything seems intact but the cart still won't move, consider bench testing the motor. This involves removing the motor and connecting it directly to a power source to see if it runs. If it doesn't, it may need replacement.
Assess the Speed Controller
To assess the speed controller, start by visually inspecting it for any signs of damage or wear, such as burnt components or loose connections. The speed controller is vital for regulating the power from the battery to the motor, so any malfunction can prevent your golf cart from moving.
Next, follow these steps to guarantee everything's functioning correctly:
- Check the connections: Make sure all wires are secure and free from corrosion. Loose or corroded connections can interrupt the power supply.
- Test the controller: Use a multimeter to measure the voltage at the output terminals. If there's no voltage when the accelerator is pressed, the controller might be faulty.
- Inspect for error codes: Some controllers have diagnostic LEDs or display codes that indicate specific issues. Consult the manual for interpretation.
If you find any faults during your assessment, it may be necessary to replace or repair the speed controller.
Always refer to the manufacturer's wiring diagram to guarantee correct installation. Confirming the speed controller is functioning properly is essential for getting your golf cart back on the road.
Frequently Asked Questions
How Often Should I Service My Golf Cart?
You should service your golf cart at least once a year, but more frequently if you use it regularly or in harsh conditions.
During each service, check the battery, tires, brakes, and electrical connections. Lubricate moving parts and inspect the overall condition.
If you notice any unusual sounds or performance issues, don't wait for the annual service; address them immediately to guarantee your cart runs smoothly and safely.
Regular maintenance extends its lifespan.
What Tools Do I Need for Troubleshooting?
You might think troubleshooting requires an array of complex tools, but you only need a few essentials.
Grab a multimeter to check electrical connections, a basic socket set for tightening or loosening bolts, and a screwdriver set for accessing components.
A wire brush can help clean terminals, and a diagnostic tool can pinpoint electronic issues.
With these tools, you'll be well-equipped to tackle any problem effectively and efficiently.
Can Weather Affect Golf Cart Performance?
Yes, weather can affect your golf cart's performance.
Extreme temperatures, whether hot or cold, can impact battery efficiency and electronic components, causing reduced power or range.
Rain or humidity can lead to moisture issues, potentially shorting electrical systems.
If you're using your cart in adverse conditions, make sure it's properly maintained, and consider adjusting usage habits.
Keeping it sheltered from harsh weather can also help maintain its overall performance and longevity.
Are There Signs of a Failing Battery?
Yes, there are several signs of a failing battery. You might notice a decrease in power, with your golf cart struggling to accelerate.
If you experience dimming lights or slow charging, that's another red flag. Additionally, you might hear unusual clicking sounds when you try to start it.
If your battery's age exceeds three to five years, it's wise to contemplate replacement.
Regularly checking the terminals for corrosion can help prevent issues too.
Is It Safe to Ride a Malfunctioning Golf Cart?
Riding a malfunctioning golf cart is like steering a ship with a cracked hull; it's risky. You shouldn't take chances with safety.
If you notice unusual noises, erratic movements, or warning lights, it's best to stop immediately. Continuing to ride could lead to accidents or further damage.
Always prioritize your safety and that of others. Inspect, diagnose, and repair before hitting the course again; your well-being's worth it.
Conclusion
In summary, troubleshooting a golf cart that won't move can seem intimidating, but following these steps systematically can help you pinpoint the issue efficiently. Remember, nearly 25% of golf carts experience mobility problems due to battery issues, so always start there. By addressing these common concerns, you can save time, money, and frustration. Don't forget to consult your manufacturer's guidelines for specific information related to your cart model for best results.