It's funny how you can fully charge your golf cart batteries only to find they won't power up when you need them most. You might assume everything's fine, but a few simple checks could reveal underlying issues. Start by inspecting your battery connections and voltage levels, as these often hold the key to your problem. If you're still stumped after that, there are other components to take into account that might be silently affecting your ride. Let's explore what else could be going wrong and how you can get back on the course.
Key Takeaways
- Inspect battery connections for tightness and corrosion; clean terminals and ensure proper terminal connections to prevent power loss.
- Measure voltage at each battery terminal with a multimeter; readings below 12.6 volts indicate potential issues despite being fully charged.
- Check the key switch for proper function; ensure it's turned to the "On" position and verify wiring connections are secure.
- Evaluate the solenoid and motor functionality; measure resistance and voltage to confirm proper operation and eliminate malfunctioning components.
- Inspect the charger for damage and verify its output voltage; a faulty charger may not fully charge the batteries despite apparent full charge.
Check Battery Connections
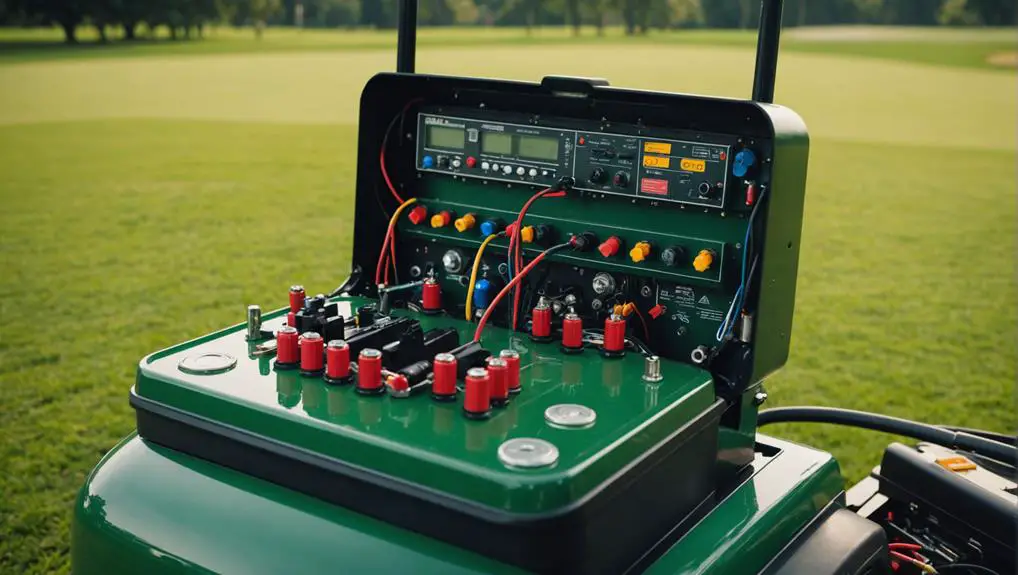
Have you checked the battery connections? This is a vital first step when your golf cart shows no power despite being fully charged. Start by inspecting the terminals for corrosion or dirt. Corroded connections can inhibit current flow, leading to performance issues. If you notice any buildup, clean the terminals using a mixture of baking soda and water.
Make sure you disconnect the battery cables before cleaning to avoid any short circuits.
Next, verify that all connections are tight. Loose cables can cause intermittent power loss. Use a wrench to tighten any loose nuts or bolts, making certain they're secure without over-tightening, which can damage the terminals.
Also, check for frayed or damaged cables. If you find any, replace them immediately to maintain a good electrical connection.
Lastly, confirm that the cables are connected to the correct terminals—positive to positive and negative to negative. Incorrect connections can lead to malfunction.
After you've completed these checks, reassemble everything and attempt to power on your golf cart again. If issues persist, you'll need to investigate further, but making sure your battery connections are solid is fundamental for peak performance.
Inspect Battery Voltage
To guarantee your golf cart operates efficiently, you need to measure the battery voltage levels regularly.
Start by checking the voltage at each battery terminal, as inconsistent readings can indicate issues.
Also, confirm that all connections are secure to maintain peak performance.
Measure Voltage Levels
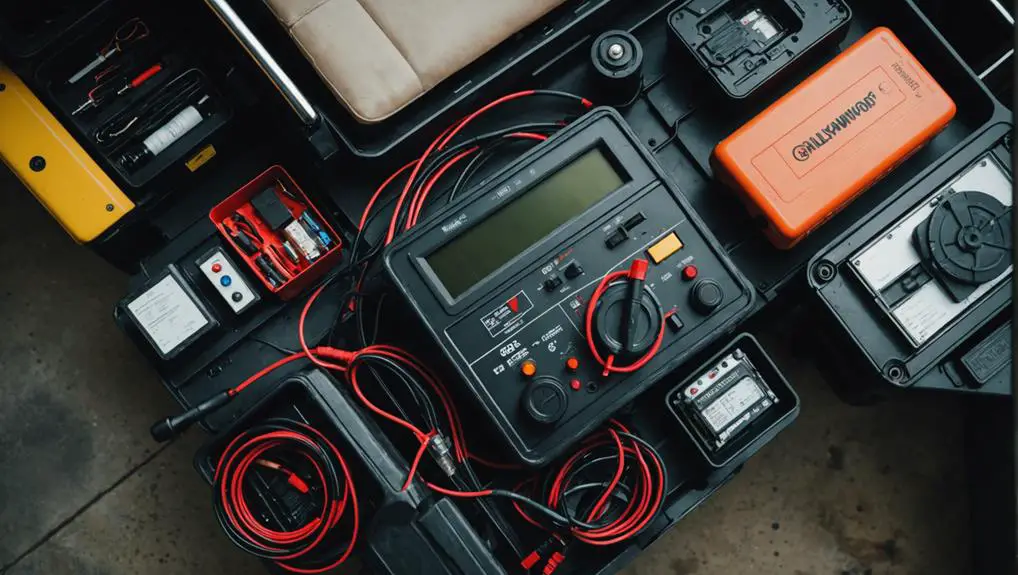
Measuring voltage levels is vital for diagnosing issues with your golf cart batteries. Start by using a digital multimeter, which provides accurate readings. Set the multimeter to the DC voltage setting, ensuring it can measure the range you expect from your batteries.
Next, disconnect the batteries from the cart to prevent any load during measurement. Carefully attach the multimeter probes to the battery terminals: the red probe to the positive terminal and the black probe to the negative terminal. Record the voltage reading. A fully charged 6-volt battery should show between 6.3 to 6.4 volts, while a 12-volt battery should read around 12.6 to 12.8 volts.
If you find the voltage considerably lower than these values, your batteries may be weak or sulfated. A reading below 12 volts for a 12-volt battery or 6 volts for a 6-volt battery indicates the need for charging.
Additionally, check for consistent voltage across all batteries in a series; notable discrepancies may point to a failing battery.
Inconsistent or inadequate voltage levels can lead to performance issues, so accurate measurement is essential for troubleshooting your golf cart's power problems.
Check Battery Connections
After measuring voltage levels, checking battery connections is the next step in troubleshooting your golf cart batteries. Poor connections can lead to voltage drops, resulting in insufficient power to operate your cart.
Start by inspecting the battery terminals. Make sure they're clean and free of corrosion. If you see any buildup, use a wire brush to clean the terminals and connectors thoroughly.
Next, verify that all connections are tight. Loose connections can cause intermittent power loss. Use a wrench to tighten the nuts holding the battery cables to the terminals. Don't overtighten, as this could damage the terminals.
Check the wiring for any signs of fraying, damage, or loose connections. If you find any compromised wires, replace them immediately.
After ensuring everything is secure, retest the voltage levels to confirm that your connections are now stable.
Test the Solenoid

Testing the solenoid is a crucial step in diagnosing issues with your golf cart's electrical system. The solenoid acts as a switch that controls the flow of electricity from the battery to the motor. To check its functionality, you'll need a multimeter.
Start by disconnecting the battery to promote safety. Locate the solenoid, typically found near the battery or motor, and identify the large terminals where the battery cables connect.
Set your multimeter to the resistance (ohms) setting. Measure the resistance across the solenoid terminals. A reading of zero indicates a short circuit, while an infinite reading suggests an open circuit, meaning the solenoid is defective.
Next, reconnect the battery and set the multimeter to the voltage setting. With the ignition on, engage the accelerator pedal. Measure the voltage at the solenoid terminals. You should see battery voltage if the solenoid is functioning correctly.
If the voltage is absent, the solenoid may not be receiving a signal or is malfunctioning. In either case, you'll need to replace or repair the solenoid to restore power to your golf cart.
Examine the Wiring
Next, you need to examine the wiring for any potential issues.
Start by checking all battery connections to guarantee they're tight and corrosion-free.
Then, inspect the wires for any visible damage that could affect performance.
Check Battery Connections
One of the most critical steps in troubleshooting golf cart batteries is to check the battery connections. Start by inspecting the terminals on each battery. Confirm they're tight and secure; loose connections can prevent power transfer. Use a wrench to tighten any bolts that might be loose.
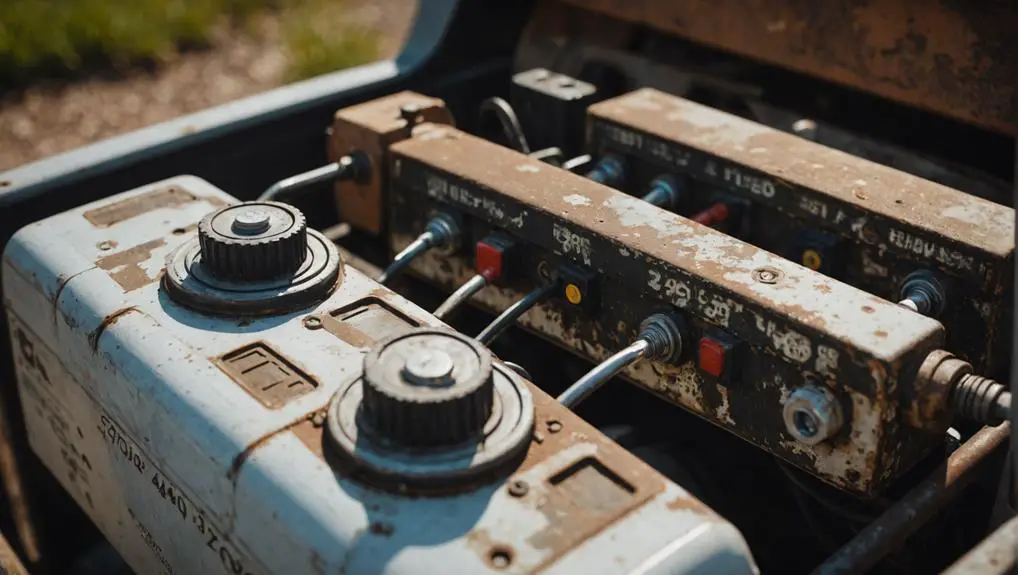
Next, look for any corrosion on the terminals. Corrosion appears as a white, powdery substance and can impede electrical flow. If you find corrosion, clean it off using a mixture of baking soda and water, applying it carefully with a brush. Rinse with water afterward and dry the terminals thoroughly.
Also, examine the battery cables for any signs of wear or fraying. Frayed cables can cause intermittent connections, leading to power loss. If you notice any damage, replace the cables promptly.
Inspect for Damage
After verifying the battery connections are secure and free of corrosion, it's time to inspect the wiring for any signs of damage. Start by visually examining the entire length of the wires. Look for fraying, cracking, or exposed copper, which can lead to short circuits or power loss.
Pay close attention to areas where the wires might rub against metal surfaces, as this can cause wear over time.
Next, check the connectors and terminals. Confirm they're tight and free from rust or corrosion. Loose or corroded connections can impede current flow, leading to performance issues. If you notice any damaged connectors, replace them immediately.
Use a multimeter to test for continuity in the wiring. This tool will help you identify any breaks or faults within the wires that aren't visible to the naked eye. If you find any discrepancies, consider replacing the affected wiring to restore peak function.
Lastly, verify the wiring is properly secured and not subject to movement that could cause further damage.
Regular inspections can prevent future issues and keep your golf cart running smoothly.
Assess the Charger

Your charger plays an important role in maintaining the health of your golf cart batteries, so it's essential to verify it's functioning properly.
Start by inspecting the charger for any visible signs of damage, such as frayed wires or burnt connectors. If you notice any issues, replace the charger immediately to avoid further complications.
Next, plug the charger into a working outlet to confirm it's receiving power. Use a multimeter to check the voltage output of the charger. It should match the specifications indicated on the charger label. If the voltage is considerably lower or nonexistent, the charger may be faulty.
Also, look for indicator lights on the charger. A green light typically means the batteries are fully charged, while a red light may indicate a problem. If the lights don't function as expected, this could signal a malfunction.
Evaluate the Motor
To guarantee your golf cart operates efficiently, evaluating the motor is essential. A malfunctioning motor can lead to power issues, even if your batteries are fully charged.
Here's how to assess the motor effectively:
- Check for Obstructions: Inspect the motor for any debris or blockages that might hinder its operation. Clear any obstacles that could prevent the motor from functioning properly.
- Test the Connections: Verify all electrical connections to the motor are secure. Loose or damaged connections can disrupt power flow, leading to performance issues. Tighten any loose wires and replace damaged ones.
- Assess Motor Functionality: If the motor still doesn't operate, test it directly. You can use a multimeter to check the voltage. If the motor doesn't respond or shows irregular readings, it may be defective and require replacement.
Look for Corrosion

Corrosion can silently compromise the performance of your golf cart's battery system. When you notice your fully charged battery isn't delivering power, checking for corrosion is vital. Inspect the battery terminals and cables closely; look for a white, ashy substance or bluish-green buildup. This corrosion can create resistance, preventing the electrical current from flowing effectively.
To address corrosion, start by disconnecting the battery cables, beginning with the negative terminal first. This step minimizes the risk of a short circuit. Use a wire brush or corrosion cleaner to remove the buildup on the terminals and cable connections. Confirm you clean both the terminals and the clamp areas thoroughly.
After cleaning, apply a thin layer of petroleum jelly or battery terminal protector spray to help prevent future corrosion. Reconnect the cables, attaching the positive terminal first, followed by the negative terminal.
Check to see if your golf cart gains power after this maintenance step. If corrosion is the issue, this simple task can restore functionality.
However, if the problem persists, further investigation into other components may be necessary.
Review Battery Age
Battery age is a critical factor in maintaining ideal performance for your golf cart. As batteries age, their capacity and efficiency diminish, leading to potential power issues. If your golf cart is fully charged but still not functioning, it's important to evaluate the age of your batteries.
Here are three key points to reflect on:
- Lifespan: Most lead-acid batteries last between 3 to 5 years, while lithium batteries can last up to 10 years. Check the manufacturing date on your batteries to determine their age.
- Performance Degradation: Older batteries may struggle to hold a charge, which can cause inconsistent power delivery. If your batteries are nearing the end of their lifespan, think about replacing them.
- Maintenance Records: Review any maintenance logs you have. Frequent issues or irregular maintenance can indicate that your batteries are wearing out faster than expected.
Verify Key Switch Function

Before diving into deeper issues, it's essential to verify the key switch function in your golf cart. A malfunctioning key switch can prevent power from reaching the cart's electrical system.
Start by checking if the key is properly inserted and turned to the "On" position. If the key is loose or doesn't engage, it may not complete the circuit.
Next, inspect the key switch for visible damage or wear. Look for signs of corrosion, which can disrupt electrical flow. If you have a multimeter, measure the voltage at the key switch terminals while the key is in the "On" position. You should read close to the battery voltage. If the reading is notably lower, the switch may need replacement.
Also, verify that the wiring connected to the key switch is secure and undamaged. Loose or frayed wires can lead to power loss.
If everything appears intact but the cart still doesn't power on, consider bypassing the key switch temporarily to see if the cart operates. This test can help determine whether the issue lies with the key switch itself or elsewhere in the system.
Consult a Professional
If troubleshooting your golf cart's battery proves complex, it's time to consult a professional.
Knowing when to seek help can save you time and money, while finding qualified technicians guarantees proper resolution of issues.
Additionally, understanding cost considerations will help you make informed decisions about repairs.
When to Seek Help
Recognizing when to seek professional help can save you time and prevent further damage to your golf cart. If you've exhausted basic troubleshooting steps and still face issues, it's time to consult a technician.
Here are three situations where you should definitely reach out for assistance:
- Persistent Power Issues: If your golf cart remains unresponsive despite fully charged batteries and you've checked all connections, it's essential to get expert help.
- Unusual Sounds or Smells: Strange noises or burning smells can indicate serious electrical problems. Ignoring these signs can lead to catastrophic failures or safety hazards.
- Battery Swelling or Leakage: If you notice any signs of battery swelling or leakage, stop using the cart immediately. This could indicate a failing battery, which requires professional evaluation to guarantee safety.
In each of these scenarios, a trained technician can diagnose the problem accurately and recommend the right solutions.
Don't risk further complications—seeking professional help guarantees your golf cart will be back on the course in no time.
Finding Qualified Technicians
Once you've decided to seek help for your golf cart issues, finding a qualified technician is the next step. Start by checking local service centers that specialize in golf carts. Look for technicians who are certified and have experience with your specific make and model. Online reviews can also provide insights into their expertise and customer service.
Next, ask for recommendations from fellow golf cart owners or local clubs. This word-of-mouth approach often leads to reliable professionals.
When you contact a technician, inquire about their qualifications, experience, and if they use OEM parts. A good technician should be willing to explain their diagnostic process and what repairs are needed.
Consider asking about warranties on parts and labor, as this can indicate the technician's confidence in their work. It's vital to communicate your issues clearly, providing details about the symptoms you've observed. This information helps the technician diagnose the problem more effectively.
Lastly, trust your instincts. If a technician seems dismissive or unable to answer your questions adequately, don't hesitate to seek a second opinion. Finding the right technician can save you time and money in the long run.
Cost Considerations Explained
Understanding the costs associated with golf cart battery maintenance and repair is essential for effective budgeting.
When your fully charged golf cart batteries show no power, consulting a professional can save you time and money in the long run.
Here are some key cost considerations to keep in mind:
- Diagnostic Fees: Expect to pay between $50 to $100 for a technician to assess the issue. This fee may vary based on location and expertise.
- Parts Replacement: If batteries or related components need replacement, costs can range from $100 to $800, depending on the type and quantity of batteries required.
- Labor Costs: Labor fees typically range from $75 to $150 per hour. If extensive repairs are needed, this can greatly impact your overall expenditure.
Frequently Asked Questions
Can a Faulty Charger Damage Golf Cart Batteries?
Yes, a faulty charger can indeed damage golf cart batteries. If it fails to regulate voltage properly, it may overcharge or undercharge the batteries, leading to diminished capacity or even permanent damage.
You might notice reduced performance or shorter runtime as a result. Regularly check your charger for signs of malfunction, and verify it's compatible with your battery type to prevent potential issues.
Proper maintenance can extend the life of your batteries greatly.
How Often Should I Replace My Golf Cart Batteries?
Think of your golf cart batteries like a trusty old friend—they need care and attention.
Generally, you should replace your golf cart batteries every 4 to 6 years, depending on usage and maintenance. If you notice decreased performance or shorter run times, it's time to contemplate a replacement.
Regularly check for corrosion and ascertain proper charging; this'll help extend their lifespan and keep your cart running smoothly.
What Tools Do I Need for Golf Cart Battery Maintenance?
For effective golf cart battery maintenance, you'll need a few essential tools.
Start with a multimeter to check voltage levels and guarantee connections are secure. A wrench set helps you tighten or replace terminals.
Use a hydrometer to measure the specific gravity of the electrolyte in each cell.
Don't forget protective gear like gloves and goggles to guarantee safety while working.
Regular maintenance can extend your batteries' lifespan and performance.
Is It Safe to Jump-Start a Golf Cart?
You might think jump-starting a golf cart is as simple as reviving a car, right?
But hold on! It's not always safe. Golf carts typically use deep-cycle batteries, which can be sensitive. If you try to jump-start one improperly, you risk damaging the batteries or the cart's electrical system.
Instead, it's best to check connections and verify everything's in order before attempting a jump. Safety first, even for a leisurely ride!
How Can I Extend the Lifespan of My Golf Cart Batteries?
To extend your golf cart batteries' lifespan, maintain a proper charging routine. Always charge them after use and avoid deep discharges.
Keep the terminals clean and check fluid levels regularly if you have lead-acid batteries.
Store batteries in a cool, dry place and guarantee they're fully charged before long periods of inactivity.
Regularly inspect for corrosion and damage, and use a quality charger to avoid overcharging, which can greatly reduce battery life.
Conclusion
In troubleshooting your golf cart's power issues, envision each connection as a essential link in a chain. By methodically checking battery connections, voltage, solenoid, and wiring, you can illuminate the path to restoring power. Like a detective piecing together clues, each step brings you closer to the solution. Don't overlook the charger or key switch; they're critical players in this electric dance. If all else fails, seeking professional help guarantees your cart's revival, ready to hit the course once more.