It's surprising how a small electrical issue can prevent your EZGO golf cart from moving at all. If you find yourself stuck without the ability to go forward or reverse, it's important to pinpoint the problem quickly. Start by checking the battery connections, but that's just the beginning. There are several components to inspect, from the solenoid to the motor, each playing an important role in your cart's operation. Understanding these elements can lead you to the solution you need to get back on the course.
Key Takeaways
- Check battery connections for tightness and corrosion, ensuring terminals are clean and securely reattached.
- Inspect the solenoid for loose connections; test functionality with a multimeter for proper engagement.
- Measure voltage at the motor terminals while pressing the accelerator to confirm motor operation.
- Examine the controller for corrosion and ensure voltage at input terminals aligns with battery voltage.
- Verify the Tow/Run switch is in the "Run" position and test for continuity to ensure proper operation.
Check the Battery Connections
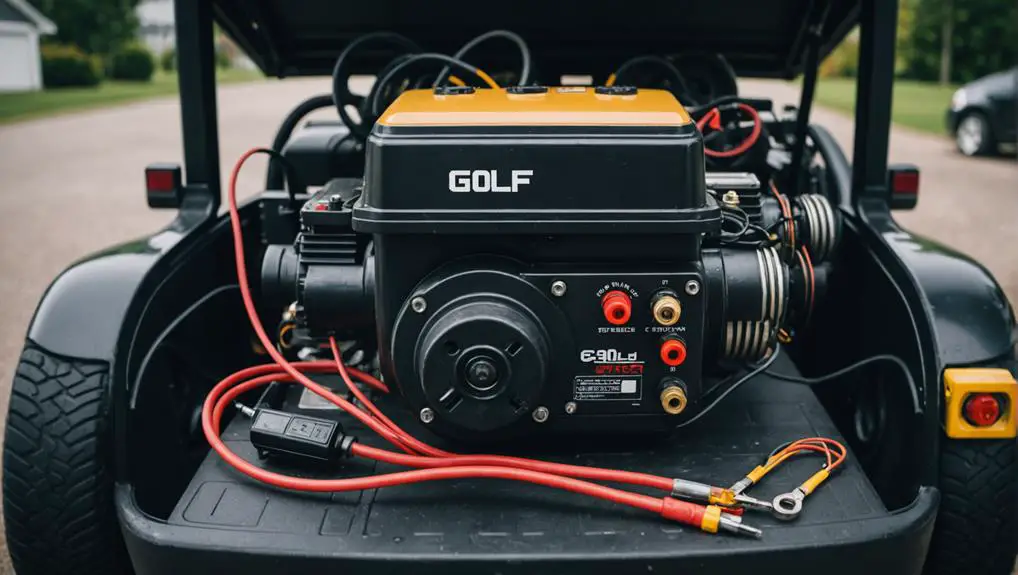
Before diving into any repairs, it's crucial to check the battery connections, since loose or corroded terminals can lead to performance issues. Start by verifying the golf cart is powered off and the key is removed for safety.
Once you're set, locate the battery compartment. Inspect each terminal for tightness; a simple twist of your wrench can often reveal if they're loose.
Next, check for corrosion. A white, powdery substance around the terminals indicates corrosion, which can impede electrical flow. If you notice this, carefully remove the terminals using a pair of pliers, starting with the negative terminal first.
Clean the terminals using a mixture of baking soda and water, applying it with a wire brush to eliminate any buildup. Rinse with water and dry thoroughly before reattaching.
When reattaching, connect the positive terminal first, followed by the negative. Confirm both terminals are snug but avoid over-tightening, as this can damage the battery.
Inspect the Solenoid
Next, you need to inspect the solenoid for any electrical connection issues.
Start by checking the terminals and wires for signs of corrosion or loose connections.
Once you've verified everything is secure, test the solenoid's functionality to confirm it's operating correctly.
Check Electrical Connections
To guarantee your EZGO golf cart operates smoothly, checking the electrical connections is essential, especially inspecting the solenoid.
Start by locating the solenoid, typically mounted near the battery pack. Since it's a critical component, confirm the cart is powered off and disconnect the battery to avoid any electrical shocks.
Next, visually inspect the connections on the solenoid. Check for any signs of corrosion, loose wires, or frayed cables. Corrosion can drastically affect the performance, so if you see any, use a wire brush or contact cleaner to clean the terminals.
Make sure the connections are tight; loose wires can prevent the solenoid from functioning efficiently.
Also, pay attention to the condition of the wires leading to the solenoid. Look for any cracks or breaks that could interrupt the electrical flow. If you find any damaged wiring, replace it immediately to confirm a reliable connection.
Test Solenoid Functionality
Testing the solenoid's functionality is an essential step in diagnosing issues with your EZGO golf cart. Start by locating the solenoid, typically found near the battery or controller. Verify the cart is off and disconnect the battery to prevent any accidental short circuits.
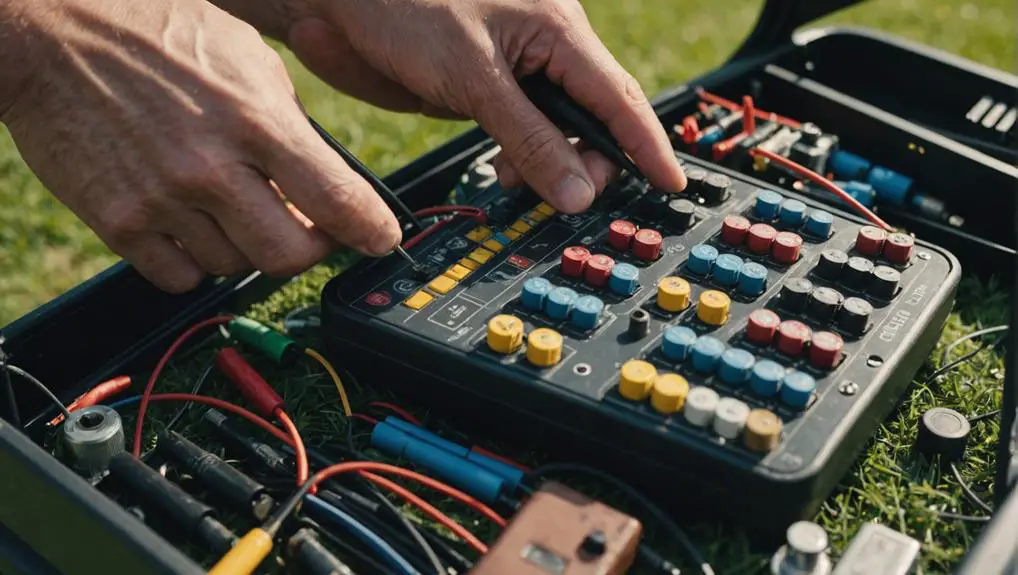
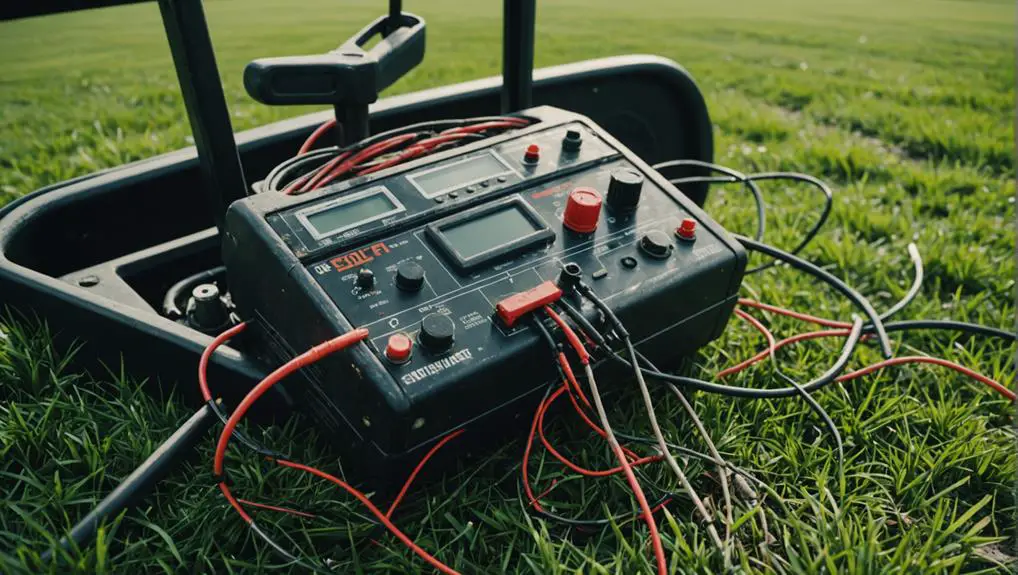
Next, visually inspect the solenoid for any signs of damage, such as burn marks or corrosion. If everything looks intact, proceed to test it with a multimeter. Set the multimeter to the continuity setting. Connect one probe to the terminal connected to the battery and the other to the terminal leading to the motor.
When you press the accelerator, you should hear a clicking sound, indicating the solenoid is engaging. If you don't hear the click or the multimeter shows no continuity, the solenoid is likely faulty.
You may also want to check the voltage at each terminal. A reading of 12 volts at the battery terminal and around 36 volts at the motor terminal confirms the solenoid's operation. If the readings are off, consider replacing the solenoid to restore functionality to your golf cart.
Test the Motor

Before diving into diagnostics, make sure you have the necessary tools ready to test the motor of your EZGO golf cart. You'll need a multimeter, a set of wrenches, and safety goggles.
Start by disconnecting the battery to guarantee safety during testing. Once that's done, locate the motor, usually found under the cart. Check for any visible signs of damage or corrosion on the motor terminals.
Next, set your multimeter to the DC voltage setting. Reconnect the battery and measure the voltage at the motor terminals while someone presses the accelerator. You should see a voltage reading that corresponds to the battery voltage. If the voltage is considerably lower, it may indicate an issue with the wiring or connections.
For further testing, you can conduct a continuity test on the motor windings. Disconnect the motor wires and use your multimeter to check for continuity between the terminals. If there's no continuity, your motor is likely faulty and needs replacement.
If everything checks out, the issue may lie elsewhere, possibly in the controller, which you'll need to investigate next.
Examine the Controller
After ensuring the motor is functioning properly, the next step involves examining the controller, as it plays an essential role in regulating power to the motor.
Start by locating the controller, usually positioned near the motor and battery pack. Inspect the connections for any signs of corrosion, loose wires, or damage. Tighten any loose connections and clean corroded terminals with a wire brush or contact cleaner.
Next, check the controller's LED indicator lights, if equipped. These lights can provide vital diagnostic information. Refer to your user manual for specific codes and what they indicate. If the lights don't illuminate during operation, the controller may not be receiving power.
Using a multimeter, measure the voltage at the input terminals of the controller while the cart is powered on. The reading should align with the battery voltage. If it doesn't, the issue may stem from the battery or wiring.
Lastly, if you've checked all connections and voltages and still face issues, the controller itself might be faulty. In this case, consider replacing it with a compatible unit to restore functionality.
Review the Fuses

You need to start by checking the condition of the fuses in your EZGO golf cart.
Look for any signs of damage or corrosion, and verify that the connections are tight and secure.
If you find any blown fuses, replace them promptly to restore proper functionality.
Check Fuse Condition
When troubleshooting your EZGO golf cart, checking the fuse condition is vital for diagnosing electrical issues.
Fuses protect your cart's electrical system by interrupting power when a fault occurs. If your cart won't move forward or reverse, blown fuses could be the culprit.
Here's what you should look for when examining the fuses:
- Physical Damage: Inspect for any visible signs of burning or melting.
- Color Change: A discolored fuse often indicates overheating, which could mean it's blown.
- Continuity Test: Use a multimeter to check for continuity; a lack of continuity means the fuse is bad.
- Correct Rating: Verify the fuse matches the required amperage for your golf cart model.
- Replacement: If you find a blown fuse, replace it with a fuse of the same rating to avoid further issues.
After checking the fuse condition, it's important to address any underlying problems that may have caused the fuse to blow.
Ignoring blown fuses can lead to repeated failures and more extensive damage to your EZGO golf cart's electrical system.
Inspect Fuse Connections
Inspecting the fuse connections is essential for ensuring the electrical integrity of your EZGO golf cart. Start by locating the fuse box, typically found under the seat or near the battery compartment.
Once you've accessed it, visually inspect the fuses for any signs of damage, such as cracks or corrosion. Pay particular attention to the connections where the fuses are seated; these should be clean and free of rust or dirt.
Next, you'll want to check the tightness of the connections. Loose connections can cause intermittent power loss, preventing your cart from moving.
Use a multimeter to measure continuity across the fuse terminals. If you don't get a reading, you may have a poor connection that needs tightening or cleaning.
Replace Blown Fuses
After verifying the fuse connections are intact, the next step is to check for any blown fuses that may be affecting your EZGO golf cart's performance. Fuses protect your cart's electrical system, and if one has blown, it can prevent the cart from moving forward or in reverse.
Here's how to identify and replace them:
- Use a multimeter or a continuity tester to check each fuse.
- Look for discolored or broken fuses; this indicates a blow.
- Replace fuses with the same amperage rating to avoid damaging the system.
- Confirm the fuse holder is clean and free of corrosion to maintain a good connection.
- After replacing, test the cart's functionality to confirm the fix.
If you find a blown fuse, replace it with a new one and reconnect anything you might've disconnected during your inspection.
Sometimes, a blown fuse can be a symptom of a larger issue, so keep an eye on your cart's performance after the replacement. Make sure to check your owner's manual for specific fuse locations and ratings, confirming you're replacing them correctly.
Look at the Key Switch
The key switch on your EZGO golf cart plays an essential role in the overall functionality of the vehicle. It's responsible for activating the electrical systems, allowing your cart to operate properly. If your cart won't move forward or reverse, the key switch could be the culprit. Start by ensuring the key is fully inserted and turned to the "on" position. If the key is worn or damaged, it mightn't make proper contact, which can prevent the cart from functioning.
Next, check for any corrosion around the key switch. Corrosion can disrupt the electrical connections, leading to intermittent or complete failure. If you notice any build-up, use a contact cleaner to remove it.
Furthermore, listen for any clicking sounds when you turn the key. A lack of noise could indicate a malfunctioning switch. In that case, you might need to replace it. You can test the switch with a multimeter to check for continuity. If the switch fails to show continuity when turned on, it needs replacing.
Addressing the key switch can often resolve issues with movement in your EZGO golf cart, ensuring a smooth ride once again.
Assess the Wiring

When troubleshooting your EZGO golf cart, analyzing the wiring is essential for identifying potential electrical issues.
Start by visually inspecting all wiring connections for signs of wear, corrosion, or loose connections.
Make sure to check the following key points:
- Battery Connections: Confirm all battery terminals are clean and tightly secured. Loose connections can prevent power transfer.
- Controller Wiring: Examine the wires leading to and from the controller for fraying or damage. A faulty controller can cause operational failures.
- Motor Connections: Look at the motor's wiring for any breaks or loose connections. Damaged wires here can disrupt movement.
- Fuses and Relays: Check the fuses and relays for any blown components. Replacing a blown fuse might be all you need to get moving again.
- Ground Connections: Verify that all ground wires are securely connected and free of rust or corrosion. A poor ground can lead to erratic performance.
After analyzing these areas, you'll have a clearer picture of whether wiring issues are the culprit.
If everything looks good, you can then move on to other potential problems.
Evaluate the Tow/Run Switch
Once you've confirmed that the wiring is in good condition, the next step is to evaluate the Tow/Run switch. This switch is essential as it controls whether your golf cart operates in normal mode or tow mode. Start by ensuring the switch is in the "Run" position. If it's in "Tow," your cart won't move.
Next, visually inspect the switch for any signs of damage, corrosion, or wear. If you notice any issues, it may need replacement. To test the switch, you'll need a multimeter. Set it to measure continuity and check the terminals on the switch while toggling between the Run and Tow positions. You should see continuity in the Run position but none in Tow.
If the switch appears to be functioning correctly, check the connections leading to it. Loose or corroded connections can disrupt the electrical flow, preventing your cart from operating. Tighten any loose connections and clean any corrosion you find.
After addressing the switch and connections, try operating the cart again. If it still won't go forward or reverse, you may need to investigate other components.
Seek Professional Help

Sometimes, seeking professional help is the best course of action when you're facing persistent issues with your EZGO golf cart. If you've gone through troubleshooting steps and still can't get your cart to move, it might be time to call in an expert.
Professionals have the tools and experience to diagnose and resolve complex problems that could be beyond your skill level.
Consider the following when seeking help:
- Expert Diagnostics: Professionals can quickly identify electrical or mechanical issues.
- Specialized Tools: They've access to equipment that you mightn't own, guaranteeing accurate repairs.
- Warranty Considerations: If your cart is still under warranty, using a certified technician might keep your coverage intact.
- Time Efficiency: Professionals can save you hours of trial and error, getting your cart back in action faster.
- Safety Assurance: They guarantee that any repairs meet safety standards, reducing the risk of future issues.
In the end, investing in professional assistance can save you time, money, and frustration, allowing you to enjoy your EZGO golf cart with peace of mind.
Frequently Asked Questions
How Can I Tell if My Golf Cart Is in Tow Mode?
To determine if your golf cart's in tow mode, check for the tow/run switch, usually located near the controller.
If the switch's in the tow position, the cart won't operate normally. You might also notice that the motor doesn't engage when you press the accelerator.
Additionally, if the dashboard lights behave differently or if the cart rolls freely, it's likely in tow mode.
Switch it back to run for normal operation.
What Tools Do I Need for Basic EZGO Repairs?
You won't believe the magic that happens when you gather the right tools for basic EZGO repairs!
Start with a multimeter to check electrical systems, a socket set for removing bolts, and screwdrivers for all those pesky screws.
Don't forget pliers for gripping and cutting! A torque wrench guarantees everything's snug, while a battery tester is essential for your cart's power.
With these tools, you'll transform into a golf cart repair wizard in no time!
Can I Use a Regular Car Battery for My Golf Cart?
You can't use a regular car battery for your golf cart.
Golf carts typically require deep-cycle batteries designed for repeated discharge and recharge cycles. Car batteries are meant for short bursts of power to start engines, not for sustained use.
If you try using one, you'll likely damage it and your cart's electrical system. Stick with the appropriate deep-cycle batteries to guarantee peak performance and longevity for your golf cart.
How Often Should I Maintain My EZGO Golf Cart?
Maintaining your EZGO golf cart is like tuning a fine instrument; it keeps everything in harmony. You should check the batteries every month, ensuring connections are tight and clean.
Inspect the tires for wear and proper inflation regularly. A thorough cleaning every few months helps prevent corrosion.
Additionally, lubricate moving parts and check the brakes at least twice a year. Following these guidelines will keep your cart running smoothly and extend its lifespan.
Is It Safe to Jump-Start My Golf Cart?
Jump-starting your golf cart can be safe if done correctly. Guarantee both carts are off before connecting the cables to prevent electrical damage.
Connect the positive terminal of the dead battery to the positive of the good battery, then attach the negative of the good battery to a grounded metal surface on the dead cart.
Once connected, start the working cart. Remember to disconnect in reverse order to avoid sparks. Always consult your manual for specific instructions.
Conclusion
By methodically checking each component of your EZGO golf cart, you can often pinpoint the issue preventing it from moving. Remember, nearly 30% of electric cart failures result from battery connection problems, so guarantee those connections are solid. If you've gone through these steps and still face issues, don't hesitate to seek professional help. Proper diagnosis and repair can save you time and money in the long run, ensuring your cart's safe and reliable operation.