It's as if your electric golf cart has suddenly decided to take a permanent vacation. Before you resign yourself to a life without leisurely drives, let's troubleshoot the issue. Start by checking the battery charge and connections, as these are often the culprits behind a cart that won't budge. But there's more to uncover; each component plays an essential role in getting your cart back on the course. Stick around to find out the steps that could get you rolling again.
Key Takeaways
- Check the battery charge using a multimeter; ensure voltage is above 36V for 36V systems or 48V for 48V systems.
- Inspect battery connections for tightness and corrosion; clean any buildup and ensure all cables are secure.
- Test the solenoid voltage output; absence of voltage may indicate a faulty solenoid that needs replacement.
- Examine the motor and controller for damage, ensuring all connections are tight and voltage readings are within specifications.
- Verify safety features like the emergency shutoff switch and safety interlocks to ensure they are functioning properly and engaged.
Check the Battery Charge
To guarantee your electric golf cart runs smoothly, start by checking the battery charge. A fully charged battery is essential for peak performance. Use a digital multimeter to measure the voltage across the battery terminals. For a typical 36-volt system, a reading below 36 volts indicates a low charge. If you're working with a 48-volt system, verify the reading is at least 48 volts.
Next, inspect any battery management system (BMS) indicators, if available. These systems often provide a clear visual representation of the battery charge status. If your golf cart uses a standard lead-acid battery, check the specific gravity of the electrolyte using a hydrometer. A reading below 1.225 suggests a weak charge.
If the charge appears inadequate, recharge your batteries using a compatible charger. Monitor the charging process, making sure it completes fully. Avoid undercharging or overcharging, as both can damage the battery.
After charging, recheck the voltage to confirm the battery is now at an acceptable level. By verifying your battery charge is peak, you set a solid foundation for diagnosing further issues with your electric golf cart.
Inspect Battery Connections
Battery connections play an essential role in the overall performance of your electric golf cart. If these connections are loose, corroded, or damaged, you'll likely experience power loss, leading to the cart not moving.
Start by visually inspecting the battery terminals. Verify they're tightly fastened; a loose connection can create intermittent contact, disrupting the flow of electricity.
Next, check for corrosion on the terminals. This often appears as a white, powdery substance. If you spot corrosion, use a mixture of baking soda and water to clean the terminals. Scrub gently with a wire brush, and make sure to wear gloves and safety goggles.
After cleaning, rinse with water and dry the connections thoroughly.
Also, examine the cables for any signs of fraying or damage. Damaged cables can impede electrical flow, so replace them if necessary.
Finally, verify that the connections from the battery to the motor controller are secure. Even a minor issue in this area can lead to performance problems.
Test the Solenoid

To diagnose issues with your electric golf cart, you need to test the solenoid, which acts as a switch to control power flow from the battery to the motor.
Start by checking all connections and wiring for any signs of wear or corrosion, as these can impede performance.
Next, measure the voltage output to verify the solenoid is functioning correctly and delivering adequate power.
Understand Solenoid Function
A solenoid plays a crucial role in the operation of your electric golf cart, acting as a switch that controls the flow of electricity from the battery to the motor. When you press the accelerator, the solenoid engages, allowing current to pass through and power the motor. If your cart won't move, the solenoid might be at fault.
To test the solenoid, first, verify that the cart is in the "off" position for safety. Locate the solenoid, typically found near the battery. You'll see two large terminals; these connect to the battery and motor.
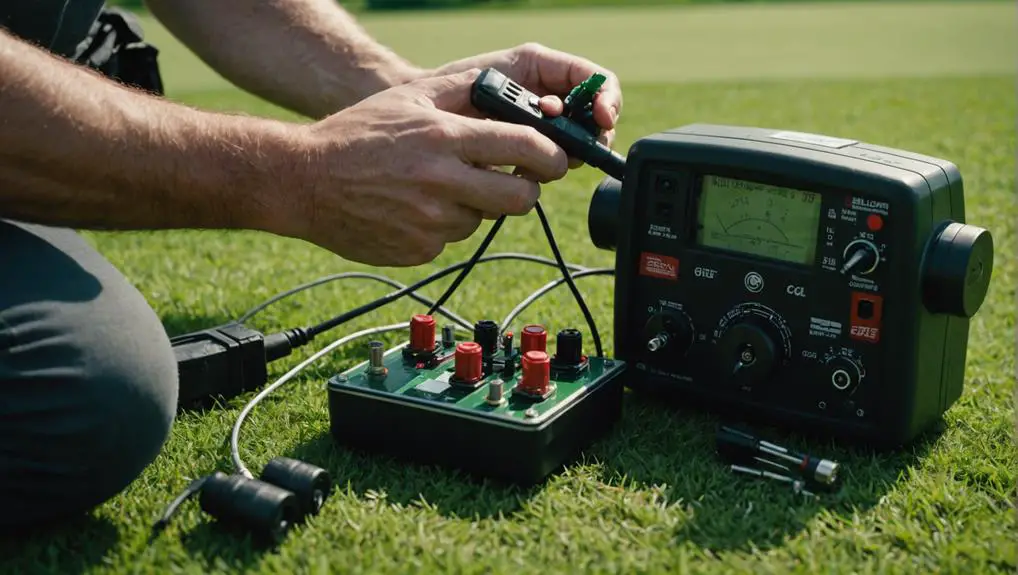
Using a multimeter, set it to the DC voltage range. With the cart in the "on" position and the accelerator pressed, check for voltage at the solenoid terminals. You should see a reading indicating voltage is present.
If you don't detect voltage, the solenoid may be defective or not receiving power. In that case, you should consider replacing it.
However, if voltage is present, the issue may lie elsewhere in the system. Understanding the solenoid's function is essential for diagnosing movement issues in your electric golf cart.
Check Connections and Wiring
Inspecting connections and wiring is a critical step in diagnosing electric golf cart issues, particularly after testing the solenoid. Start by visually examining all wiring harnesses connected to the solenoid and motor. Look for signs of wear, fraying, or corrosion at terminals, as these can lead to poor conductivity.
Verify all connections are tight; loose connections can interrupt the flow of electricity and prevent your cart from moving.
Next, trace the wiring back to the battery and check for any damaged or disconnected cables. Pay special attention to the positive and negative terminals; corrosion here can greatly hinder performance. If you find any issues, clean the terminals with a wire brush and reconnect them securely.
Additionally, inspect the controller wiring for any signs of damage. A faulty controller can disrupt the entire system, so verify all connections are secure and intact. If you've identified any damaged wires, replace them to restore proper function.
Measure Voltage Output
Measuring the voltage output from the solenoid is essential for diagnosing electric golf cart issues. Begin by ensuring your golf cart is safely powered off. Use a multimeter set to the DC voltage setting, and connect the red probe to the solenoid's battery terminal and the black probe to the ground. This step checks if the solenoid is receiving adequate voltage. Typically, you should see a reading close to the battery voltage, usually around 36 or 48 volts, depending on your system.
Next, activate the accelerator pedal while observing the multimeter. If the voltage drops considerably or shows zero, the solenoid may be malfunctioning. You'll need to assess if the solenoid clicks when engaged; if it doesn't, it could indicate a failure in the solenoid itself or an issue with the control circuit.
If the voltage is correct but the cart still won't move, check the output side of the solenoid. Repeat the measurement process on the load terminal. A lack of voltage here often signifies a faulty solenoid, and you may need to replace it.
Examine the Motor
To effectively diagnose issues with your electric golf cart, you need to examine the motor thoroughly. Start by visually inspecting the motor for any obvious signs of damage or wear. Check for loose or corroded connections, as these can impact performance. Verify that all wiring harnesses are securely attached and free from fraying or shorts.
Next, listen for unusual noises when you attempt to engage the motor. Grinding or whining sounds may indicate internal issues, such as worn bearings or damaged components. If the motor fails to engage, use a multimeter to check the resistance across the motor terminals. A reading outside the manufacturer's specified range suggests a problem.
Additionally, confirm that the motor is receiving adequate voltage. Use your multimeter to measure the voltage at the motor terminals while someone presses the accelerator pedal. If the voltage is considerably lower than expected, the issue may lie elsewhere in the electrical system.
Assess the Controller

After examining the motor, the next step is to assess the controller, as it plays an essential role in regulating power to the motor. Start by checking the controller's connections for any signs of corrosion or loose wires. A poor connection can result in insufficient power delivery, preventing the cart from moving.
Next, use a multimeter to measure the voltage at the controller's input terminals. You should see the voltage matching the battery pack's output. If you don't, it may indicate a problem with the batteries or the key switch.
Now, check the output terminals of the controller while the accelerator is engaged. This will help you determine if the controller is sending the appropriate voltage to the motor. If there's no output, the controller may be faulty.
Additionally, inspect for any error codes or warning lights on the controller, as these can provide insight into specific issues.
Look for Wiring Issues
Have you thoroughly examined the wiring in your electric golf cart? Start by visually inspecting all wiring harnesses for signs of wear, fraying, or corrosion. Pay close attention to connections at the battery, motor, and controller. Loose or corroded terminals can impede current flow, so verify everything is securely connected.
Next, check for any exposed wires, especially near moving parts. These can short-circuit or break, causing a loss of power. Use a multimeter to test continuity in critical wires, particularly those leading from the battery to the controller. If you find any breaks or high resistance, those wires will need replacement.
Don't overlook the solenoid; it plays a crucial role in the starting circuit. Inspect its connections and use your multimeter to confirm it's functioning correctly. A faulty solenoid can prevent power from reaching the motor, making it seem like your cart won't move.
Review Safety Features

When diagnosing electric golf cart issues, it's vital to review the safety features.
Start by checking the emergency shutoff switch to guarantee it's functioning properly, as this is your first line of defense in an emergency.
Next, inspect the safety interlocks to confirm they engage correctly, preventing unintended movement when the cart isn't in a safe operating condition.
Check Emergency Shutoff Switch
How can you confirm your electric golf cart is safe to operate? One of the first steps is checking the emergency shutoff switch. This vital safety feature is designed to immediately cut power to the cart in case of an emergency, preventing potential accidents.
To locate the emergency shutoff switch, refer to your cart's user manual, as its position can vary by model. Typically, it's found near the main battery compartment or under the seat. Verify the switch is in the "on" position; if it's inadvertently set to "off," your cart won't move.
If the switch appears to be functional but your cart still won't operate, inspect for any visible damage or corrosion around the connection points. Corroded terminals can lead to poor electrical contact, which might interrupt power flow.
After confirming the switch is operational, test the cart by trying to engage the throttle. If the cart moves, you've resolved the issue. If it doesn't, further diagnostics will be necessary.
Inspect Safety Interlocks
After confirming the emergency shutoff switch is operational, the next step is to inspect the safety interlocks. Safety interlocks are critical components designed to prevent the golf cart from moving under unsafe conditions.
Start by checking the key switch; make sure it's in the "on" position. If the key is missing or damaged, replace it.
Next, examine the brake pedal switch. This switch should engage when you press the brake pedal, allowing the cart to move only when the brake is applied. If the switch is faulty or misaligned, it may prevent the cart from operating. Test the switch with a multimeter to verify continuity.
Also, inspect the seat safety switch, which ensures the driver is seated before the cart can move. If this switch is stuck or broken, it could be the reason your cart won't go.
Lastly, check for any loose or corroded wiring connections related to these safety features. A poor connection can disrupt the functionality of the interlocks. Address any issues you find, as these safety interlocks are essential for safe operation.
Frequently Asked Questions
How Can I Tell if My Golf Cart Needs a New Battery?
To determine if your golf cart needs a new battery, check for signs of reduced power or slow acceleration.
Measure the voltage using a multimeter; a fully charged battery should read around 12.6 volts. If it's considerably lower, or if it dips under load, it's likely time for a replacement.
Also, inspect for corrosion on terminals and leaks. If you consistently need to recharge, those are indicators your battery's nearing its end.
What Tools Do I Need for Basic Golf Cart Maintenance?
For basic golf cart maintenance, you'll need a few essential tools.
A multimeter helps you check battery voltage and connections. A socket set is vital for tightening or replacing bolts. Pliers and wire cutters assist with electrical work. A wrench set is necessary for various nuts and bolts.
Don't forget a screwdriver set for minor repairs. A tire pressure gauge guarantees your tires are properly inflated, enhancing performance and safety.
Can a Faulty Charger Prevent My Golf Cart From Moving?
Imagine you're trying to start a car with an empty tank. Just like that, a faulty charger can leave your golf cart powerless.
If your charger isn't functioning properly, it won't fully charge your batteries, leading to insufficient power for movement. Always check the charger's output voltage and connections. If they're off, your cart won't budge, much like that car stranded without fuel!
Regular maintenance helps prevent these frustrating situations.
What Are Common Signs of a Failing Electric Motor?
When your electric motor starts failing, you'll notice several common signs.
You might experience reduced power, unusual noises, or intermittent operation. If the motor overheats frequently, that's another red flag.
The cart may also struggle to accelerate or respond sluggishly. You should check for burnt smells or visible wear on the motor components.
Regular maintenance can help catch these issues early, so keep an eye on your cart's performance.
How Often Should I Perform Maintenance on My Golf Cart?
To keep your golf cart in tip-top shape, you should perform maintenance every 30 to 60 days, depending on usage.
Regularly check the battery, tires, and brakes to guarantee everything's running smoothly. It's also wise to clean connections and inspect for wear and tear.
Conclusion
By systematically checking each component, you can quickly diagnose why your electric golf cart won't move. If you suspect that a faulty battery connection or a malfunctioning solenoid might be the culprit, you're not alone—many golfers overlook these simple fixes. Remember, addressing issues like wiring wear and safety features can save you time and money. Ultimately, understanding your cart's mechanics empowers you to maintain its performance and enjoy a smooth ride on the course.