When your Eagle Performance Charger isn't working as it should, it can be frustrating. You might start by checking the power source to verify it's functioning properly, or inspecting the charger and its connections for any signs of wear or damage. Often, simple fixes like these can make a significant difference. But what if these steps don't resolve the issue? There are additional troubleshooting techniques that can come into play, and knowing them could save you time and hassle down the line.
Key Takeaways
- Ensure the power cord is securely plugged into a functional outlet and check for visible damage on the adapter.
- Inspect charger connections and cables for frays, ensuring all connectors are snugly fitted.
- Verify indicator lights: green means normal, red indicates a fault, and flashing yellow suggests a temporary issue.
- Reset the charger by unplugging it for 30 seconds and checking the connections after reconnecting.
- Regularly clean charging ports and check battery condition to prevent charging issues.
Check Power Source
Checking the power source is essential for diagnosing issues with your Eagle Performance Charger. Start by ensuring that the charger's power cord is securely plugged into a functioning outlet. Inspect the outlet for power by using another device; if it doesn't work, you may need to reset the circuit breaker or replace a blown fuse.
Next, examine the power adapter for any visible signs of damage, such as frayed wires or burnt connectors. If the adapter is damaged, replacing it will restore functionality.
Additionally, verify that the charger's LED indicator lights are functioning correctly. If they aren't lit, it could signal a problem with the power supply.
If your charger connects to a battery, make sure the battery is charged and properly connected. A dead or improperly connected battery can prevent the charger from operating.
Lastly, consider using a different power outlet or power strip to rule out issues with the current source. By thoroughly checking these aspects of your power source, you'll have a clearer understanding of whether the problem lies within the charger itself or the external power supply.
Inspect Charger Connections
Before troubleshooting further, you need to inspect the charger connections.
Start by checking the power source to verify it's functioning properly.
Then examine the integrity of the cables for any signs of wear or damage.
Check Power Source
A reliable power source is vital for the Eagle Performance Charger to function effectively.
Start by checking the outlet you're using. Confirm it's a live socket by plugging in another device; if that device doesn't power on, the outlet may be faulty. If you're using an extension cord, consider bypassing it and plugging the charger directly into the wall. Extension cords can sometimes limit power flow.
Next, inspect the charger's power cable connections. Make certain the power cable is securely plugged into the charger and the wall outlet. Any loose connections can disrupt power delivery. If the charger has a power switch, verify it's turned on; some models come with a switch that can easily be overlooked.
Also, check for any visible signs of damage on the power cable and connections. If you see frays, cuts, or burns, it's essential to replace the damaged components to prevent potential hazards.
Finally, verify that the voltage rating of your power source matches the specifications of the charger. Incompatible voltage can lead to underperformance or damage.
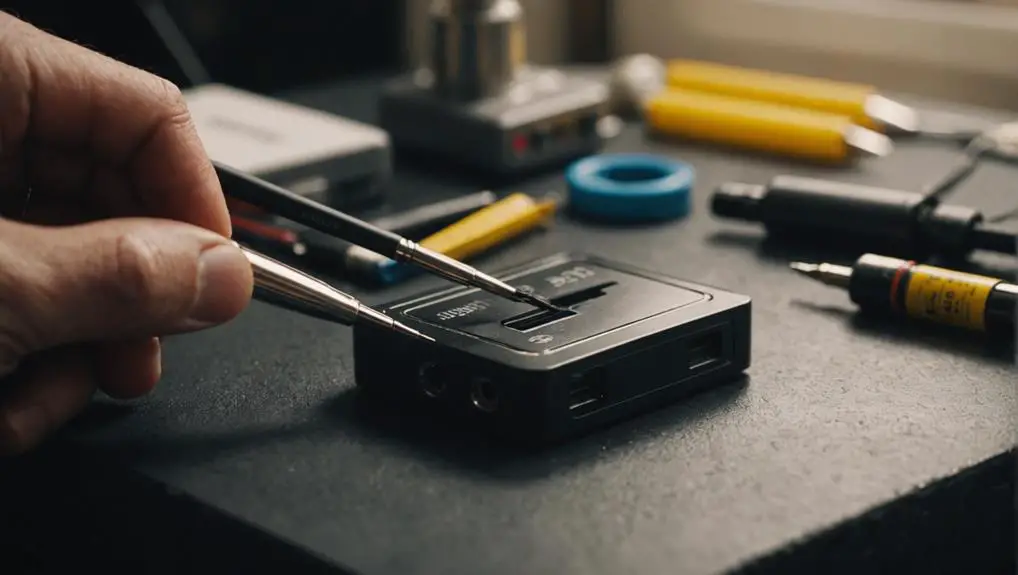
Examine Cable Integrity
After confirming a reliable power source, the next step involves examining the integrity of the charger cables and connections. Faulty cables can lead to inefficient charging or complete failure of the charger.
Here's how to effectively inspect the cables:
- Visual Inspection: Look for any visible signs of wear, such as frayed insulation, bent connectors, or exposed wires. These issues can interrupt the flow of electricity and must be addressed immediately.
- Flex Test: Gently bend the cables at various points while observing for any flickering lights or changes in charging status. If you notice any fluctuations, it indicates internal damage to the cable.
- Connection Check: Confirm that all connectors are securely attached. Loose connections can lead to intermittent power supply, which hampers charging efficiency.
Secure Connection Points
Ensuring secure connection points is essential for the ideal performance of your Eagle Performance Charger. Start by inspecting the connection points on both the charger and the battery. Look for any signs of corrosion, dirt, or debris that could disrupt the electrical flow. Use a clean cloth or a soft brush to remove any contaminants.
Next, verify that all connections are snugly fit. Loose connections can lead to voltage drops, resulting in inefficient charging. If you notice any connectors that feel wobbly or loose, disconnect and reconnect them firmly.
Pay special attention to the polarity of the connections; incorrect polarity can cause serious damage to your charger and battery. Make sure the positive terminal connects to the positive lead and the negative to the negative.
Additionally, check the integrity of the connector pins. If any pins are bent or damaged, they may not create a proper connection. In such cases, consider replacing the connector.
Examine Indicator Lights
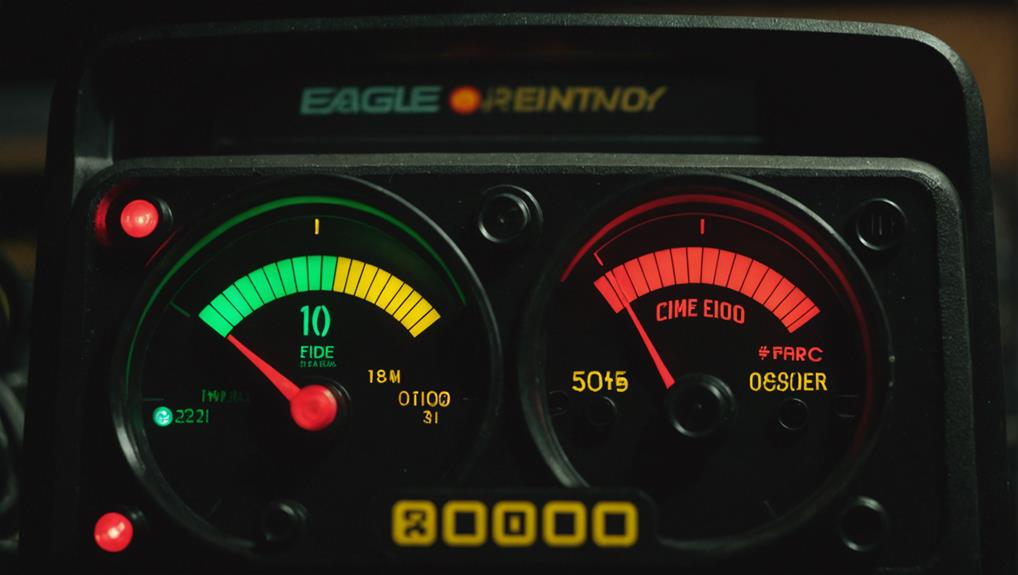
When troubleshooting the Eagle Performance Charger, examining the indicator lights is essential for diagnosing issues quickly.
These lights provide immediate feedback on the charger's status and can guide you in identifying potential problems.
Here's what to look for:
1. Green Light: This indicates that the charger is functioning normally and the battery is fully charged.
If the light stays green but your battery isn't charged, further investigation is required.
2. Red Light: A red indicator often signals a fault or error.
This could be due to an overload, short circuit, or an incompatible battery. Make sure to check your connections and verify the correct battery type is being used.
3. Flashing Yellow Light: This typically means the charger is in standby mode or experiencing a temporary issue.
If it continues to flash, it's a good idea to unplug the charger and inspect it for any signs of damage or malfunction.
Reset the Charger
To reset the Eagle Performance Charger, you'll need to follow a straightforward process that can resolve minor glitches and restore normal operation.
Begin by unplugging the charger from the power source. Wait for at least 30 seconds to verify that the internal components fully discharge. This brief pause helps to clear any temporary faults that may have occurred.
Next, plug the charger back into the power outlet. Make sure the connection is secure and that the outlet is functioning correctly. If your charger features a power switch, turn it off, wait another 10 seconds, and then turn it back on. This step can help in reestablishing a stable connection.
After reconnecting the charger, check the indicator lights. If the charger resumes normal functionality, you're good to go.
If the issue persists, you might need to evaluate other troubleshooting methods or consult the user manual for advanced resets.
Clean Charging Ports
After resetting the charger, the next step involves checking and cleaning the charging ports.
Dirty or obstructed ports can prevent proper charging and lead to performance issues. Here's how to effectively clean them:
- Inspect the Ports: Use a bright light to examine the charging ports for dust, lint, or corrosion. Pay close attention to any foreign objects that may be lodged inside.
- Use Compressed Air: To remove loose debris, gently blow compressed air into the ports. Maintain a safe distance to avoid damage while guaranteeing that you clear out any particles.
- Clean with Isopropyl Alcohol: Dampen a soft cloth or cotton swab with isopropyl alcohol and gently wipe the interior of the ports. This helps remove grime and prevents oxidation. Make sure the ports are completely dry before reconnecting the charger.
Regular maintenance of your charging ports guarantees peak performance and longevity of your Eagle Performance Charger.
Verify Battery Condition
Verifying battery condition is essential for confirming your Eagle Performance Charger operates effectively.
Begin by inspecting the battery for any visible damage, such as cracks or leaks. A compromised battery can lead to charging issues and may even pose safety risks.
Next, check the battery's voltage using a multimeter. For ideal performance, the voltage should align with the specifications outlined in your battery's manual. If the voltage is considerably lower, the battery may be discharged or faulty.
Additionally, assess the battery's age; older batteries lose capacity and efficiency. If your battery is more than three years old, consider replacing it, especially if you notice consistent charging issues.
Don't forget to examine the terminals for corrosion. Clean any buildup with a solution of baking soda and water, confirming a secure connection between the battery and charger.
Finally, if you have access to a battery tester, use it to evaluate the overall health of the battery. A tester can provide insights into the maximum charge capacity and internal resistance, helping you determine if it's time for a replacement.
Update Firmware
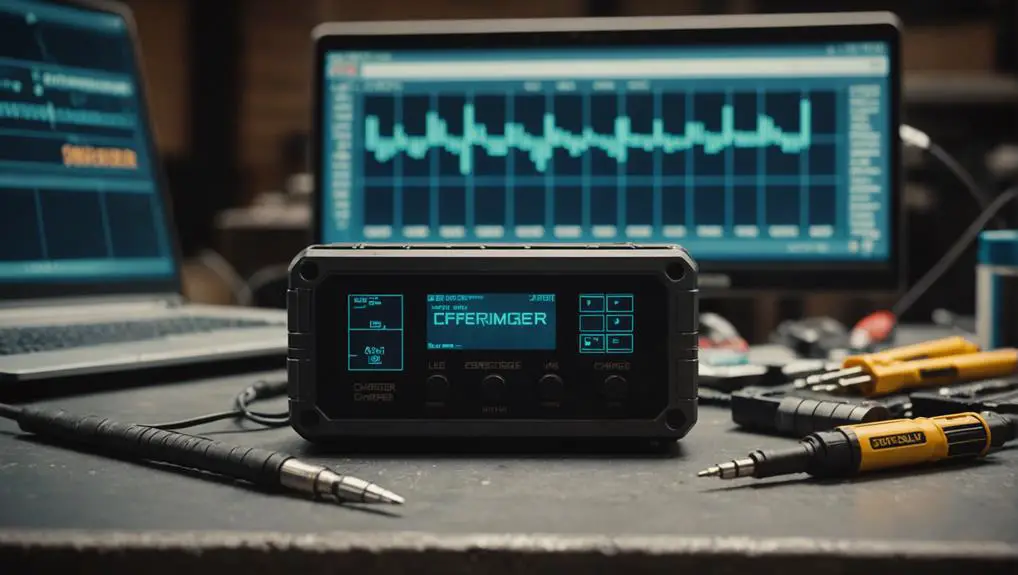
Updating the firmware on your Eagle Performance Charger is essential for optimizing performance and addressing any bugs.
To perform an update, you'll need to follow specific steps outlined in the user manual, ensuring you're using the correct software version.
If you encounter issues during the update, troubleshooting methods are available to help you resolve these problems efficiently.
Importance of Firmware Updates
Many users underestimate the significance of keeping their Eagle Performance Charger's firmware up to date. Regular firmware updates play an essential role in ensuring peak performance, security, and compatibility.
Here are three key reasons to prioritize these updates:
- Performance Enhancements: Firmware updates often include improvements that enhance charging efficiency and functionality. This means your charger will work better and may even extend the lifespan of your batteries.
- Bug Fixes: Just like any software, firmware can contain bugs that affect operation. By updating, you're likely to resolve existing issues and prevent new ones from arising, ensuring a smoother user experience.
- Security Improvements: Cybersecurity threats are real, and manufacturers frequently release updates to patch vulnerabilities. Keeping your firmware current helps protect your device from potential breaches.
How to Update
Keeping your Eagle Performance Charger's firmware up to date is a straightforward process that can greatly improve its functionality.
Start by connecting your charger to a power source and confirming it's turned on. Next, visit the official Eagle Performance website and navigate to the "Support" or "Downloads" section. Here, you'll find the latest firmware updates available for your specific model.
Download the appropriate firmware file to your computer. Once the download is complete, connect your charger to the computer using a USB cable.
Open the firmware update tool provided on the website. This tool will detect your charger and prompt you to upload the firmware file.
Follow the on-screen instructions to initiate the update process. Make sure not to disconnect the charger during the update, as this could cause errors.
Once the update is complete, the tool will confirm the successful installation of the new firmware. Finally, disconnect your charger from the computer and restart it to confirm the changes take effect.
Regularly check for firmware updates to maximize your charger's performance and compatibility with newer battery technologies.
Troubleshooting Update Issues
When you encounter issues while updating your Eagle Performance Charger's firmware, several common troubleshooting steps can help resolve the problems.
Here's what you should check:
- Connection Stability: Confirm your charger is connected to a stable power source. If the power supply is inconsistent, it can interrupt the update process.
- Firmware Compatibility: Verify that the firmware version you're trying to install is compatible with your specific charger model. Installing incorrect firmware can lead to failure during the update.
- USB Cable and Port: If you're using a USB connection for the update, inspect the cable and port for any physical damage. A faulty cable or port can hinder communication between your charger and the updating device.
If you've checked these factors and the issue persists, consider restarting both the charger and the device you're using for the update.
Re-attempt the update after a brief pause. If problems continue, consult the user manual for further instructions or reach out to customer support for assistance.
Keeping these troubleshooting steps in mind can save you time and frustration during the firmware update process.
Seek Professional Assistance
If troubleshooting your Eagle Performance Charger proves challenging, seeking professional assistance is often the best course of action. While you may have tried various fixes, some issues require specialized knowledge and tools that only experienced technicians possess.
When you consult a professional, they can perform a thorough diagnostic evaluation of your charger. They'll check for underlying electrical issues, faulty components, or software glitches that could be causing the problems.
These experts are equipped with advanced diagnostic equipment that can pinpoint issues quickly and accurately, saving you time and frustration.
Additionally, professionals have access to manufacturer resources, including technical bulletins and repair histories, which can provide insight into known issues and their solutions.
If your charger is still under warranty, seeking professional help can also prevent voiding it by attempting DIY repairs.
Ultimately, investing in professional assistance can prolong the life of your charger and guarantee it operates at peak efficiency.
Don't hesitate to reach out to a certified technician when you're facing persistent challenges—it's a proactive step that can lead to effective and lasting solutions.
Frequently Asked Questions
What Types of Batteries Are Compatible With the Eagle Performance Charger?
The Eagle Performance Charger is compatible with several battery types, primarily lead-acid, AGM, and gel batteries.
It's designed to accommodate different voltages, typically 6V and 12V systems.
Confirm your battery's specifications match the charger's requirements for peak performance.
Always check the manufacturer's guidelines for specific compatibility details.
This way, you can avoid potential damage and confirm efficient charging, maximizing your battery's lifespan and performance.
How Can I Tell if My Charger Is Under Warranty?
Imagine your charger, like a trusty steed, ready for action.
To check if it's under warranty, look for the purchase receipt or the warranty card that came with it. Most warranties last one to three years from the purchase date.
You can also visit the manufacturer's website or contact customer service with your charger's serial number. They'll guide you through verifying your warranty status efficiently.
Don't let uncertainty hold you back!
Can I Use This Charger for Devices Other Than Batteries?
You can't use this charger for devices other than batteries.
It's specifically designed to charge certain battery types, ensuring ideal performance and safety. Using it for other devices might lead to improper charging, potential damage, or even safety hazards.
Always check the manufacturer's specifications to confirm compatibility before attempting to charge any device.
If you need to charge other electronics, consider using a charger designed for those specific devices.
What Safety Precautions Should I Take While Charging?
Did you know that nearly 30% of battery-related fires occur during charging?
To guarantee safety while charging, always use the correct charger for your device. Avoid overloading outlets, and never leave devices unattended while charging.
Keep chargers away from flammable materials and guarantee proper ventilation. Regularly inspect cords for damage, and don't use a charger with exposed wires.
How Do I Properly Store the Charger When Not in Use?
To properly store your charger when not in use, first, unplug it from the power source.
Make sure it's cool to the touch before handling.
Clean any dust or debris from the charger with a soft cloth.
Store it in a dry, cool place, away from direct sunlight or moisture.
Avoid wrapping the cord tightly around the charger; instead, loosely coil it to prevent damage.
Regularly check the charger for wear or damage before future use.
Conclusion
To summarize, tackling issues with your Eagle Performance Charger doesn't have to be rocket science. By checking the power source, inspecting connections, and monitoring indicator lights, you can often resolve problems in no time. If you encounter persistent issues, resetting the charger and verifying battery condition can work wonders. Remember, these quick fixes can save you from the headache of a dead battery. When in doubt, don't hesitate to seek professional assistance for a flawless charging experience.