Like the fabled phoenix rising from the ashes, a well-cared-for motorcycle battery can bring your ride back to life when you need it most. You might think battery maintenance is a tedious chore, but a few simple practices can greatly enhance your battery's performance and lifespan. From regular checks to seasonal storage techniques, understanding the nuances of battery care is vital. So, what are the essential steps you should take to keep your battery in prime condition and ready for the open road?
Key Takeaways
- Regularly clean battery terminals with a baking soda solution to prevent corrosion and enhance performance.
- Check voltage levels frequently; a healthy battery reads around 12.6 volts when fully charged.
- Use a smart charger tailored to your Ducati battery type for optimal charging and longevity.
- Inspect for corrosion visually and clean terminals if discoloration or crust is present.
Importance of Battery Care

Maintaining your motorcycle battery is essential for ensuring reliable performance and extending its lifespan. When you take care of your battery, you're not just keeping your ride alive; you're also enhancing your freedom to explore the open road without worries. A healthy battery means fewer unexpected breakdowns, allowing you to embrace the thrill of the journey.
Regular maintenance helps you avoid costly repairs and replacements. Checking the battery's fluid levels, cleaning the terminals, and ensuring proper connections can go a long way. It's about empowering yourself to enjoy every ride without the nagging fear of being stranded. Remember, a well-maintained battery can withstand the challenges of different weather conditions and terrain, giving you the confidence to venture wherever your spirit leads.
When you invest time in battery care, you're investing in your freedom. A reliable motorcycle battery is your ticket to adventure, allowing you to break free from the mundane and embrace the exhilarating experiences that await.
Types of Ducati Batteries
Ducati motorcycles typically use three main types of batteries: lead-acid, gel, and lithium-ion, each offering distinct advantages for performance and maintenance. Understanding these battery types can empower you to choose the right one for your ride, ensuring you feel the freedom of the open road without interruptions.
- Lead-Acid Batteries: These are the traditional choice for many Ducati models. They're reliable and cost-effective, but they're heavier and require regular maintenance, such as checking fluid levels.
- Gel Batteries: A step up from lead-acid, gel batteries are sealed and maintenance-free. They're less prone to leakage and can handle vibrations better, making them ideal for performance bikes. However, they can be more expensive.
- Lithium-Ion Batteries: The latest in battery technology, lithium-ion batteries are lightweight and offer superior performance. They charge faster and have a longer lifespan, giving you that extra kick when you hit the throttle. While they're pricier, the benefits can be worth it.
Choosing the right battery type for your Ducati not only enhances your ride but also sets you on the path to ultimate freedom.
Regular Maintenance Practices

To keep your motorcycle battery in top shape, regular maintenance is essential.
You'll want to clean the battery terminals, check voltage levels, and inspect for any corrosion issues.
These simple practices can greatly extend your battery's life and performance.
Clean Battery Terminals Regularly
Regularly cleaning your motorcycle's battery terminals can greatly enhance its performance and lifespan.
Dirt and corrosion can build up over time, leading to poor connections and even battery failure. Keeping your terminals clean is a simple yet essential step in maintaining your ride's freedom on the road.
Here's how to keep those terminals sparkling:
- Gather Your Supplies: Grab a wire brush or battery terminal cleaner, some baking soda, and a cloth. You'll also need water and safety goggles to protect your eyes.
- Disconnect the Battery: Always start by disconnecting the negative terminal first, then the positive. This reduces the risk of short circuits while you clean.
- Clean and Rinse: Mix baking soda with water to create a paste. Apply it to the terminals, scrub away the corrosion, then rinse with water. Dry them thoroughly before reconnecting, starting with the positive terminal.
Check Voltage Levels Frequently
Checking your motorcycle's voltage levels frequently guarantees that your battery remains in top condition and prevents unexpected breakdowns. This simple practice empowers you to ride with confidence, knowing that your battery won't fail you when you crave the open road.
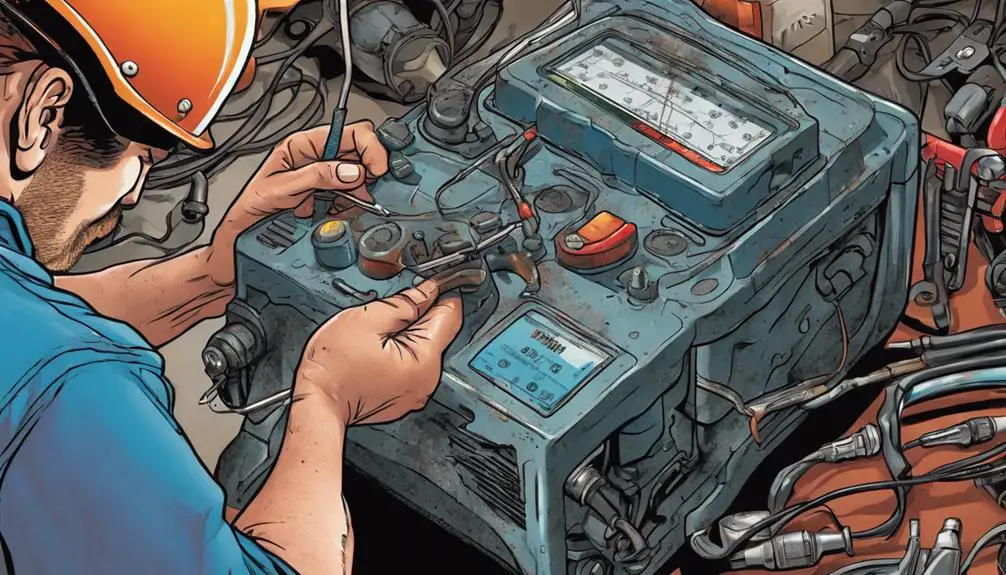
Start by using a reliable multimeter. Set it to the DC voltage setting, and connect the leads to the battery terminals—red to positive and black to negative. A healthy motorcycle battery should read around 12.6 volts when fully charged. If it's consistently below 12.4 volts, consider giving it a good charge or replacing it.
Make it a habit to check voltage levels every few weeks, especially before long rides. This way, you can catch any issues early and avoid being stranded in the middle of nowhere. Riding should be about freedom, not frustration.
If you notice any significant drops in voltage, it's your signal to take action. Whether it's charging up or looking into a replacement, being proactive will enhance your riding experience. Stay vigilant; your motorcycle's battery is the heartbeat of your machine, and keeping it strong keeps you free on the road.
Inspect for Corrosion Issues
Corrosion can silently undermine your motorcycle battery's performance, so inspecting for it during your maintenance routine is essential. If you want to keep your ride powerful and reliable, make this inspection a priority.
Corrosion typically appears as a white, crusty substance on the battery terminals. Catching it early can save you from unexpected breakdowns on the road.
Here are three key steps to inspect for corrosion issues:
- Visual Check: Regularly look at the battery terminals and cables. If you see any discoloration or crust, that's a sign of corrosion.
- Clean Up: If you spot corrosion, disconnect the battery (negative terminal first). Use a mixture of baking soda and water to scrub the affected areas with a toothbrush. Rinse, dry, and reconnect the terminals, positive first.
- Protective Coating: After cleaning, consider applying a thin layer of petroleum jelly or battery terminal protector. This helps prevent future corrosion.
Charging Your Ducati Battery
When it comes to charging your Ducati battery, choosing the right charger is vital for ideal performance.
You should also be aware of how often to charge it and take necessary safety precautions during the process.
Let's explore these essential points to keep your battery in top shape.
Choosing the Right Charger
Choosing the right charger for your Ducati battery guarantees ideal performance and longevity. Your bike deserves the best, and selecting the appropriate charger can make all the difference. Here are some key points to take into account when making your choice:
- Type of Charger: Opt for a smart charger that automatically adjusts the charging process. These chargers prevent overcharging and keep your battery in peak condition.
- Voltage Compatibility: Verify the charger matches your Ducati's battery voltage. Most Ducati models use a 12V battery, but it's always wise to double-check before purchasing.
- Amperage Rating: Look for a charger with a suitable amperage rating. A charger delivering 1 to 2 amps is typically ideal for standard maintenance, while higher amperage may be better for quick charging.
Charging Frequency Recommendations
To keep your Ducati battery in top shape, charge it every month, especially during periods of inactivity. This routine helps prevent the battery from losing its charge and keeps it ready for your next adventure. If you don't ride often, consider investing in a smart charger that can maintain your battery's health without overcharging.
When you're gearing up for a ride, check the battery's status. A fully charged battery will give you the freedom to hit the open road without worrying about power issues. If you notice any signs of weakness—like slow starts or dim lights—don't hesitate to charge it sooner.
For those who ride seasonally, it's essential to charge your battery before storing it away. A charged battery is less likely to suffer from sulfation, which can lead to permanent damage. Remember, the key is consistency. By establishing a routine, you'll guarantee that your Ducati is always ready to roar—just waiting for you to release its power.
Stay connected with your bike, and embrace the thrill of the ride with confidence. Your Ducati deserves it, and so do you!
Safety Precautions During Charging
Charging your Ducati battery requires careful attention to safety to prevent accidents or damage. It's crucial to create a safe environment while you harness the power of your machine. By following these simple precautions, you'll guarantee a smooth charging experience and keep your bike ready for the open road.
- Disconnect Before Charging: Always disconnect your battery from your motorcycle before you start charging. This prevents any electrical shorts or damage to your bike's electrical system.
- Use the Right Charger: Invest in a charger specifically designed for your Ducati battery type. Using the wrong charger can lead to overcharging and potentially damage the battery.
- Maintain Ventilation: Make sure you charge your battery in a well-ventilated area. Batteries can emit gases during charging, and proper airflow helps to avoid any risk of explosion or fire.
Common Battery Issues

Many riders encounter common battery issues that can jeopardize their motorcycle's performance and reliability. One of the most frequent problems is a dead battery, often caused by leaving your lights on or a faulty charging system. If you notice sluggish starts or dim lights, it might be time to check your battery's condition.
Another common issue is corrosion on the terminals. This can lead to poor connections, preventing your bike from starting. Regularly inspect the terminals and clean off any buildup with a solution of baking soda and water.
You might also experience battery swelling, which indicates internal damage. If you see this, it's crucial to replace the battery immediately, as it can pose safety risks.
Temperature extremes can also impact battery performance. Cold weather can reduce capacity, while excessive heat can accelerate fluid evaporation. Make sure your battery is suited for your climate and keep it maintained year-round.
Lastly, if your battery's age exceeds three to five years, consider replacing it. An old battery can let you down when you least expect it. Stay proactive about these issues, and you'll enjoy a more liberated ride!
Seasonal Storage Tips
Preparing your motorcycle for seasonal storage is essential to confirm its battery remains in peak condition. When you take the time to do it right, you'll make certain your ride is ready to hit the open road when the weather warms up again. Here are three key tips to keep your battery thriving during those off months:
- Disconnect the Battery: Start by unplugging the battery terminals. This helps prevent any slow discharge while your motorcycle's in storage. Always remove the negative terminal first to avoid any sparks.
- Clean the Terminals: Take a moment to clean any corrosion off the battery terminals. Use a mixture of baking soda and water to scrub them clean, then dry thoroughly. This helps maintain a solid connection when you're ready to ride again.
- Use a Battery Maintainer: Consider investing in a smart battery maintainer. It keeps your battery charged at an ideal level without overcharging. Just plug it in, and let technology do its magic.
Frequently Asked Questions
How Long Do Ducati Batteries Typically Last?
Ducati batteries typically last around three to five years, depending on usage and maintenance.
If you ride often and keep the battery charged, it might last closer to the five-year mark. However, neglecting it or letting it sit idle can shorten its lifespan.
To get the most out of your battery, stay attentive to its condition and charge it regularly.
Can I Use a Car Battery Charger for My Motorcycle?
When it comes to charging your motorcycle's battery, you can't just throw caution to the wind.
While you can use a car battery charger, it's not always the best move. Car chargers deliver higher voltage, which can damage your bike's battery.
Stick with a charger designed for motorcycles to keep things running smoothly. By doing this, you'll guarantee your ride stays reliable and you're free to hit the open road without a hitch.
What Signs Indicate a Battery Is Failing?
When you notice your motorcycle struggling to start, it's a clear sign your battery might be failing. You might also see dimming lights or hear clicking sounds when you turn the key.
If your battery's fluid levels are low or it's swollen, that's another warning. Pay attention to these signs; they're your bike's way of telling you it needs some help.
Don't ignore them, as they could lead to bigger issues down the road.
Is It Safe to Jump-Start a Ducati Motorcycle?
Jump-starting your Ducati can be a daring decision, but it's doable with the right precautions.
Make sure you've got the correct cables and connect them properly; negative to negative and positive to positive. Avoid sparking and short-circuiting.
It's essential your bike's electrical system is healthy before you attempt this. If you're feeling uncertain, seeking professional help is wise.
How Do Temperature Extremes Affect Battery Performance?
Temperature extremes can seriously impact your battery's performance.
When it's too cold, the chemical reactions slow down, reducing its ability to start your bike.
On the flip side, excessive heat can cause the battery fluid to evaporate, leading to corrosion and a shorter lifespan.
You've gotta keep an eye on these conditions, as they can affect your ride's reliability and freedom on the open road.
Stay aware, and you'll enjoy a smoother journey!
Conclusion
In summary, taking care of your motorcycle battery is essential for keeping your rides smooth and worry-free.
After all, wouldn't you rather avoid unexpected breakdowns?
By regularly maintaining your battery, choosing the right charger, and following seasonal storage tips, you can greatly extend its life.
So, make it a habit to check your battery's health and show it a little love—it's your bike's lifeline, and you'll be ready to hit the road whenever adventure calls!