Did you know that nearly 30% of Club Car owners experience charging issues at some point? If you're among them, it's essential to pinpoint the cause before it escalates. You'll want to start by identifying common symptoms like a battery warning light or diminished performance. From there, inspecting your battery's condition and connections will help you diagnose the problem. But what about the charger and controller? Understanding these components could be the key to getting your Club Car back on the road. Let's explore how to tackle this step-by-step.
Key Takeaways
- Check the battery voltage; it should be between 12.4V to 12.8V for proper charging functionality.
- Inspect the battery for physical damage, corrosion, and electrolyte levels to ensure it's in good condition.
- Verify the charger's power indicator is lit and measure its output voltage, which should be between 36V to 48V.
- Examine all wiring and connections for wear, corrosion, or loose connections that may interrupt charging.
- Test the controller and components, ensuring they are functioning properly and free from damage or corrosion.
Identify Charging Symptoms
When troubleshooting your Club Car's charging issues, the first step is to identify the symptoms that indicate a problem. Look for signs like the battery warning light illuminating on the dashboard or a noticeable decrease in performance during operation.
If your cart struggles to maintain speed or exhibits sluggish acceleration, these could be clear indicators of charging issues.
Another symptom is a lack of response when you attempt to start the vehicle. If the cart won't start or there's a clicking sound when you turn the ignition, it's a sign the battery isn't holding a charge.
Additionally, after charging, if you notice the battery voltage isn't rising to the expected level, this could indicate a malfunction in the charging system.
Pay attention to any unusual smells, such as burning or sulfur, which might suggest overheating or a failing battery.
Inspect the connections for corrosion or looseness, as these can also lead to poor charging performance.
Check the Battery Condition
Checking the battery condition is essential for diagnosing charging issues in your Club Car. A weak or damaged battery can prevent your cart from charging properly, so it's vital to evaluate its state before moving forward.
Here's what you should look for:
- Voltage Level: Use a multimeter to check if the battery voltage is within the acceptable range (typically 12.4V to 12.8V for a fully charged battery).
- Physical Damage: Inspect for cracks, bulges, or leaks in the battery casing that could indicate internal damage.
- Corrosion: Examine battery terminals for corrosion, which can impede electrical flow. Clean any buildup with a wire brush and a solution of baking soda and water.
- Age of the Battery: Consider how old your battery is. Most lead-acid batteries last 3-5 years, so if yours is older, it might be time for a replacement.
- Electrolyte Levels: If you have a flooded battery, check the electrolyte levels. Top off with distilled water if they're low, but don't overfill.
Inspect the Charger
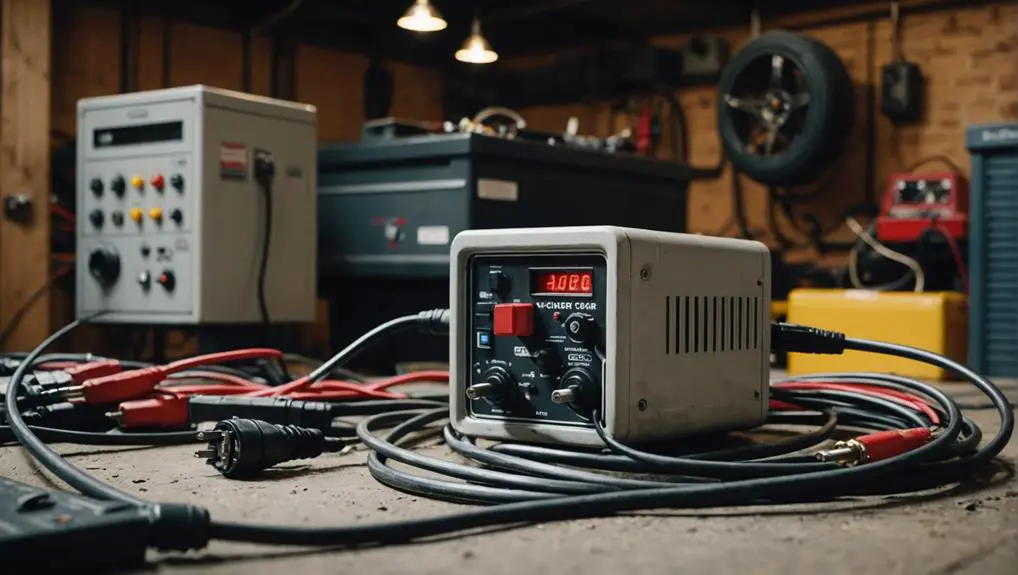
After verifying your battery is in good condition, the next step is to inspect the charger. Start by checking the charger's power indicator light. If it's not lit, the charger may not be receiving power. Plug it into a different outlet to rule out an outlet issue.
Next, examine the charger's AC input cord for any visible damage. Look for frays, cuts, or wear that could interfere with proper function. If you find any damage, replace the cord.
Now, focus on the DC output connections. Inspect the connectors for corrosion or dirt, which can hinder electrical flow. Clean any dirty contacts with a wire brush or a contact cleaner. Confirm the connectors are securely attached to the battery terminals. Loose connections can cause charging issues.
If you have access to a multimeter, measure the charger's output voltage. A functioning charger should typically output between 36V to 48V, depending on your specific model. If the output is noticeably lower than expected, the charger may need repair or replacement.
Examine Wiring and Connections
Wiring and connections play an essential role in your Club Car's charging system. If your cart isn't charging, it's critical to examine these components closely.
Start by visually inspecting all wiring for any signs of wear, fraying, or corrosion. Pay particular attention to the connections, as loose or damaged terminals can disrupt the flow of electricity.
Here are key areas to focus on during your examination:
- Battery cables: Confirm they're tightly connected and free from corrosion.
- Connections at the charger: Look for any loose wires or damaged connectors.
- Ground connections: Verify that the ground wire is securely fastened to the frame.
- Fuse: Check that the fuse isn't blown, as this can interrupt charging.
- Wire insulation: Inspect for nicks or breaks in the insulation that could cause short circuits.
After you've completed your inspection, tighten any loose connections and replace any damaged wiring.
If everything looks good, but the issue persists, you might need to move on to testing the controller and components for further diagnosis.
Test the Controller and Components
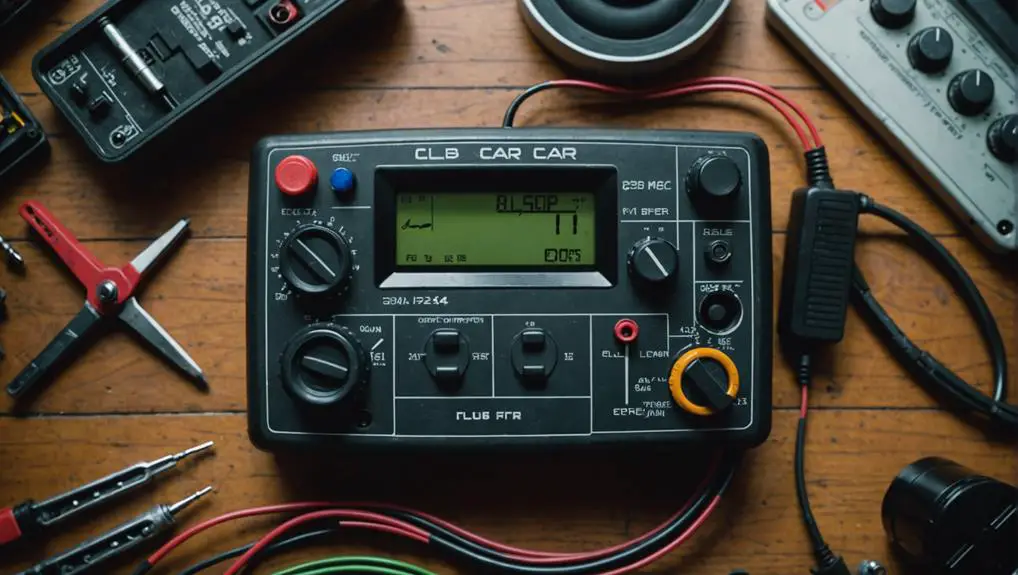
Testing the controller and its components is essential to diagnosing charging issues with your Club Car. Start by disconnecting the battery to guarantee safety, then inspect the controller for visible damage or corrosion.
Use a multimeter to check the voltage output from the controller. You should see a reading that matches the manufacturer's specifications. If it's below the required level, the controller might be faulty.
Next, test the solenoid. With the battery connected, measure the voltage across the solenoid terminals while the accelerator is pressed. You should receive a reading; if not, the solenoid may need replacement.
Don't forget to check the speed sensor and throttle. The speed sensor's resistance should fall within the manufacturer's specified range. If you find any discrepancies, replace it.
Frequently Asked Questions
How Often Should I Replace My Club Car Batteries?
You should replace your Club Car batteries every 4 to 6 years, depending on usage and maintenance.
Regularly check the water levels and clean the terminals to prolong battery life. If you notice a decrease in performance or charging issues, it might be time for a replacement.
Keeping track of battery age and performance will help guarantee your vehicle operates efficiently, so stay proactive in monitoring their condition.
Can I Use a Different Charger for My Club Car?
Using a different charger for your Club Car can create complications.
Chargers designed specifically for your model guarantee peak performance and safety. If you choose an alternative, make sure it matches the voltage and amperage specifications of your original charger.
Mismatched chargers might damage your batteries or lead to inefficient charging. Always prioritize proper compatibility to maintain your vehicle's longevity and functionality.
What Type of Battery Is Best for My Club Car?
Choosing the right battery for your Club Car is essential for peak performance.
Typically, you'll want a deep-cycle lead-acid battery or a lithium-ion option. Deep-cycle batteries provide reliable power over extended periods, while lithium-ion batteries offer lighter weight and longer life.
Confirm the battery matches your model's specifications, especially in voltage and size. Always check the manufacturer's recommendations to verify compatibility and efficiency, keeping your Club Car running smoothly.
Are There Any Warning Signs of a Failing Controller?
Imagine your controller as the captain of a ship steering through a storm.
If you notice flickering lights, erratic acceleration, or sluggish performance, it's a sign the captain's losing control.
You might also hear unusual sounds or experience sudden stops.
These warning signs indicate a failing controller that needs your attention.
Address these issues promptly to avoid being stranded in turbulent waters, ensuring your ride remains smooth and reliable.
How Can I Extend the Lifespan of My Batteries?
To extend the lifespan of your batteries, keep them clean and guarantee proper connections.
Regularly check water levels and top up with distilled water if necessary.
Avoid deep discharging by recharging when the voltage drops to around 50%.
Store your batteries in a cool, dry place, and use a quality charger that matches their specifications.
Monitoring temperature during charging can also help prevent overheating, which can greatly shorten battery life.
Conclusion
In summary, fixing your Club Car not charging can seem intimidating, but by following these steps, you'll likely pinpoint the issue. It's often a simple fix, like a loose connection or a corroded terminal, that gets overlooked. Coincidentally, many users find that addressing these small details not only resolves the charging problem but also enhances overall performance. So, take your time, methodically check each component, and you'll be back on the course in no time.