A 36V EZGO can be both a reliable mode of transport and a frustrating puzzle when it won't move, especially with a solenoid that refuses to click. You need to start by checking the basics, like battery voltage and connections, which can often be overlooked. But while you might think a simple fix is just around the corner, the real challenge lies in systematically diagnosing the issue. Understanding each component's role could reveal the solution you need, and you may find the culprit in the most unexpected places.
Key Takeaways
- Check battery voltage with a multimeter; ensure it reads 36-38 volts for proper operation.
- Inspect battery connections for corrosion or looseness, as poor connections can impede solenoid function.
- Test the solenoid for continuity and voltage at the activation terminal while pressing the accelerator.
- Examine the key switch for continuity and inspect wiring for damage that may disrupt power flow.
- Review wiring integrity and inspect fuses for damage, ensuring all connections are secure and properly rated.
Check Battery Voltage
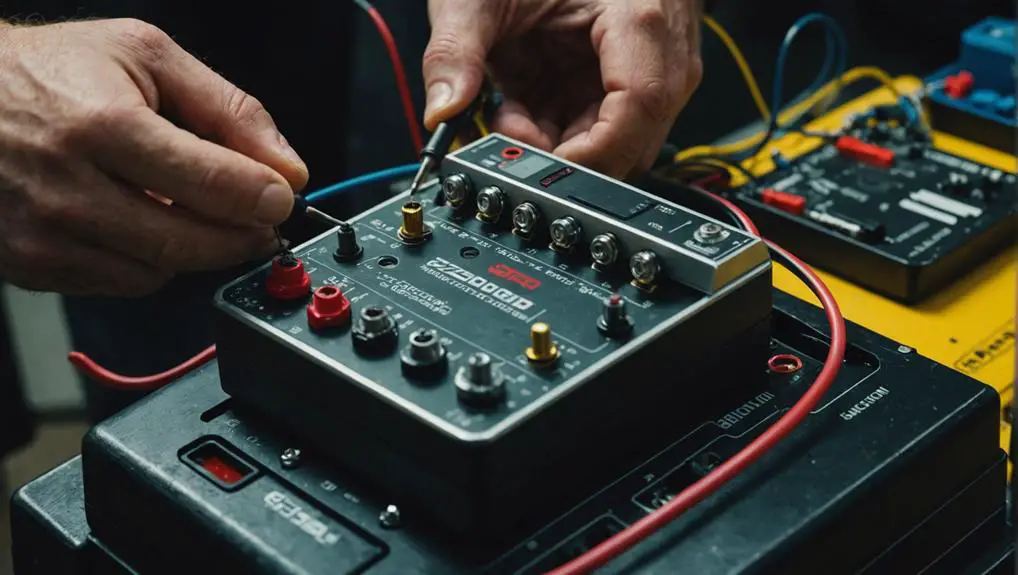
To troubleshoot your 36V EZGO solenoid effectively, start by checking the battery voltage. Use a multimeter to measure the voltage across the battery terminals. A fully charged 36V system should read around 36 to 38 volts.
If your reading falls below 36 volts, the batteries may be undercharged or degraded.
Next, check each individual battery in the series. Each 6V battery should ideally read between 6.2 and 6.4 volts when fully charged.
If any battery reads considerably lower, it could indicate a failure or the need for replacement.
If the voltage checks out, verify that the batteries are properly charged. Charge the batteries according to the manufacturer's guidelines, and then recheck the voltage.
Low voltage can prevent the solenoid from engaging, so it's essential to confirm the batteries are in good condition.
If the voltage is adequate but the solenoid still doesn't click, you may need to investigate further.
Always remember: maintaining your battery health is key to ensuring peak performance in your EZGO.
Inspect Battery Connections
After confirming the battery voltage is within an acceptable range, the next step is to inspect the battery connections.
Start by visually examining all connections for signs of corrosion, looseness, or damage. Corroded terminals can prevent proper electrical contact, so clean any corrosion using a wire brush or battery terminal cleaner. Make sure to wear safety goggles and gloves during this process.
Next, check that all connections are tight. Loose connections can lead to voltage drops, resulting in inadequate power to the solenoid. Use a wrench to secure all nuts and bolts, ensuring a snug fit. Pay special attention to the main positive and negative terminals on each battery.
Also, verify that the cables are in good condition. Look for fraying, cuts, or exposed wires that could cause shorts or poor connectivity. If you identify any damaged cables, replace them immediately.
Test the Solenoid

Testing the solenoid is essential for ensuring it functions correctly within your 36V EZGO system. Start by disconnecting the battery to avoid any electrical hazards.
Locate the solenoid, which is often situated near the battery pack. With a multimeter set to the diode testing mode, connect the probes to the solenoid's terminals. You should hear a beep, indicating continuity. If you don't, the solenoid is likely faulty and requires replacement.
Next, check for voltage at the solenoid's activation terminal. Reconnect the battery and use your multimeter to measure the voltage while you press the accelerator. You should see close to the battery voltage—around 36V.
If there's no voltage present, the issue may lie elsewhere, but if you do get the proper reading, the solenoid itself may not be functioning.
Examine the Key Switch
When troubleshooting your 36V EZGO, examining the key switch is essential, as it plays a significant role in the overall electrical system. The key switch controls the power flow to various components, including the solenoid. If the switch is faulty, it can prevent the solenoid from receiving the necessary voltage to engage.
Start by ensuring the key switch is turned to the "on" position. If you've confirmed this and the solenoid still isn't clicking, it's time to test the switch itself. Use a multimeter set to measure continuity. Disconnect the wires from the key switch and probe the terminals. When the key is turned to the "on" position, you should see continuity. If there's no continuity, the switch is likely defective.
Additionally, inspect the wiring connected to the key switch for any signs of damage or corrosion, as these can also disrupt power flow. If the wires appear damaged, replace them.
If everything checks out but the issue persists, consider replacing the key switch entirely. A functioning key switch is vital for the entire system to operate correctly, so don't overlook it during your troubleshooting process.
Assess the Controller

Evaluating the controller is essential for diagnosing issues with your 36V EZGO, given that it regulates power distribution to the solenoid and other components.
Start by visually inspecting the controller for any signs of damage or corrosion. Look for burnt components, charred circuit boards, or loose connections, which can hinder its performance.
Next, test the controller's input and output voltages using a multimeter. Verify that the voltage at the battery terminals meets the specifications indicated in the service manual. Then, measure the output voltage from the controller to the motor; it should match the expected voltage when the accelerator is pressed. If you don't get a reading, the controller might be faulty.
Also, check for error codes if your controller has a diagnostic feature. These codes can provide insights into specific malfunctions.
If everything checks out but the cart still won't move, consider resetting the controller by disconnecting the battery for a few minutes. If issues persist, it may be time to replace the controller, as it could be beyond repair.
Always refer to your model's manual for precise troubleshooting steps.
Review Wiring Integrity
In the process of troubleshooting your 36V EZGO, reviewing wiring integrity is essential to ascertain all electrical connections are secure and functioning correctly.
Start by visually inspecting the wiring harness for any signs of damage, such as fraying, corrosion, or burnt insulation. Pay close attention to connections at the solenoid, controller, and battery terminals.
Next, ascertain that all connectors are tight and properly seated. Loose connections can impede current flow, preventing the solenoid from clicking. If you find any loose or corroded connections, clean them with a wire brush and reconnect them securely.
Use a multimeter to test the continuity of the wiring. Disconnect the battery and check each wire for breaks or shorts. Set the multimeter to the continuity setting, and touch the probes to each end of the wire. A continuous beep indicates integrity; no sound means there's a break.
Lastly, confirm that the wiring matches the schematic for your specific model. An incorrect wiring configuration could lead to solenoid malfunction.
Look for Faulty Fuses

When troubleshooting your 36V EZGO solenoid, check for faulty fuses as they can disrupt the entire system.
Start by inspecting fuse connections for any signs of corrosion or looseness, then verify that the fuse ratings match your system requirements.
If you find any blown fuses, replace them promptly to restore functionality.
Inspect Fuse Connections
Inspecting fuse connections is an important step in troubleshooting your 36V EZGO solenoid. Start by locating the fuse box and guarantee it's clean and dry. Corrosion or dirt can hinder electrical flow, so gently clean any visible debris.
Next, check each fuse itself for signs of damage or wear. A blown fuse can prevent your solenoid from clicking and is a common issue.
After identifying the fuses, carefully remove them one at a time. Inspect the metal strip inside; if it's broken or burnt, you've found a faulty fuse. It's vital to verify the fuses are seated correctly in their sockets, as loose connections can also lead to malfunction.
Once you've examined all fuses, replace any that are damaged. If all fuses appear intact but the solenoid still doesn't click, you may need to look at the wiring and connectors leading to the fuse box. Tighten any loose connections and replace any frayed or damaged wires.
Check Fuse Ratings
Checking fuse ratings is essential for verifying your 36V EZGO solenoid operates correctly. When troubleshooting, you need to identify any faulty fuses that might be interrupting the electrical flow to your solenoid.
Start by locating the fuse box, typically found under the seat or near the controller. Inspect each fuse closely for any visible signs of damage, such as cracks or corrosion.
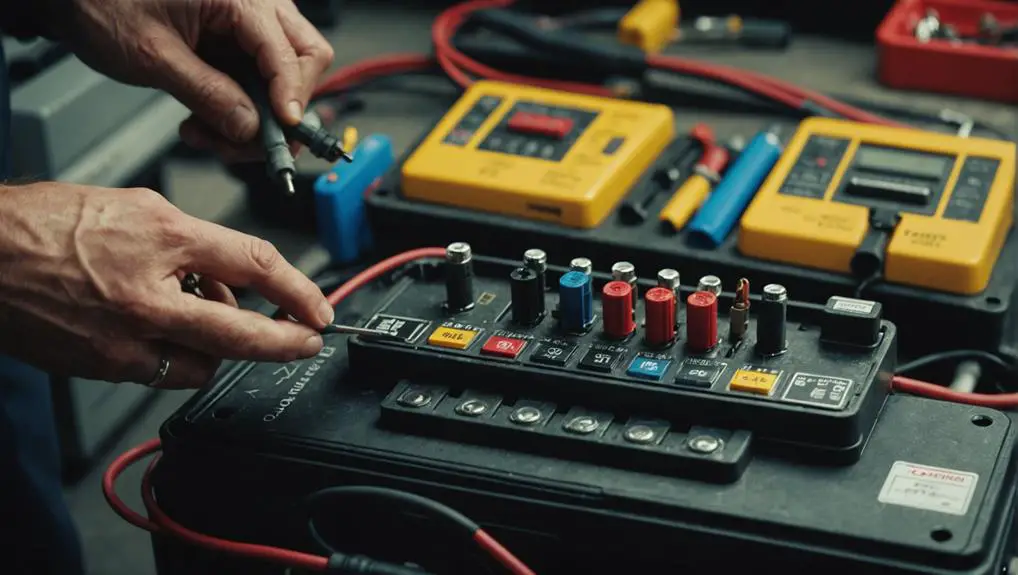
Use a multimeter to test the continuity of each fuse, confirming it allows current to pass through. You should set the multimeter to the continuity test mode and place the probes on either end of the fuse. If the meter beeps or shows a low resistance reading, the fuse is good. If not, it's likely blown.
Pay attention to the fuse ratings specified in your owner's manual; using a fuse with the incorrect amperage can lead to system failures or further damage. If you find a fuse that doesn't meet the required rating, it could be a primary cause of your solenoid issues.
Confirm all fuses are seated properly in their holders, as poor connections may also lead to operational problems.
Replace Blown Fuses
Could your solenoid issues stem from blown fuses? It's a common problem that can prevent your 36V EZGO from moving. If you've checked the fuse ratings and suspect a blown fuse, it's time to investigate further.
Blown fuses interrupt the power flow, which may stop the solenoid from clicking and engaging.
Here's what you need to do to replace blown fuses:
- Inspect the Fuses: Remove the fuses from their holders and visually check for any signs of damage, such as a broken filament or discoloration.
- Test with a Multimeter: Use a multimeter to check for continuity. If there's no continuity, the fuse is definitely blown and needs replacing.
- Replace with Correct Rating: Confirm you replace the blown fuses with new ones that match the original specifications, as using incorrect ratings can lead to further issues.
Once you've replaced the blown fuses, reassemble everything and try to start your EZGO again.
If the solenoid clicks and the vehicle moves, you've successfully resolved the issue. If not, you may need to explore other components.
Investigate Throttle Issues
When dealing with throttle issues in a 36V EZGO, it's essential to diagnose the problem methodically. Start by checking the throttle pedal's position. Verify it isn't stuck or obstructed, as any resistance can prevent proper function.
Next, inspect the throttle potentiometer, which translates the pedal's position into an electrical signal. Use a multimeter to measure the resistance across the potentiometer terminals. You should see a gradual change as you press the pedal; if not, it may be faulty and need replacement.
Also, examine the wiring connected to the throttle. Look for any loose connections, frayed wires, or corrosion that could interrupt the signal flow. Confirm the connections are secure and clean.
Don't forget to check the controller as well. If the throttle input isn't reaching the controller, it won't activate the solenoid. Verify that the controller is receiving the appropriate signals from the throttle potentiometer.
If all these components seem functional yet the problem persists, you may need to replace the throttle assembly. Addressing throttle issues promptly can save you from further complications down the line.
Evaluate Motor Condition

To evaluate the motor condition, start by inspecting all motor connections for tightness and corrosion.
Next, test the motor voltage to verify it's receiving the proper power supply.
Inspect Motor Connections
Inspecting the motor connections is essential for guaranteeing ideal performance in your 36V EZGO. Poor connections can lead to inadequate power transfer, preventing your cart from moving. Start by checking the wiring and connectors for any signs of wear or damage. Look for loose connections, corrosion, or frayed wires that could impede performance.
Here are some key aspects to focus on during your inspection:
- Connection Tightness: Confirm all connections are snug. Loose connections can cause intermittent power issues.
- Corrosion: Inspect terminals and connectors for rust or corrosion. Clean them with a wire brush or contact cleaner if needed.
- Wire Condition: Check for any signs of fraying or chafing on the wires. Replace any damaged wires promptly.
After you've completed your inspection, secure any loose connections and clean corroded areas to improve conductivity.
If everything looks good but the cart still doesn't move, you may need to explore other components further. Regularly inspecting motor connections helps maintain your EZGO's performance and longevity.
Test Motor Voltage
Proper voltage testing is critical for evaluating the condition of your 36V EZGO motor. Start by ensuring your multimeter is set to the appropriate voltage range.
Next, disconnect the motor from the controller to prevent interference during testing. You'll need to measure the voltage at the motor terminals. Connect the positive lead of your multimeter to the positive terminal of the motor and the negative lead to the negative terminal.
With the cart in the "run" position, press the accelerator pedal. The meter should display a voltage reading close to your battery pack's output, ideally around 36V.
If you see little to no voltage, there may be an issue with the motor itself or a connection leading to it. Conversely, if the voltage reading is correct but the motor isn't functioning, you might be dealing with internal motor damage.
For a deeper analysis, check the resistance of the motor windings by measuring between the terminals. A resistance reading considerably higher than expected indicates a potential problem.
Always remember to reconnect everything properly after testing to avoid any electrical issues.
Check for Obstructions
Obstructions can greatly impact the performance of your 36V EZGO motor, so it's important to evaluate the motor condition thoroughly. Start by visually inspecting the motor and its surrounding area for any debris that could hinder operation. Items like dirt, leaves, or foreign objects can prevent the motor from functioning properly.
Here are a few specific things to check for:
- Physical Blockages: Verify nothing is lodged in or around the motor housing that could obstruct movement.
- Worn Components: Look for signs of wear on the motor brushes, bearings, or couplings that could lead to malfunctions.
- Corrosion: Inspect electrical connections for corrosion, which can lead to poor conductivity and hinder motor performance.
Once you've identified any obstructions, take the necessary steps to remove them. If the motor still doesn't operate after clearing obstructions, you might need to investigate deeper into electrical or mechanical issues.
Consult Professional Help
When dealing with a malfunctioning 36V EZGO solenoid, consulting professional help can save you time and frustration.
If you've gone through basic troubleshooting steps—checking for obstructions, ensuring connections are tight, and testing the battery voltage—and still find the solenoid unresponsive, it might be time to call in an expert.
Professionals have the tools and experience to diagnose more complex issues that you might overlook. They can assess the electrical components, including the controller and wiring, to identify any underlying problems.
Additionally, they can perform tests that require specialized equipment, ensuring accurate results.
Attempting to fix the solenoid without the proper knowledge can lead to further damage or safety hazards. A technician can also provide insights into preventative maintenance, helping you avoid future issues.
In many cases, the cost of professional assistance is outweighed by the potential savings from avoiding incorrect repairs or additional damage.
Trusting an expert allows you to get your 36V EZGO back on the road quickly and safely, ensuring you can enjoy your ride without ongoing concerns.
Frequently Asked Questions
What Tools Do I Need to Troubleshoot My EZGO Cart?
To troubleshoot your EZGO cart, you'll need a multimeter to check voltage and continuity, a socket set for loosening bolts, and a screwdriver set for accessing components.
A wire brush can help clean corroded connections, while electrical contact cleaner guarantees proper connectivity.
Additionally, having a pair of pliers and safety gloves on hand is wise.
These tools will help you systematically diagnose any issues and guarantee your cart runs smoothly.
How Can I Tell if My Solenoid Is Defective?
Checking if your solenoid's defective is like testing a light bulb; you need to see if it's getting power.
Start by measuring voltage at the solenoid terminals with a multimeter. If there's no reading when the pedal's pressed, the solenoid might be faulty.
You can also listen for a clicking sound; if it's silent, that's another sign.
What Symptoms Indicate a Bad Key Switch?
If you're dealing with a bad key switch, you might notice several symptoms.
The most common signs include the vehicle not powering on, intermittent electrical issues, or the key turning without any response from the system.
You may also see dim or flickering dashboard lights.
If you're experiencing these symptoms, it's likely the key switch is faulty and needs testing or replacement to guarantee proper functionality of your vehicle.
Can Weather Conditions Affect My Golf Cart's Performance?
Yes, weather conditions can greatly affect your golf cart's performance. Cold temperatures can reduce battery efficiency, leading to sluggish acceleration or reduced range.
Rain or moisture can cause electrical connections to short, affecting functionality. High humidity can also lead to corrosion on terminals.
To guarantee peak performance, keep your golf cart sheltered from extreme weather and regularly check and maintain the battery and electrical components, regardless of the season.
Is It Safe to Jump-Start a 36V Ezgo?
You might think jump-starting a 36V EZGO is a quick fix, but it's not without risks.
Jump-starting can potentially damage your cart's electrical system if done incorrectly. Always check the battery connections and verify they're clean and tight before considering a jump-start.
If you must, use a compatible voltage source and follow the proper procedures.
It's safer to resolve the underlying battery issues than to rely on jump-starting as a regular solution.
Conclusion
To sum up, troubleshooting your 36V EZGO involves a systematic approach to identify the root cause of the no-movement issue. By checking battery voltage, inspecting connections, and testing components like the solenoid and key switch, you can pinpoint the problem. If all else fails, think of it like using a rotary phone—sometimes, you just need to take a step back and reevaluate. Don't hesitate to consult a professional if you're still stuck; it's better than spinning your wheels!