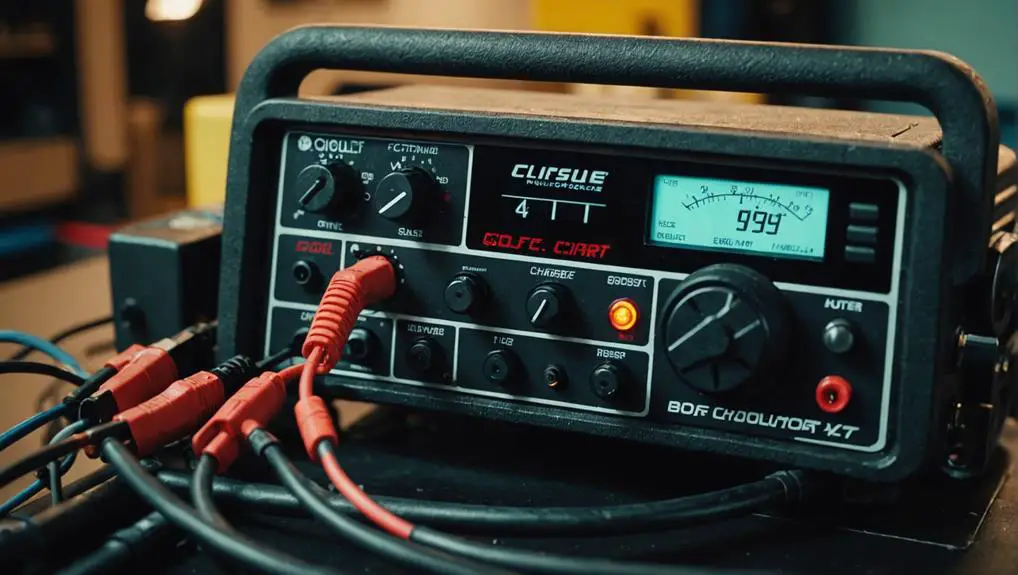
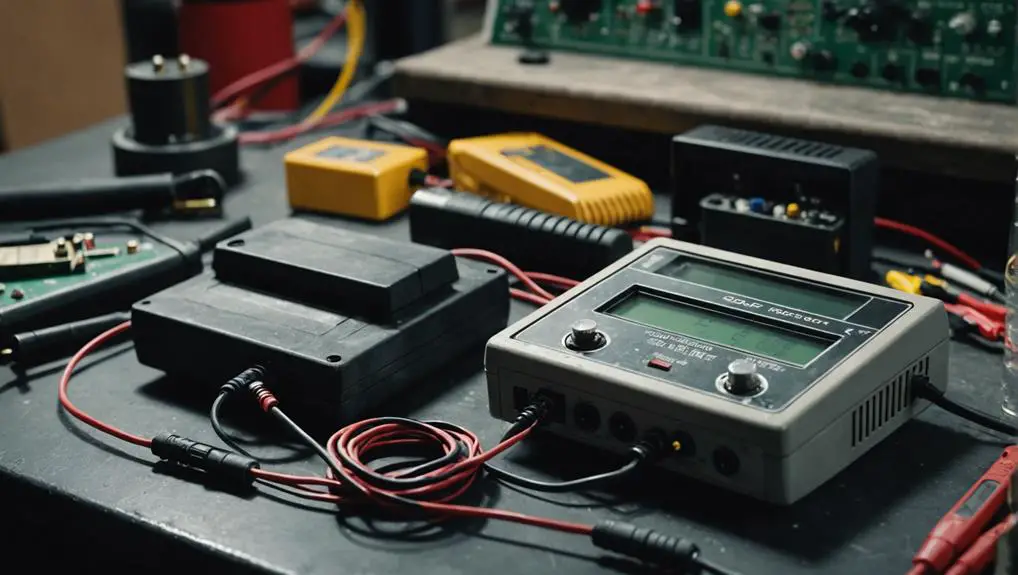
Like a detective unraveling a mystery, troubleshooting your 36 Volt golf cart charger starts with keen observation. You might notice unusual sounds or flickering indicator lights—clues that something's amiss. Before jumping to conclusions, it's essential to methodically assess the power source and connections. By systematically addressing these elements, you can pinpoint the issue effectively. But what happens if you discover a deeper problem lurking beneath the surface? The next steps could be key to not just fixing the charger, but ensuring your golf cart's performance for years to come.
Key Takeaways
- Inspect the charger for unusual sounds, indicator lights, overheating, and corrosion to identify potential issues.
- Verify the power source by checking the outlet functionality and ensuring proper circuit breaker operation.
- Examine charger connections for any corrosion, debris, or frayed wires that may disrupt charging.
- Test the charger by measuring input and output voltage, and ensuring it transitions through charging cycles properly.
- Replace or repair faulty components like transformers and diodes, using high-quality parts for longevity.
Identify Charger Symptoms
When troubleshooting a 36-volt golf cart charger, the first step is to identify the symptoms it exhibits.
Start by checking for any unusual sounds, such as clicking or buzzing, which may indicate internal issues. Next, observe the indicator lights; a steady green light usually signifies normal operation, while a flashing red light may denote a fault.
Ensure you look for any signs of overheating, which can manifest as excessive heat around the charger casing or melted components.
Inconsistent charging times can also hint at underlying problems; if the charger takes considerably longer than usual or fails to complete the cycle, it's a red flag.
Additionally, inspect the connections for corrosion or loose wiring, as these can disrupt proper functionality.
If you notice any unusual smells, such as burning or plastic, this could indicate electrical failure.
Make sure to document these symptoms meticulously, as they'll be essential for further diagnostics.
Check Power Source
Checking the power source is essential for troubleshooting your 36-volt golf cart charger. Before diving into more complex issues, verify that the charger is receiving adequate power. A faulty power source can mimic charger problems, leading to unnecessary repairs.
Here's a checklist to guide you:
- Verify Outlet Functionality: Plug another device into the same outlet to check if it works.
- Inspect Extension Cords: If you're using an extension cord, confirm it's rated for the charger's power requirements and is free of damage.
- Check Circuit Breakers: Look for tripped breakers or blown fuses in the circuit supplying power to the charger.
- Measure Voltage: Use a multimeter to measure the voltage at the outlet. It should match the charger's requirements.
- Assess Power Quality: Verify there are no fluctuations or interruptions in the power supply that could affect charger performance.
Once you confirm the power source is functional, you can proceed to examine other components of the charger. Identifying a power issue early can save you time and prevent further complications.
Inspect Charger Connections

To guarantee your 36-volt golf cart charger functions properly, inspect the connections between the charger and the battery. Start by unplugging the charger from the power source to confirm safety.
Check the charger's output connectors for any corrosion or debris. Corrosion can impede electrical flow, so clean the terminals with a wire brush or a contact cleaner if necessary.
Next, examine the battery terminals. Look for any signs of rust or buildup that could affect connectivity. Tighten any loose connections; they should be secure but not overtightened, which could damage the terminals.
Inspect the wiring connecting the charger to the battery. Look for frayed wires or damaged insulation, as these issues can lead to shorts or power loss. If you spot any damage, consider replacing the affected cables.
Once you've visually checked the connections, reconnect everything securely. Make sure the charger's connectors are firmly attached to the battery terminals.
Test Charger Functionality
Testing the functionality of your 36-volt golf cart charger is essential for verifying it operates effectively. To start, you'll need a multimeter to measure voltage output. Follow these steps to assess your charger's performance:
- Check Input Voltage: Verify your charger is plugged into a functioning outlet and confirm the input voltage with your multimeter.
- Measure Output Voltage: Disconnect the charger from the battery and check the output terminals. A healthy charger should show a voltage close to 36 volts.
- Inspect LED Indicators: Many chargers have LED lights that indicate status. Confirm that these lights function correctly as per the manufacturer's specifications.
- Listen for Noises: When plugged in, listen for any unusual sounds, such as buzzing or clicking, which may indicate internal issues.
- Test Charging Cycle: Reconnect the charger to the batteries and monitor the charging cycle. Make sure it shifts through the stages (bulk, absorption, float) without interruption.
Replace or Repair Components

When your 36-volt golf cart charger shows signs of malfunction, you may need to replace or repair specific components to restore its functionality. Start by identifying the faulty part—common culprits include the transformer, diodes, or the control board. Use a multimeter to test each component; check for continuity and proper voltage levels.
If the transformer is defective, replacing it with a compatible model is crucial. When it comes to diodes, a blown diode will prevent the charger from functioning correctly, so replace any that fail your continuity test.
For the control board, inspect for burnt traces or components; sometimes, you can repair minor damage with soldering, but in many cases, it's more efficient to replace the entire board.
Always verify you turn off the power and discharge the capacitors before working on the charger. Use high-quality replacement parts to guarantee performance and longevity.
After replacing or repairing the components, reassemble the charger, plug it in, and monitor its performance. Proper troubleshooting and timely replacement of parts can appreciably extend the life of your charger and improve overall efficiency.
Frequently Asked Questions
How Long Should It Take to Fully Charge a 36-Volt Golf Cart?
It typically takes about 8 to 12 hours to fully charge a 36-volt golf cart, depending on its battery condition and charger specifications.
If your charger operates at a standard amperage of around 10 to 15 amps, you can expect the lower end of that range.
Always monitor the charging process to guarantee safety and efficiency.
If it takes considerably longer, you might need to check the charger or battery health.
Can I Use a 48-Volt Charger on a 36-Volt Cart?
You can't use a 48-volt charger on a 36-volt cart. Doing so risks damaging the battery and electrical system due to overvoltage.
A 48-volt charger supplies too much power, which can lead to overheating, reduced lifespan, or even battery failure.
Always match your charger's voltage with your battery system to guarantee safe and effective charging.
Stick to a dedicated 36-volt charger for best performance and to maintain battery health.
What Are Common Signs of a Dying Battery?
When your battery's performance starts to fade, it's like a candle flickering in the wind.
Common signs of a dying battery include a noticeable decrease in power, slow acceleration, and longer charging times.
You might also notice a swollen case or a distinct sulfur smell.
If your battery struggles to hold a charge or shows inconsistent readings on a voltmeter, it's time to contemplate replacing it before you're left stranded.
How Often Should I Maintain My Golf Cart Charger?
You should maintain your golf cart charger regularly to guarantee peak performance.
It's recommended to inspect it at least once a month for any signs of wear or damage. Check the connections for corrosion and clean them if necessary.
Additionally, keep the charger in a dry, cool location to prevent overheating. If you notice any unusual sounds or smells during operation, address those issues immediately to avoid potential failures.
Are There Safety Precautions for Handling Golf Cart Batteries?
When handling golf cart batteries, you should always wear safety goggles, use insulated gloves, and guarantee the area is well-ventilated.
Keep metal tools away from terminals to avoid short circuits, and never smoke or use open flames nearby.
Make sure to disconnect the charger before handling the batteries, and always check for leaks or damage.
Regularly inspect connections, guaranteeing they're tight and corrosion-free, to maintain safety and efficiency during use.
Conclusion
By systematically troubleshooting your 36 Volt golf cart charger, you can guarantee it runs smoothly for years to come. Think of it like maintaining a well-tuned engine: just as a small misalignment can cause performance issues, neglecting minor charger problems can lead to bigger headaches down the road. By staying proactive and addressing issues promptly, you not only enhance your charger's efficiency but also extend its lifespan, much like keeping a finely tuned machine in peak condition.